
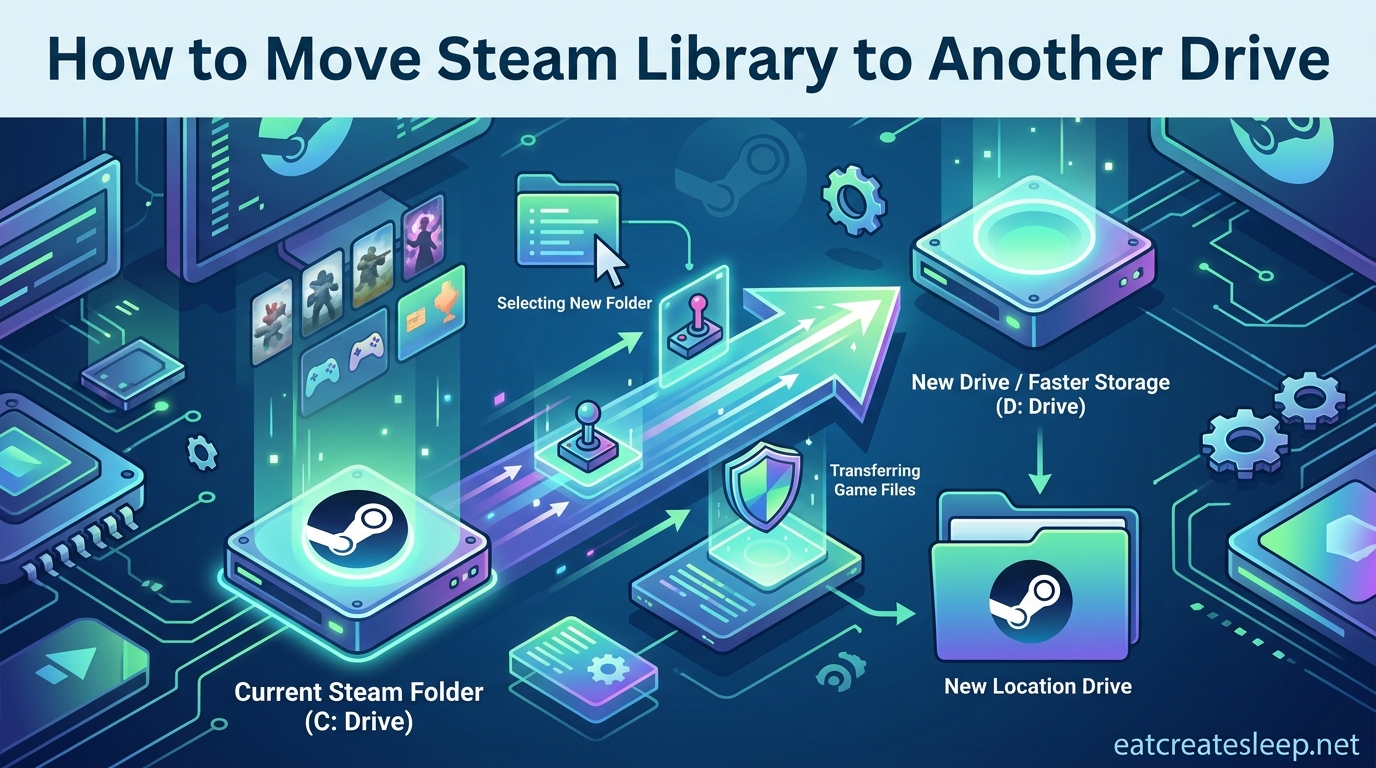
Running out of space on your main drive is one of the most frustrating things a PC gamer can experience. Modern AAA titles routinely eat 80 to 150GB each, and a packed C drive will slow down your entire system. The good news is you can move your Steam library to another drive without re-downloading a single file.
I have moved my Steam games between drives more times than I can count, including a full migration from a 1TB HDD to a 2TB NVMe SSD last year. Steam has a built-in Storage Manager that handles the entire transfer for you. No third-party tools, no risky file surgery, and no waiting hours for games to download again.
This guide walks you through every method, explains why drag-and-drop fails, covers save file backups, and troubleshoots the most common errors people hit along the way. By the end, you will know exactly how to move your Steam library to another drive without re-downloading anything.
Table of Contents
What You Need Before You Start?
Before moving anything, make sure your target drive is ready. Steam needs a drive formatted as NTFS (Windows) or a compatible format on macOS and Linux. The drive should also have enough free space to hold the games you plan to move, plus a small buffer of about 5GB for temporary files.
You will also want to confirm Steam is fully updated. Valve has refined the Storage Manager several times over the past few years, and older Steam versions hide the feature in less obvious menus. Open Steam, click Steam in the top-left corner, then select Check for Steam Client Updates.
Two terms come up throughout this guide. A Steam Library Folder is any folder Steam recognizes as a valid location for game installs. The Storage Manager is Steam’s built-in tool for adding library folders and moving games between them. Both live inside the Steam settings menu.
How to Move Your Steam Library to Another Drive Without Re-Downloading: The Storage Manager Method?
The Storage Manager is the fastest and most reliable way to move games between drives. It works for moving a single game or dozens at once, and Steam handles every file transfer internally so nothing gets corrupted.
Step 1: Open the Storage Manager
Open Steam and click Steam in the top-left corner of the window, then select Settings from the dropdown menu. In the left sidebar, click Storage. You will see a list of every drive Steam can access, along with how much free space each one has.
If you have never added a second library folder before, you will likely only see your default C drive listed here. That is normal. The next step adds your target drive to the list.
Step 2: Create a New Steam Library Folder on Your Target Drive
At the top of the Storage Manager window, click the dropdown that shows your current drive (usually C:) and select Add Drive from the list. Steam will show every connected drive it can use. Pick the drive you want to move games to.
Steam automatically creates a new library folder at the root of that drive, typically named SteamLibrary. You do not need to manually create any folders. Once the drive is added, it appears in the Storage Manager list and is ready to receive games.
If Steam asks you to choose a folder location, pick the root of the target drive (such as D:\) and let Steam handle the rest. Avoid creating deeply nested folders, since Steam prefers library folders at the drive root for performance reasons.
Step 3: Select and Move Your Games
In the Storage Manager, click the dropdown at the top and select your source drive (the one your games are currently on). You will see a list of every installed game along with how much space each one uses.
Check the box next to each game you want to move. You can select one game or select them all, though I recommend moving games in batches of 3 to 5 so you can watch for errors without babysitting a massive transfer.
Once your games are selected, click the Move button at the bottom of the window. A small popup will ask you to choose the destination drive. Pick your newly created library folder on the target drive and confirm. Steam will begin copying files immediately.
What Happens During the Move
Steam copies every game file to the new drive, verifies the transfer, and then deletes the original files. You can keep using Steam while the move runs, though I recommend against launching the game being moved. Large games can take anywhere from 10 minutes to over an hour depending on your drive speeds.
The progress bar inside the Storage Manager shows real-time transfer status. If a move stalls or fails partway through, Steam will keep the partial files on the destination drive and let you retry without losing progress.
Alternative Method: Move a Single Game via Properties
If you only need to move one game and do not want to deal with the full Storage Manager, Steam offers a quicker path through the game’s properties menu. This method does the exact same thing behind the scenes, just from a different starting point.
Right-click the game in your Steam library sidebar and select Properties. Click the Local Files tab on the left side of the window. You will see a button labeled Move Install Folder if more than one library folder is available. Click it, pick your destination drive, and confirm.
Use this method when you are already looking at a specific game in your library and just want to bump it to a new drive. For bulk moves of several games at once, the Storage Manager is faster since you avoid opening properties for each title.
Why You Cannot Just Drag and Drop Steam Game Files?
This is the question that comes up constantly on Reddit and the Steam community forums. People assume that since game files are just folders on a hard drive, they should be able to copy them to a new location and point Steam at the new path.
That does not work because Steam does more than store files. Every installed game is registered in Steam’s internal database, called the libraryfolders.vdf file, along with manifest files that track each game’s install state. When you drag and drop game files manually, Steam’s database still points at the old location, so it thinks the game is missing.
The result is usually a broken install. Steam will either refuse to launch the game or insist on re-downloading it from scratch. Some users try to edit the manifest files by hand, but this is fragile and easy to break. The built-in Storage Manager exists specifically to handle this database update safely, which is why you should always use it.
There is one edge case worth mentioning. If you manually copy game files to a new library folder that Steam already recognizes, Steam will sometimes detect the files during a fresh install and skip most of the download. This trick works but is unreliable, and I do not recommend it for games you care about.
Back Up Your Saves Before Moving Anything
Moving games with the Storage Manager does not touch your save files, but backups are still worth doing before any major storage change. Hard drives fail, power outages happen mid-transfer, and a corrupt manifest file can make Steam think a game was never installed.
Most Steam games support Steam Cloud, which automatically syncs your saves to Valve’s servers. You can check by right-clicking a game, selecting Properties, and looking for the Steam Cloud toggle under the General or Cloud tab. If it is enabled and the game shows a cloud icon in your library, your saves are already backed up.
For games without Steam Cloud support, you need to back up saves manually. Save files usually live in one of three places: inside the game’s install folder under SteamLibrary/steamapps/common, in your user documents folder, or hidden inside AppData. Check PCGamingWiki for the exact save location of any specific game.
Copy the save files to a separate drive or a cloud service like Google Drive before you start moving anything. This takes five minutes and saves you from potential heartbreak if something goes wrong.
How to Verify Game Files After the Move?
Once your games land on the new drive, run a quick file integrity check to make sure nothing was damaged during the transfer. This step catches file corruption that can happen if your drive has bad sectors or if a transfer was interrupted.
Right-click the moved game in your Steam library and select Properties. Go to the Local Files tab and click Verify integrity of game files. Steam will compare every file against its records and re-download anything that does not match.
Verification usually takes a few minutes per game. If Steam reports that all files were successfully validated, your move worked cleanly and you are good to go.
How to Move Your Entire Steam Installation (Not Just Games)?
Sometimes you want to move the Steam client itself, not just individual games. This is common when you are migrating Windows to a new SSD or you want Steam completely off your C drive. The process is different from moving games.
Valve’s official method is straightforward. Close Steam completely, then navigate to your Steam install folder (usually C:\Program Files (x86)\Steam). Copy the entire folder to your new drive, such as D:\Steam. Make sure to include the steamapps and userdata subfolders, since those hold your games and user data.
Delete the original Steam folder, then launch Steam.exe from the new location. Steam will re-register itself with Windows and pick up your games from the new path. You may need to recreate your desktop shortcuts.
This method moves everything in one shot, but it only works if your target drive has room for the full install plus all your games. For most people, the Storage Manager approach is simpler and less risky.
Troubleshooting Common Steam Move Errors
Steam Library Folder Is Not Writable
This error means Steam cannot write to the target folder, usually because of a permissions issue. Right-click the SteamLibrary folder on your target drive, select Properties, go to the Security tab, and make sure your Windows user account has Full Control permissions. If the folder is on an external drive, check that the drive is not set to read-only.
The Move Button Is Greyed Out
If the Move button will not click, you probably have not added the target drive as a Steam library folder yet. Go back to the Storage Manager, use the dropdown at the top to add the drive, then try selecting and moving your games again.
Steam Does Not Recognize the Moved Game
This usually happens after a failed manual move or a crash during transfer. Open the Storage Manager, select the target drive, and check whether the game appears there. If not, use Verify integrity of game files on the original install location. If Steam still cannot find it, uninstall the broken entry and reinstall, but point the install at your new library folder so Steam detects the existing files.
Disk Write Error During Move
A disk write error means your target drive is either full, failing, or has file system corruption. Check free space first. If space is fine, run chkdsk on the target drive from an admin command prompt to scan for and repair file system errors. For external drives, try a different USB port or cable.
Move Process Is Extremely Slow
Slow moves are almost always a drive speed issue. Moving games to or from a 5400RPM HDD will take much longer than moving between SSDs. If your target drive is an old spinning disk, consider whether it is worth moving high-performance games there at all. Closing other programs that use the target drive can also speed things up.
Frequently Asked Questions
Can you move Steam games to another drive without reinstalling?
Yes. Steam’s built-in Storage Manager lets you move installed games to any recognized library folder without re-downloading. Open Steam, go to Settings > Storage, add your target drive as a library folder, select your games, and click Move.
How do I transfer Steam games to another computer without downloading?
Copy the steamapps folder from your old computer to an external drive, then paste it into the Steam install folder on the new computer. Install Steam on the new PC, point it at the copied steamapps folder, and use Verify integrity of game files on each game so Steam recognizes the existing files.
How to move files from C drive to D drive Steam?
Open Steam and go to Settings > Storage. Click the drive dropdown at the top and select Add Drive, then pick your D drive. Switch back to viewing your C drive, select the games you want to move, click Move, and choose the D drive as the destination. Steam handles the file transfer automatically.
Should I put Steam in C or D drive?
It depends on your setup. If your C drive is an SSD and your D drive is a slower HDD, keep Steam and your most-played games on the C drive for faster load times. If your D drive is a larger SSD or NVMe drive, install Steam there to save space on your system drive. Performance is what matters most, not the drive letter.
Wrapping Up
Moving your Steam library to another drive without re-downloading is genuinely simple once you know where the Storage Manager lives. The built-in tool handles file transfers, updates Steam’s internal database, and keeps your saves intact. Whether you are migrating a couple of games to free up C drive space or shifting your entire library to a new NVMe SSD, the process is the same.
Remember to back up your saves first, use the Storage Manager instead of drag-and-drop, and run a quick file integrity check after each move. Follow those three rules and you will never need to re-download a game just because you changed drives.