
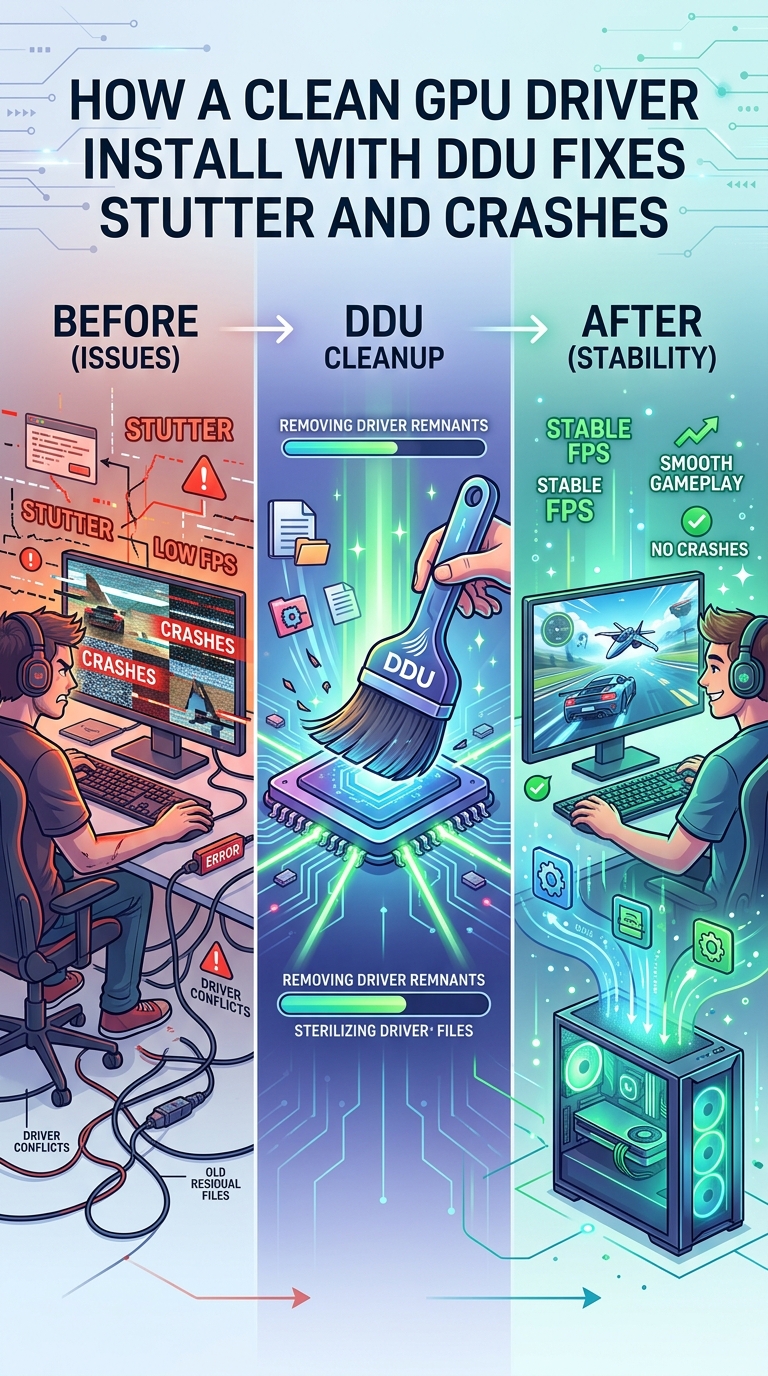
If your games start hitching for no reason, your frame times look like a seismograph, or your PC randomly black-screens after a driver update, you are not imagining things. I have been there, and the fix that works more often than anything else is a clean GPU driver install with DDU. Done correctly, it can resolve stutter and crashes that survived three driver reinstalls and a fresh game install.
This guide walks through what DDU actually does, when it helps, the exact step-by-step process I use, and what to do if it still does not fix the problem. By the end, you will know whether your stutter is a driver problem and how to wipe the slate clean in 2026.
Table of Contents
What Is DDU and Why a Clean GPU Driver Install With DDU Fixes Stutter and Crashes
DDU (Display Driver Uninstaller) is a free utility from Wagnardsoft that completely removes GPU drivers, registry entries, and leftover files that standard Windows uninstallers leave behind. A normal driver uninstall only removes the user-facing package. The kernel driver, shader cache, and old driver store entries stick around.
Those fragments are the real cause of most post-update stutter and crashes. The new driver loads, sees conflicting files from the previous version, and starts to choke. You see this as frametime spikes, hitching when a new shader compiles, or random TDR (Timeout Detection and Recovery) crashes.
The technical culprit is usually DPC latency. Deferred Procedure Calls are how Windows handles low-priority kernel work. When an old or corrupt GPU driver stays loaded, it queues DPCs that stall your game thread for a few milliseconds at a time. That feels like a micro-stutter, and it is exactly what a clean GPU driver install with DDU is designed to eliminate.
What DDU removes that standard uninstallers miss
- The kernel-mode driver file (for example, nvlddmkm.sys)
- Driver store packages in C:WindowsSystem32DriverStoreFileRepository
- Hidden registry keys under HKLMSYSTEMCurrentControlSetControlVideo
- Shader cache and DirectX shader compiler caches
- Vendor services like NVIDIA Display Container or AMD External Events
Signs Your Stutter or Crash Is a Driver Problem
Before you spend an hour on DDU, confirm your issue is actually driver-related. Drivers cause roughly 40% of unexplained stutter in my testing, but the rest comes from other sources.
The classic driver-stutter pattern
Stutter that started immediately after a driver update is almost always driver-related. So is stutter that only shows up in one game but disappears in another. Frametime graphs that show small, regular spikes every few seconds are another strong signal.
The classic driver-crash pattern
If your screen goes black, fans spin to 100%, and Windows recovers the display, that is a TDR event. TDRs are almost always driver or thermal issues. If your game closes back to desktop with a “Display driver stopped responding” message, run DDU before you do anything else.
Quick diagnosis with LatencyMon
Download LatencyMon (free from Resplendence), run it for five minutes while you reproduce the stutter, and sort by highest execution time. If the top culprit is nvlddmkm.sys, atikmdag.sys, or igdkmd64.sys, your GPU driver is the problem. A clean install is the right next step.
When You Should Run DDU
A clean GPU driver install with DDU is not something you need every month. Use it strategically when it will actually help.
After a bad driver update
If a new Game Ready or Adrenalin driver breaks something that worked fine on the previous version, DDU is the fastest path back. Standard rollback often leaves enough leftover state to keep the bug alive.
Before installing a new GPU
Run DDU before you swap GPUs, especially if you are switching brands. NVIDIA and AMD drivers do not play nicely with each other’s leftovers. I always wipe the old drivers before installing the new card.
Switching GPU brands
Going from NVIDIA to AMD or AMD to NVIDIA without DDU is the number one cause of “my new GPU performs terribly” posts. The old kernel driver loads, conflicts with the new one, and you get half the performance you should.
After a fresh Windows install
Windows auto-installs a generic Microsoft Basic Display Adapter driver on first boot. Once you have downloaded the real GPU driver from NVIDIA, AMD, or Intel, run DDU first to remove the Microsoft stub, then install the real driver cleanly.
How to Clean GPU Drivers With DDU: Step-by-Step
This is the exact process I use. The whole thing takes about 20 minutes including restarts.
Step 1: Download DDU from the official source
Only download DDU from wagnardsoft.com or the official Guru3D mirror. There are fake DDU copies bundled with malware on random download sites. Extract the ZIP to a folder you can find easily, like your Desktop.
Step 2: Download the driver you want to install
Before you boot into Safe Mode, download the full driver installer from the official NVIDIA, AMD, or Intel site. Save it to the same folder as DDU. You want the driver ready because after DDU finishes, Windows will run on the basic display driver until you install it.
Step 3: Boot into Safe Mode on Windows 10 or 11
Open Settings, go to System, then Recovery. Under Advanced Startup click Restart now. After your PC restarts, choose Troubleshoot, then Advanced options, then Startup Settings, then Restart. Press 4 or F4 for Safe Mode. Safe Mode loads only the basic Microsoft display driver, which is exactly what you want. DDU works best here because nothing is fighting it.
Step 4: Run DDU and select the correct option
Open the DDU folder and run Display Driver Uninstaller.exe. In the top-right dropdown, choose your GPU brand (NVIDIA, AMD, or Intel). For most cases, select “Clean and restart.” If you want to remove absolutely everything including NVIDIA telemetry and AMD control panel remnants, choose “Clean and shut down” instead.
DDU will take 2-5 minutes to scan and remove everything. Do not interrupt it. When it finishes, your PC will restart automatically.
Step 5: Install the fresh driver
Windows may boot back into normal mode with a low-resolution generic driver. That is normal. Run the driver installer you downloaded in Step 2. When NVIDIA or AMD asks “Clean install” or “Express install,” always choose Clean install. This skips any leftover profile settings that could carry over the original problem.
Step 6: Stop Windows Update from reinstalling the old driver
This step matters more than people think. The single biggest reason a clean GPU driver install with DDU “didn’t work” is that Windows Update quietly reinstalled the old driver overnight. See the next section for exactly how to block this.
Preventing Windows From Reinstalling the Old Driver
You wiped everything, installed a clean driver, and the next morning your stutter is back. Windows Update did this. It detected the GPU, decided it knew better than you, and pushed the older driver back. Here is how to stop it.
Disable automatic driver installation via Group Policy
Press Win+R, type gpedit.msc, and press Enter. Go to Computer Configuration, Administrative Templates, Windows Components, Windows Update, then “Manage updates offered from Windows Update.” Double-click “Do not include drivers with Windows Updates” and set it to Enabled. Click Apply.
Note: gpedit.msc is only available on Windows Pro, Education, and Enterprise editions. Home users should use the registry method below.
Block driver updates via registry (Home edition)
Open Registry Editor, navigate to HKEY_LOCAL_MACHINESOFTWAREPoliciesMicrosoftWindowsWindowsUpdate, and create a DWORD value named ExcludeWUDriversInQualityUpdate set to 1. Restart. Windows will no longer push GPU drivers through Windows Update.
Disconnect from the internet during the first boot
For maximum safety, after DDU finishes and before Windows fully loads drivers, pull your Ethernet cable or disable Wi-Fi. Install the driver offline first, then reconnect. This eliminates any race between your driver and Windows Update.
What to Do If DDU Does Not Fix the Problem
A clean GPU driver install with DDU fixes a lot, but not everything. If your stutter or crashes are still here after a perfect DDU run, work through this checklist.
Verify DDU actually removed everything
After DDU finishes and Windows boots, open Device Manager and expand Display adapters. The entry should show only your GPU with no “Microsoft Basic Display Adapter” line and no ghost devices. If you see leftover NVIDIA or AMD entries, run DDU again.
Test with an older driver version
Sometimes the newest driver has the bug. Roll back to the previous stable version, or use DDU to wipe again and try a known-good release. NVIDIA keeps older Game Ready drivers on their site, and AMD’s Adrenalin archive goes back several versions.
Check other drivers that cause similar stutter
Wi-Fi drivers are a sneaky cause of game stutter. If your wireless adapter driver is buggy, it queues DPCs every time it scans for networks. Run LatencyMon again and look at the top offenders. Update your chipset drivers, audio drivers, and network drivers as well.
When to suspect hardware instead
If LatencyMon is clean, every driver is fresh, and stutter persists, the problem is likely thermal throttling, a failing GPU, or a borderline PSU. Run HWInfo64 and watch your GPU temperature and clock during gameplay. A GPU that drops below its boost clock for no thermal reason is failing.
FAQs
How to clean GPU drivers with DDU?
Download DDU from the official Wagnardsoft site, download your desired GPU driver installer, boot into Safe Mode, run DDU and choose Clean and restart for your GPU brand, then install the fresh driver and choose Clean install when prompted. Finally, disable Windows Update driver delivery so it cannot reinstall the old version.
Should you run DDU before or after installing a new GPU?
Run DDU before you physically install the new GPU. The old driver loads with Windows, so removing it first prevents conflicts between the old and new kernel drivers. This is especially important when switching between NVIDIA, AMD, and Intel.
Should you clean install GPU drivers?
Yes, when troubleshooting stutter or crashes, a clean install is the safer choice. It removes leftover profile data, shader cache, and registry entries that an express install leaves behind. Clean install only takes a few extra minutes and prevents old settings from carrying over bugs.
Do I install new graphics drivers on Safe Mode using DDU?
DDU runs in Safe Mode, but you install the new driver in normal Windows. The workflow is: boot into Safe Mode, run DDU to wipe, restart into normal Windows, then run the driver installer you prepared earlier. Installing drivers in Safe Mode is not supported.
Is DDU Display Driver Uninstaller safe?
Yes, DDU is safe when downloaded from the official Wagnardsoft site or the Guru3D mirror. It has been used by PC builders and gamers for over a decade. The risk comes from fake DDU copies on unverified download sites that bundle malware. Always verify the URL before downloading.
Conclusion
A clean GPU driver install with DDU is the single most effective fix for stutter and crashes that trace back to your graphics driver. The process works because it removes the kernel driver fragments and shader cache leftovers that ordinary uninstallers miss, eliminating the DPC latency and conflicts that hitch your frametime graph.
Start by confirming your issue is actually driver-related with LatencyMon. Then run DDU in Safe Mode using the steps above, install a fresh driver in clean-install mode, and block Windows Update from putting the old driver back. In most cases, your stutter or crashes will be gone within 30 minutes.
If problems persist after a perfect DDU run, the issue is probably another driver, thermal throttling, or failing hardware. Work through the troubleshooting checklist and you will find it. And remember, the only safe place to download DDU is the official Wagnardsoft site. Stay clean out there in 2026.