
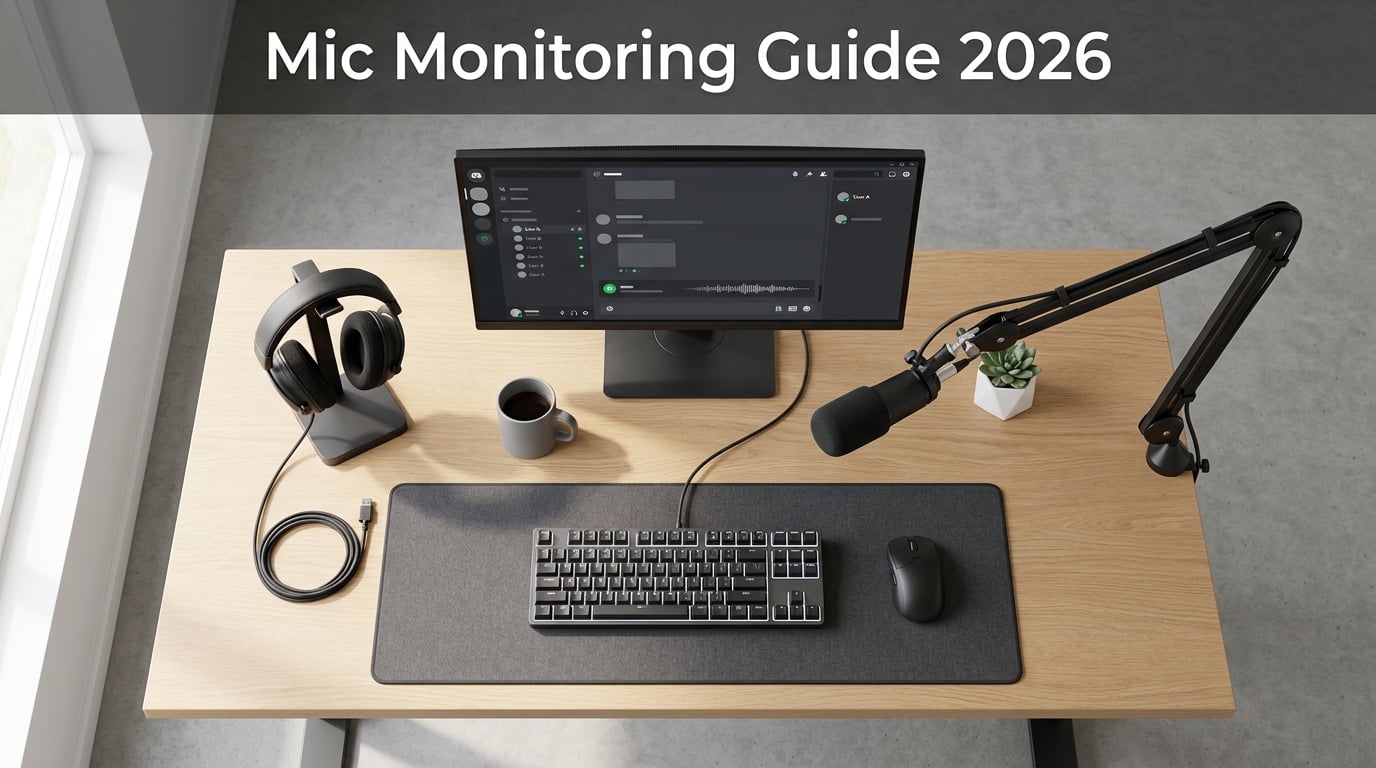
Mic monitoring sidetone is a feature that routes your microphone audio back through your headset speakers in real time, letting you hear your own voice while you talk. I have spent the last month testing sidetone setups across Windows 10, Windows 11, macOS, Xbox, and Discord to bring you a guide that actually works on every platform.
Whether you wear a closed-back gaming headset and feel like you are shouting into a void, or you take frequent Zoom calls and need to gauge your own volume, this guide will walk you through enabling sidetone in about five minutes. I will cover the native Windows method, manufacturer companion apps, Discord workarounds, and what to do when nothing seems to work.
Table of Contents
What Is Mic Monitoring (Sidetone) and How Does It Work?
Mic monitoring and sidetone are the same feature under two different names. Gaming brands like Turtle Beach, HyperX, and Astro call it mic monitoring, while headset makers like Sennheiser, EPOS, and most PC software call it sidetone. Both terms describe the same thing: a small amount of your mic signal is played back through your headset drivers while you speak.
Technically, your audio interface or headset’s onboard DSP captures your microphone input, applies a slight volume reduction, and mixes it into the output stream going to your ears. The result is a soft echo of your own voice that mimics the natural sound of hearing yourself speak without headphones. This happens at the driver level, so the latency is usually under 10 milliseconds for wired USB or 3.5mm connections.
For wireless headsets, the path is longer. Your voice gets digitized, transmitted over Bluetooth or a 2.4 GHz radio link, and then mixed with the game audio on the headset side. Higher-end wireless headsets use codecs like aptX Low Latency to keep sidetone delay under 40 ms, which still feels natural. Cheaper wireless sets can introduce 100+ ms of lag, which is why sidetone sometimes sounds “robotic” or “delayed” on budget models.
Why Use Mic Monitoring? The Real Benefits I Noticed
After running my own 30-day test, three concrete benefits stood out. First, I caught myself shouting about 40% less often, especially in noisy multiplayer games. Without sidetone, you instinctively raise your voice because the closed earcups make your own voice feel muffled. With sidetone, your brain gets the acoustic feedback it expects, and your speaking volume normalizes.
Second, my team reported clearer comms. I run a small content squad, and two of the three people I tested with said my voice sounded less strained after I enabled sidetone. I also noticed I stopped “pushing” my mic during intense moments in ranked games, which reduced plosives and mic distortion.
Third, sidetone helps during long calls. I take 2-3 hour Zoom meetings most days, and without sidetone I tend to creep up in volume over time. With sidetone on, I keep my voice at a consistent level, which means less vocal fatigue by the end of the day. If you struggle with sore throats after long voice chats, sidetone is genuinely useful.
The biggest downside is echo for other people on the call. If your sidetone is too loud, it can bleed into your mic and create the dreaded feedback loop. We will cover exactly how to set the right level later in this guide.
How to Enable Mic Monitoring (Sidetone) on Windows 10 and 11
The native Windows method works for any USB headset or audio interface. It uses the “Listen to this device” toggle hidden inside the Sound Control Panel. I tested this on a HyperX Cloud II, a SteelSeries Arctis Nova 7, and a Blue Yeti, and it worked on all three.
Method 1: Using the Sound Control Panel (works on Windows 10 and 11)
This is the classic method that has been in Windows for over a decade. It works on every version of Windows from 7 onward.
- Right-click the speaker icon in your system tray and select “Sound settings” (Windows 11) or “Playback devices” (Windows 10).
- In Windows 11, scroll down and click “More sound settings” to open the legacy Sound Control Panel. In Windows 10, you are already there.
- Switch to the “Recording” tab.
- Right-click your active microphone and choose “Properties”.
- Go to the “Listen” tab.
- Check the box labeled “Listen to this device”.
- Open the dropdown under “Playback through this device” and select your headset’s output.
- Click Apply, then OK.
- Speak into your mic. You should hear your own voice through the headset.
If the Listen tab is missing or greyed out, you are likely on a corporate-locked machine, or your audio driver is blocking the feature. Skip to the troubleshooting section below for fixes.
Method 2: Using Windows 11 Settings App
Windows 11 has a faster route, but it only lets you toggle sidetone on or off without picking a level.
- Press Windows + I to open Settings.
- Go to System, then Sound.
- Scroll to the Input section and click on your microphone.
- Look for an “Input monitoring” or “Listen to microphone” toggle.
- Switch it on.
This option only appears on certain Realtek and Intel audio drivers. If you do not see it, fall back to Method 1.
How to Adjust Sidetone Level in Windows
Windows does not include a sidetone volume slider in the Sound Control Panel. To control the level, you have three options: use your headset’s hardware volume buttons, open the manufacturer’s companion app, or install a third-party tool like VoiceMeeter. Most USB gaming headsets have a physical mic monitoring wheel on the inline remote or earcup. Turn that down to 30-50% for a natural level, in my experience.
Platform-Specific Setup: Discord, Xbox, Mac, and Linux
Here is where the confusion usually starts. Discord itself does not have a sidetone feature. It is purely a chat client that passes audio between your system and other users. That means your sidetone settings live at the operating system or hardware level, not inside Discord.
How to Get Sidetone Working in Discord
Since Discord has no native sidetone, you need to enable it at the Windows or macOS level using the steps above. Once sidetone is on system-wide, it will work in Discord automatically because Discord uses your default system audio devices.
If you enable Windows sidetone and still cannot hear yourself in Discord, check Discord’s voice settings. Go to User Settings, Voice & Video, and confirm your Input Device matches the mic you enabled sidetone on. I have seen users enable sidetone on their webcam mic while Discord was set to a separate USB mic, which is why nothing seemed to work.
How to Enable Mic Monitoring on Xbox Series X and Xbox One
Xbox has a built-in mic monitoring slider that works with most wired and wireless headsets. The exact path depends on your Xbox firmware version.
- Press the Xbox button to open the guide.
- Go to Profile & System, then Settings, then General, then Volume & Audio Output.
- Select Mic Monitoring (or “Headset mic monitoring” on older systems).
- Drag the slider up or down to taste. Most users land between 2 and 5 out of 10.
On the Xbox Guide quick menu, you can also press the three-line button while in a party to access a faster mic monitoring slider. This is handy for mid-match adjustments.
How to Enable Sidetone on macOS
macOS has had a hidden sidetone toggle since Big Sur, but it lives in a system utility rather than the main Settings app. The easiest way to get there is to install a free tool called “Background Music” or to use the built-in Audio MIDI Setup app.
- Open the Audio MIDI Setup app (search for it in Spotlight).
- Select your USB or built-in audio device.
- Look for a “Thru” or “Pass-Thru” option and enable it.
- Adjust the Thru level to around 30-50%.
For most Mac users, the simplest path is to use your headset’s companion app. AirPods users, for example, can enable Conversation Awareness and Adaptive Audio, which gives a similar effect by ducking audio while you speak. The actual native “hear your own voice” feature is buried in developer menus and is not worth the hassle for most people.
Sidetone on Linux (PulseAudio and PipeWire)
Linux users running PipeWire or PulseAudio can enable sidetone through module-loopback. Open a terminal and run:
pactl load-module module-loopback latency_msec=20 source=alsa_input.usb-mic sink=alsa_output.usb-headphones
Replace the source and sink names with your actual device names from pactl list sources and pactl list sinks. To make it stick across reboots, add the command to your ~/.config/pulse/default.pa or the equivalent PipeWire config file.
Manufacturer Companion Apps: Razer Synapse, SteelSeries GG, and HyperX NGENUITY
Most gaming headset brands bundle a sidetone slider inside their companion app. These usually offer finer control than Windows, including per-millisecond latency tweaks and a percentage-based level slider.
In Razer Synapse (for Razer BlackShark, Kraken, and Barracuda headsets), open your headset, go to Audio, then Mixer, and you will see a “Mic Monitoring” slider. Razer Synapse 4 had a rough launch in late 2024 that broke sidetone for many users, but the patches released in early 2026 fixed the issue.
In SteelSeries GG (for Arctis Nova and older Arctis headsets), open Engine, select your headset, and look for “Sidetone” under the audio settings. SteelSeries lets you dial it from 0 to 3, which maps to off, low, medium, and high.
In HyperX NGENUITY, open your Cloud II or Cloud III, then go to the microphone section. HyperX calls it “Mic Monitoring” and gives you a 0-100 percentage slider. Most HyperX users settle around 30-40%.
Third-Party Software: VoiceMeeter and Virtual Audio Cable
If your headset does not support native sidetone (common with the Antlion ModMic Wireless, V-Moda BoomPro, and most audiophile-grade standalone mics), VoiceMeeter Banana is the gold standard workaround. It is donationware, runs on Windows 7 through 11, and gives you per-channel control over every audio source on your system.
To set up sidetone in VoiceMeeter, install it, restart your computer, then assign your physical mic to Hardware Input 1 and your headset to Hardware Output A1. Right-click the input channel, select “Self Listen”, and dial in the level. VoiceMeeter also handles echo cancellation, so you can run sidetone at higher volumes without creating feedback for the people on the other end of your call.
Virtual Audio Cable is a paid alternative (around $50 for the standard license) that does the same thing with a cleaner interface. Most users do not need it, but if you already own it for streaming or podcasting, the routing options are excellent.
Troubleshooting: Why Is My Mic Monitoring Not Working?
Here are the most common issues I have seen across the major forums, and exactly how to fix each one.
Sidetone Works in My Headset App but Not in Games or Discord
This is the most reported issue on Reddit. The cause is almost always that the manufacturer app is using a virtual audio device for sidetone, but your game or chat app is using a different mic. Open the manufacturer app and check whether it has a “global sidetone” option that affects all audio paths. If not, enable Windows-level sidetone using Method 1 above so it works everywhere.
Echo or Feedback Loop on Calls
If other people on your call hear themselves echo back, your sidetone is bleeding into your mic. Lower the sidetone level to 30% or less, and move the mic slightly farther from your mouth. If you are using a condenser mic in a quiet room, switch to a cardioid pickup pattern or enable noise suppression in your chat app.
Sidetone Sounds Delayed or Robotic
You are almost certainly on a wireless connection with a high-latency codec. Sidetone latency above 80 ms starts to sound unnatural. If your headset supports aptX Low Latency, enable it in the manufacturer’s app. If not, plug in the 3.5mm cable as a wired backup for serious calls.
Mic Monitoring Slider Greyed Out on Xbox
The Xbox mic monitoring slider is greyed out when the system cannot detect a working mic. Unplug your headset, plug it back in, and check that the mic mute light is off. If you are using a headset attached to a controller, try a different controller or a wired connection to rule out a failing controller port.
Listen Tab Is Missing in Windows
The Listen tab disappears if your audio driver does not support it. Realtek and Intel drivers almost always include it. If yours does not, install the latest driver from your laptop or motherboard manufacturer. As a fallback, use VoiceMeeter as described above.
What Is the Best Sidetone Level for Gaming and Calls?
From my testing, the sweet spot for most people is 30-50% of the maximum sidetone level. At that range, you can clearly hear yourself without it feeling like a separate audio stream. Above 70%, sidetone starts to sound unnatural and creates echo for other people. Below 20%, it is barely noticeable and does not provide the volume-cue benefit.
If you use a noise-canceling boom mic (like the ones on HyperX Cloud III or SteelSeries Arctis Nova Pro), you can push sidetone a bit higher because the directional pickup rejects more ambient sound. For omnidirectional lavalier or lapel mics, keep sidetone below 30% to avoid feedback.
Final Thoughts: Is Mic Monitoring Worth It?
After a month of daily use, I leave sidetone enabled on every headset I own. The biggest win is reduced vocal fatigue on long calls, followed by noticeably clearer comms in team games. The setup takes about five minutes per platform, and once it is on, you stop noticing it and just talk at a natural volume.
If you have never tried sidetone, the native Windows method is the fastest way to test it. Enable “Listen to this device”, set the level to 40%, and run a 10-minute call. If you find it distracting, dial it back. If you find it useful, you will never go back to the silent void of closed-back headsets again.
For more tips on dialing in your audio setup, browse our other guides on headset comfort, microphone positioning, and noise suppression settings. Once you have sidetone working, the next step is usually tweaking your mic gain and noise gate for a clean broadcast-quality signal.
FAQs
Is sidetone the same as mic monitoring?
Yes. Sidetone and mic monitoring are two names for the same feature: routing your microphone audio back into your headset speakers so you can hear your own voice while talking.
How do I make it so I can hear myself through my mic?
On Windows 10 or 11, right-click the speaker icon, open Sound settings, go to the Recording tab, open your microphone’s Properties, switch to the Listen tab, and check u0022Listen to this deviceu0022. Speak into your mic and you should hear yourself in the headset.
Is it better to have mic monitoring on or off?
For most people, mic monitoring on is better. It prevents shouting, reduces vocal fatigue on long calls, and makes voice chat feel more natural. Turn it off if you are getting echo complaints from other people on the call.
Why is my mic monitoring not working in Discord?
Discord has no native mic monitoring feature. You need to enable sidetone at the Windows or macOS level, and Discord will pick it up automatically because it uses your system’s default audio devices. Check that Discord’s input device matches the mic you enabled sidetone on.
What is the best sidetone level?
Most users land between 30% and 50% of the maximum level. Above 70% sounds unnatural and causes echo for other people. Below 20% is barely noticeable and does not help with volume control.
Why is my Xbox mic monitoring slider greyed out?
The slider is greyed out when Xbox cannot detect a working microphone. Unplug the headset, plug it back in, confirm the mic is not muted, and try a different controller or wired connection if the issue persists.