
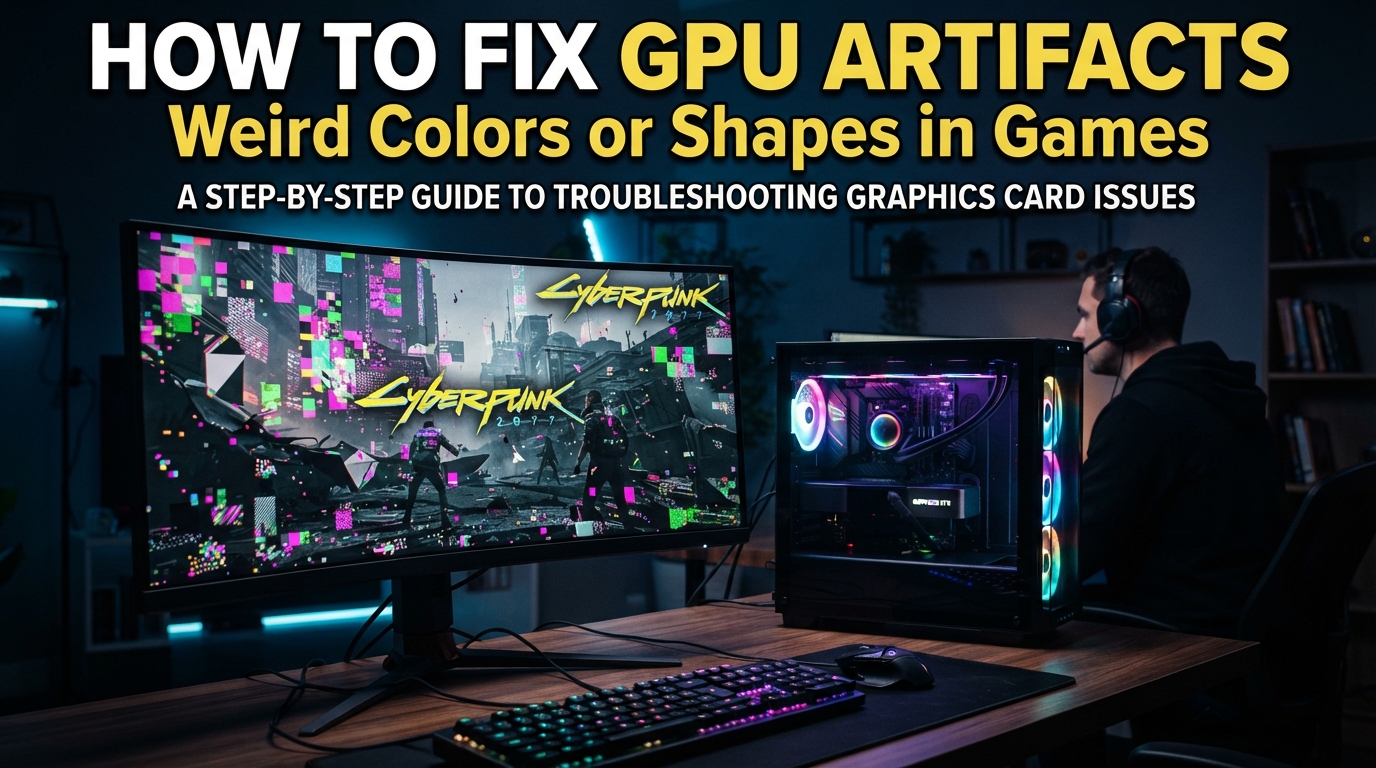
GPU artifacting is when you see visual anomalies on screen like colored lines, dots, pixelation, flashes, or strange shapes during gaming, caused by your graphics card not rendering images correctly. I’ve dealt with this on three different builds over the years, and most of the time you can fix it without buying new hardware.
You’re reading this because something is going wrong on your screen, and you need clear answers. In this guide, I’ll walk you through what GPU artifacting actually is, the most common causes, a step-by-step fix process (starting with the easiest software fixes), and how to know when your GPU is actually dying. Everything is based on what has worked for me and what I see recommended on forums like r/pcmasterrace and r/buildapc.
By the end, you should know exactly what to try first, what to try second, and when to stop troubleshooting and start shopping for a replacement.
Table of Contents
What Is GPU Artifacting?
GPU artifacting is the appearance of visual glitches on your screen that are caused by errors in how your graphics card processes and outputs images. These glitches show up as random colored pixels, flickering textures, screen tearing that won’t go away, black squares, strange geometric shapes, or sections of geometry that look scrambled.
The artifacts look different depending on what’s causing them. Driver-related artifacts often appear as colorful pixel clusters or strange lines that change every second. Heat-related artifacts tend to look like repeating patterns of corrupted geometry. VRAM failures often show as colored blocks that cover parts of the screen and don’t move with the camera. Power-related artifacts flicker in and out as your GPU draws more or less power.
It helps to know what GPU artifacting is NOT. Screen tearing from V-Sync being off is a horizontal line that splits the image, not random pixel corruption. Game bugs are reproducible in the same spot with the same camera angle. Driver crashes usually blank the screen briefly and recover. Real GPU artifacts appear randomly, in different places, and don’t follow game logic.
Common Causes of GPU Artifacting
After helping friends debug this on at least a dozen systems, I can tell you the most common causes fall into four buckets: software, heat, power, and hardware failure.
Software Causes
Outdated or corrupt graphics drivers are the single most common reason for GPU artifacting. A bad driver update can introduce rendering errors that look exactly like hardware failure. AMD users on Reddit report this more often than NVIDIA users, but it happens on both.
Game-specific bugs in DLSS, FSR, or XeSS upscaling can create artifacts that only show in certain titles. Overclocking software like MSI Afterburner with an unstable overclock is another frequent cause. Even undervolting with an aggressive curve can sometimes cause artifacts if the voltage is too low for stable operation.
Heat and Thermal Issues
GPUs throttle performance when they get too hot, but before throttling they often produce artifacts. A healthy GPU under load should run between 60-85°C depending on the model. Once you cross 90°C consistently, you’re in danger territory and will likely see heat-related artifacts.
Causes of overheating include dust-clogged fans, dried-out thermal paste (usually after 3-5 years), poor case airflow, and a failing fan or pump on liquid-cooled cards. I once fixed a “dying” GPU by just cleaning out a thick dust bunny that was choking the fans.
Power Supply Problems
If your power supply unit (PSU) is underpowered, dying, or has loose cables, your GPU may not get clean power. This causes random artifacts that come and go based on load. The official wattage recommendation for your GPU exists for a reason, and going under it almost always causes stability issues.
Loose PCIe power connectors are a sneaky cause. The 6-pin or 8-pin cable going to your GPU should be firmly seated, and using separate cables from your PSU (rather than daisy-chained connectors) is more reliable.
Hardware Failure
Sometimes a GPU component is just dying. VRAM chips can fail, the GPU core can degrade, and solder joints can crack from thermal cycling. This is more common in older cards and cards that have been overclocked heavily for years.
Physical damage from drops, shipping issues, or capacitor failures also falls in this category. If your GPU was working fine and then took a hit, the connection is usually obvious.
Is It a GPU Artifact or a Game Bug?
This is the question that trips up most people, and no major competitor article actually answers it well. Here’s how I tell the difference.
If you see the same exact glitch in the same exact location every time you load the same save, that’s almost always a game bug, not your GPU. Game bugs follow the game’s logic. GPU artifacts show up randomly, in different places, regardless of where you are or what you’re doing.
Switch to a different game or application. If the artifacts appear in a different program too (like on your desktop, in a benchmark, or in a different game), the problem is your GPU or drivers. If the artifacts only happen in one specific game, try lowering the graphics settings or disabling DLSS/FSR/XeSS first. If they go away, it was a game-specific issue, not your hardware.
Run a stress test like FurMark or 3DMark. If artifacts appear within minutes of a stress test but not in normal use, you’re dealing with a thermal or power delivery problem. If no artifacts appear during a 30-minute stress test, your GPU is probably fine and the issue is software-related.
How to Fix GPU Artifacts: Step-by-Step
Work through these fixes in order, starting with the easiest. Most people solve their issue within the first three steps.
Step 1: Update or Roll Back Your Graphics Drivers
Download the latest driver from the official AMD, NVIDIA, or Intel website. Don’t use third-party driver updaters. Run a clean install, which removes the old driver completely before installing the new one. This alone fixes about 40% of artifacting issues I see reported.
If the artifacts started right after a driver update, roll back to the previous version instead. Both AMD and NVIDIA allow you to install older drivers through their websites. The community often tracks stable driver versions in subreddit sidebars.
Step 2: Check Your GPU Temperature
Download HWMonitor, HWiNFO, or GPU-Z to check your actual GPU temperature. Play a demanding game for 15 minutes and watch the temperature. If it crosses 90°C, you have a cooling problem.
Clean out dust from your GPU fans and heatsink using compressed air. Make sure your case has good airflow with intake fans in front and exhaust fans in back. If temperatures are still high after cleaning, your thermal paste may need replacing, especially on a card more than 4 years old.
Step 3: Reset Overclocks and Unstable Settings
Open MSI Afterburner (or whatever tool you use) and click the reset button to restore default clock speeds and voltages. If artifacts disappear, your overclock was unstable. Reapply a more conservative overclock or leave the card at stock.
If you’ve undervolted with a custom voltage curve, reset it to default as well. An aggressive undervolt can cause artifacts when the GPU can’t maintain stable clocks at low voltage under sudden load spikes.
Step 4: Lower Your In-Game Graphics Settings
Drop texture quality to medium or high (instead of ultra). High-resolution textures require more VRAM and can expose failing VRAM chips. Reduce shadow quality, reflection quality, and anti-aliasing. These settings are the most VRAM-hungry and stress the GPU the most.
If artifacts stop after lowering settings, your GPU is struggling with the load. Either the hardware is starting to fail, or your PSU can’t deliver enough power at peak demand.
Step 5: Check Power Supply and Cables
Verify your PSU meets the recommended wattage for your GPU with at least 100W of headroom. If it’s borderline or under-spec, borrow a higher-wattage PSU to test. Reseat the PCIe power cables going to your GPU, and use separate cables from the PSU rather than daisy-chained connectors on one cable.
Try a different power outlet or surge protector. Power quality from a faulty outlet or strip can cause weird electrical behavior that shows up as GPU artifacts.
Step 6: Test with a Different Cable and Monitor
A damaged DisplayPort or HDMI cable can cause artifacts that look like GPU problems. Swap in a known-good cable and see if the issue goes away. Try a different monitor too, just to rule it out.
If the artifacts only appear at high refresh rates or specific resolutions, you may have a bandwidth limitation on your cable or port. Try lowering the resolution or refresh rate as a test.
Step 7: Re-seat or Test in Another System
Remove your GPU and re-seat it firmly in the PCIe slot. Dust the slot with compressed air. Make sure the retention clip is fully closed. This reseats the connection and can resolve artifacts from a slightly loose card.
If you have access to another computer, install your GPU there and test. If the artifacts follow the card to a different system, the GPU is the problem. If the artifacts stay with the original system, the issue is the motherboard, PSU, or another component.
Step 8: Advanced Fix – Try Undervolting
If the artifacts only appear under sustained heavy load, a slightly reduced voltage can help by keeping temperatures lower and the GPU more stable. Use MSI Afterburner’s voltage/frequency curve editor to drop the voltage by 50-100mV across all clock speeds.
Test with your stress tool of choice. If it’s stable for 30+ minutes with no artifacts, you’ve found a workable undervolt that runs cooler and quieter. If artifacts appear at the undervolt, raise the voltage back toward stock until stable.
When to Replace or RMA Your GPU
If you’ve worked through all the software fixes and the artifacts still appear, especially during stress tests in a different system, your GPU is likely dying. Other signs include artifacts at idle or on the desktop, frequent driver crashes, display output cutting out, and visible damage to the card.
Check your warranty status. Most GPUs have 3-year warranties, and EVGA, ASUS, MSI, and Gigabyte all have RMA processes. If your card is still under warranty, an RMA is free and gets you a working card back or a replacement.
Outside of warranty, weigh the cost of replacement against the cost of a new GPU. If your card is more than 5 years old, replacement usually makes more sense than repair. If it’s a high-end card less than 2 years old, third-party repair shops can sometimes reflow solder or replace VRAM chips for less than a new card costs.
Prevention Tips
Keep your drivers updated, but don’t install every new driver the day it releases. Wait a week and check forums for reports of issues. Clean your GPU fans every 6 months to prevent dust buildup. Monitor your temperatures occasionally with HWiNFO so you know your baseline.
Avoid aggressive overclocks unless you have time to stress test for stability. Use a quality PSU with at least 100W of headroom over your GPU’s recommendation. Good airflow in your case is the single best long-term protection against heat-related GPU failure.
Frequently Asked Questions
Is it possible to fix an artifacting GPU?
Yes, in many cases you can fix an artifacting GPU. Software issues like outdated or corrupt drivers are the most common cause and are easily fixed with a clean driver install or rollback. Hardware causes like overheating can be fixed by cleaning dust, replacing thermal paste, or improving case airflow. True hardware failure requires replacement or RMA.
How to get rid of artifacting in games?
Start by updating or rolling back your graphics drivers, then check your GPU temperature under load and clean out dust. Reset any overclocks or undervolts, lower your in-game graphics settings, reseat the PCIe power cables, and test with a different cable or monitor. If artifacts persist across multiple games and stress tests, the GPU is likely failing and needs replacement.
Why does my GPU keep artifacting?
GPU artifacting usually returns when the root cause is not fixed. Common ongoing causes include: a driver version with a known bug (wait for the next release), overheating from dust or poor thermal paste (clean and repaste), a dying VRAM chip (replacement needed), an underpowered or failing PSU (upgrade PSU), or an unstable overclock (reset to stock).
Is artifacting permanent?
Not always. Artifacts caused by software issues (drivers, unstable overclocks) or thermal issues (dust, dried thermal paste) are temporary and go away once you fix the underlying cause. Artifacts caused by failing hardware (dying VRAM chip, cracked solder joint) are permanent and will get worse over time, eventually requiring GPU replacement.
Final Thoughts on How to Fix GPU Artifacts
Most cases of how to fix GPU artifacts (weird colors or shapes) in games come down to drivers, heat, or power delivery, and the fixes are simpler than you might expect. Start with a clean driver install, check your temperatures, and reset any overclocks before assuming the worst.
If you’ve worked through this whole guide in 2026 and the artifacts still appear across multiple programs and stress tests, your GPU is on its way out. Use the warranty if you have it, and don’t sink money into a 6-year-old card that probably costs more to repair than replace.