
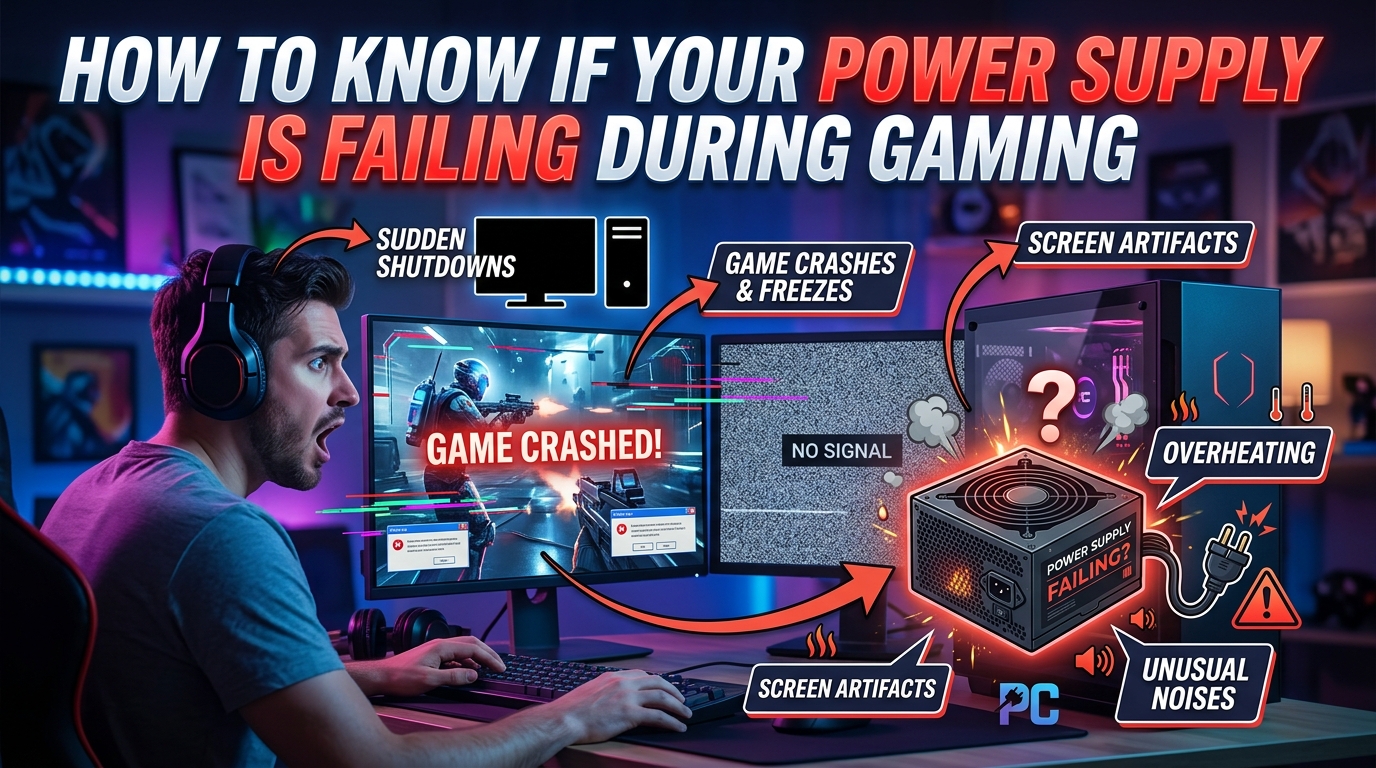
Nothing ruins a ranked match faster than your PC black-screening mid-fight. If your rig reboots the moment a demanding title loads the GPU, your power supply unit (PSU) is the prime suspect. This guide breaks down exactly how to know if your power supply is failing during gaming, with diagnostic steps you can run tonight before spending a dollar on replacement parts.
I have built, troubleshot, and replaced PSUs in more gaming rigs than I can count. The pattern is always the same: symptoms look like a GPU, RAM, or driver problem at first, but the PSU was quietly starving the system the entire time. The faster you spot the real culprit, the more likely you are to save your graphics card, motherboard, and game saves from collateral damage.
Below you will find the seven warning signs that point to a failing PSU under gaming load, plus side-by-side comparisons so you can tell PSU failure apart from GPU and motherboard issues. I also walk through the paperclip test, multimeter testing, HWiNFO voltage monitoring, and a Windows Event Viewer check that surfaces Kernel-Power errors most users never look at. Everything here is free to run except the multimeter, which costs less than a single AAA game.
Table of Contents
Quick Answer: 7 Warning Signs Your PSU Is Failing While Gaming
If you want the short version, here are the seven clearest signs your PSU is the problem during gameplay:
- Random shutdowns or restarts that only happen under heavy gaming load, not at idle.
- Blue screen errors (BSODs) pointing to Kernel-Power, WHEA, or MEMORY_MANAGEMENT codes.
- FPS drops, stuttering, or sudden frame-time spikes when the GPU is pulling peak wattage.
- Coil whine, buzzing, ticking, or clicking sounds coming from the PSU area during gameplay.
- Burning smell, hot plastic odor, or visible swollen capacitors inside the PSU.
- System will not power on at all, or fans twitch once then die when you press the power button.
- Kernel-Power Event ID 41 errors repeating in Windows Event Viewer after every crash.
Match any two of these and you should treat the PSU as the lead suspect until proven otherwise.
Random Shutdowns and Restarts Under Load
Random shutdowns during gaming are the single most common sign of a failing PSU. The pattern is distinctive: the PC runs fine on the desktop, browses the web without issue, then dies within 10 to 30 minutes of launching a heavy title like Cyberpunk 2077, Helldivers 2, or a long session of Starfield.
This happens because gaming pushes your GPU and CPU to their peak wattage draw. A healthy PSU handles the spike without flinching. A failing PSU cannot hold the 12V rail stable under that load, voltage drops below the safe threshold, and protective circuitry (or the motherboard itself) cuts power to avoid damage.
The key clue is timing. If crashes cluster around moments of high load, such as loading into a dense game scene, ray tracing turning on, or a GPU hitting 100% usage in a benchmark, the PSU is far more likely than the GPU. A GPU that is failing on its own tends to artifact, freeze the image, or crash specific games. A PSU failure is abrupt, total, and often silent.
Another tell: the system often restarts on its own after the shutdown. That means the motherboard still works, the CPU still works, but something cut the power. Combined with crashes only under load, that pattern points squarely at the power supply.
BSODs, Freezes, and Game Crashes
Blue screen errors look like they should point you straight at the offending driver or component, but PSU-related BSODs are sneaky. The codes that show up are usually IRQL_NOT_LESS_OR_EQUAL, WHEA_UNCORRECTABLE_ERROR, MEMORY_MANAGEMENT, or KERNEL_SECURITY_CHECK_FAILURE. All four look like RAM or CPU issues, but they can also be triggered by unstable power delivery.
The reason is that undervoltage causes the CPU and RAM to make computational errors at random intervals. The operating system catches the fault and halts with a blue screen. Replacing RAM or reseating the CPU will not fix anything because the underlying cause is voltage ripple, not the modules themselves.
Soft freezes deserve the same suspicion. If your game locks up, the audio stutters into a buzzing loop, and you have to hold the power button down, that is a classic PSU brown-out symptom. The system did not quite crash, but it also cannot recover because the voltage rail sagged and the components lost their state.
To separate PSU-driven crashes from genuine GPU driver crashes, check whether the same game crashes with settings turned down. If lowering the power limit, capping FPS, or underclocking the GPU makes the crashes stop, you have just proved that reduced wattage demand equals stability. That is a PSU problem wearing a GPU costume.
GPU Performance Drops and Stuttering
A failing PSU does not always crash the system. Sometimes it just makes your games run worse. If you notice FPS dropping below your usual baseline in demanding scenes, frame-time spikes that feel like micro-stutters, or GPU clock speeds that throttle unpredictably, the PSU may not be feeding clean enough power to the PCIe connectors.
Modern GPUs are sensitive to voltage ripple on the 12V rail. When ripple increases because capacitors inside the PSU are aging, the GPU’s boost algorithm becomes unstable. You see this as fluctuating core clocks in MSI Afterburner or HWiNFO, even when temperatures are well under control.
Stuttering is a slightly different symptom. If your average FPS looks fine but the 1% lows drop into the teens during explosions, large draw distances, or shader compilation, the GPU may be briefly throttling due to momentary undervoltage. The screen does not crash, but the experience falls apart.
This is one of the most underdiagnosed symptoms because gamers blame everything else first. They reinstall drivers, swap RAM, update the BIOS, and curse the developers for poor optimization. The PSU is rarely on the list. If you have exhausted the usual fixes and the stuttering only happens under heavy GPU load, monitor your 12V rail voltage in HWiNFO. Any reading below 11.40V or above 12.60V under load is a red flag.
Unusual Noises: Coil Whine, Buzzing, Clicking
PSUs make noise, and the type of noise tells you a lot. Coil whine is the high-pitched electrical hum that appears under load. It is annoying but usually harmless, caused by vibration in the inductors as current passes through. New PSUs often develop coil whine that fades after a few weeks of use.
Buzzing is similar but louder, and it tends to point to loose windings or a transformer that is vibrating against its mount. Buzzing alone is not an immediate failure warning, but if it appeared suddenly on a PSU that was previously silent, something has changed internally and you should monitor voltages closely.
Clicking and ticking are different. A PSU that clicks or ticks during gaming is often activating its protection circuit repeatedly, or worse, an internal relay or component is failing. Ticking sounds reported by Reddit users in r/buildapc frequently precede sudden shutdowns within days or weeks. If you hear ticking from inside the PSU case, treat it as a near-term failure warning and stop stressing the unit.
Popping sounds are the worst case. A loud pop followed by silence or a burning smell means a capacitor or MOSFET has failed. Unplug the PC immediately. Do not attempt to power it on again. That PSU is done, and continuing to use it risks taking the motherboard and GPU with it.
To separate PSU coil whine from GPU coil whine, listen for the source. GPU coil whine usually tracks with frame rate and pitch-shifts when FPS changes. PSU coil whine tends to track with total system power draw and stays more constant. A paper towel tube held to your ear works surprisingly well as a stethoscope for isolating the source.
Burning Smell, Visible Damage, and Swollen Capacitors
If you smell hot plastic, ozone, or a faint burning odor near the rear exhaust of your PC, shut down immediately. That smell means insulation or a component inside the PSU is overheating, and the next step is often a visible spark or smoke.
Burning smells are non-negotiable. Replace the PSU before powering the system on again. No diagnostic test is worth the fire risk, and a failing PSU in this state can dump unregulated voltage into your motherboard and GPU, destroying thousands of dollars of hardware in a fraction of a second.
If you are comfortable opening the PC case and the PSU is out of warranty, you can shine a flashlight through the intake grille and look for swollen or leaking capacitors. Capacitors that have failed often bulge at the top or show crusty brown residue around the vents. Visible bulging is a definitive failure sign, although not all failed capacitors bulge, so absence of bulging does not guarantee health.
Also check the modular cable connectors. Discolored or melted plastic on the 24-pin, CPU 8-pin, or PCIe connectors means high resistance at the connection. That resistance generates heat, melts the plastic, and will eventually cause a fire. Replace both the cable and the PSU, and never mix modular cables from different brands.
System Will Not Power On: Is the PSU Dead?
A PC that refuses to turn on at all is the most obvious PSU symptom, but also the most misdiagnosed. Pressing the power button and getting nothing, no fans, no lights, no beeps, often means the PSU has failed completely. A brief fan twitch that dies in half a second is even more diagnostic. That twitch means the PSU tried to start, then its protection circuit kicked in and shut it down.
Before condemning the PSU, check the obvious. Flip the rocker switch on the back of the unit. Try a different wall outlet. Reseat the 24-pin and CPU 8-pin connectors. Test the power button header on the motherboard by jumping it with a screwdriver. If none of that brings the system to life, the PSU is the most likely culprit.
The motherboard is the other prime suspect. The reliable way to separate them is the paperclip test, detailed below. If the PSU fan spins up with the paperclip in place, the PSU can deliver standby power and the motherboard may be at fault. If the PSU fan does not spin, the PSU is dead.
One important note: a PSU that passes the paperclip test is not necessarily healthy. The test only confirms the unit can power on with zero load. A PSU can still fail under gaming load even when it spins up fine on the bench. Treat a pass as “not completely dead,” not as “fully functional.”
How to Know if Your Power Supply Is Failing During Gaming vs GPU vs Motherboard
This is the question Reddit users ask most often, and no top-ranking article currently answers it well. Here is the diagnostic breakdown you actually need.
PSU failure pattern: Crashes happen only under load. The system is stable at idle and on the desktop. Crashes are abrupt, often without warning, and the system may reboot on its own. Event Viewer shows Kernel-Power Event ID 41 errors. Lowering GPU power limit or capping FPS reduces crash frequency.
GPU failure pattern: Visual artifacts appear before the crash, including colored squares, geometry stretching, or textures stretching across the screen. Specific games crash repeatedly while others run fine. Driver timeout errors appear in Windows. Crashes can happen at idle if the GPU VRAM is failing. Lowering settings does not consistently help.
Motherboard failure pattern: POST errors or beep codes on startup. USB devices disconnect randomly. RAM slots stop working, requiring you to move sticks around. System fails to recognize the GPU, NVMe, or other PCIe devices intermittently. Crashes are not tied to gaming load.
RAM failure pattern: BSODs with MEMORY_MANAGEMENT codes. Specific applications crash predictably. System fails MemTest86. Crashes are random and not load-dependent.
If your symptoms match the PSU pattern, swap in a known-good PSU before buying any other component. Borrowing a friend’s PSU for an afternoon is the single most decisive test available, and it is free. If the crashes stop with the replacement PSU, your diagnosis is confirmed.
How to Test Your PSU: Paperclip, Multimeter, and Software
Three diagnostic methods cover every scenario from “completely dead” to “subtly unstable under load.” Use them in order from cheapest to most thorough.
Method 1: The Paperclip Test
The paperclip test confirms whether the PSU can power on at all. It is the first test to run on a PC that will not start.
Step 1: Fully unplug the PC from the wall and disconnect every cable from the PSU to the motherboard, GPU, drives, and fans.
Step 2: Take a standard metal paperclip and bend it into a U-shape. Insert one end into the pin hole for the green PS_ON wire (pin 16) on the 24-pin ATX connector, and the other end into any black ground wire hole (pins 15, 17, or any other black).
Step 3: Plug the PSU into the wall and flip the rocker switch on. If the PSU fan spins up, the unit can deliver basic power. If it does not, the PSU is dead.
Safety note: Never run the paperclip test for more than a few seconds with no load attached. PSUs are not designed to run empty, and extended no-load operation can itself cause damage.
Method 2: Multimeter Voltage Testing
A multimeter gives you actual voltage numbers on each rail. A cheap $15 digital multimeter from any hardware store is sufficient.
Step 1: With the PC fully assembled and running, set the multimeter to DC voltage in the 20V range.
Step 2: Insert the black probe into any black ground wire hole on a spare Molex or SATA power connector. Insert the red probe into the yellow wire hole (12V) and note the reading. A healthy 12V rail reads between 11.76V and 12.24V under load.
Step 3: Move the red probe to the red wire (5V). Healthy reading is 4.90V to 5.10V. Then test the orange wire (3.3V), which should read 3.25V to 3.35V.
Step 4: Launch a game or stress test and watch the 12V reading. Any drop below 11.40V, or any wild fluctuation, indicates failing voltage regulation inside the PSU.
Method 3: Software Voltage Monitoring
HWiNFO64 is the best free tool for software-based monitoring. Download it, launch Sensors-only mode, and find the motherboard voltage readings for +12V, +5V, and +3.3V. Launch your game in windowed mode and watch the values during gameplay.
Software monitoring is less accurate than a multimeter because it reads voltages from the motherboard’s Super I/O chip, which itself can be miscalibrated. Use it as a trend indicator: if the 12V reading drops sharply under load, even if the absolute number looks fine, the PSU is struggling.
OCCT and AIDA64 include built-in power supply stress tests that load all rails simultaneously. Run one for 15 minutes and watch for sudden voltage drops, system restarts, or test failures. A PSU that crashes within the first few minutes of OCCT’s power test is failing under load, no matter how well it runs at idle.
Windows Event Viewer: Finding Kernel-Power Errors
Windows Event Viewer is the most overlooked free diagnostic tool for PSU problems. Every time your PC loses power unexpectedly, Windows logs a Kernel-Power Event ID 41 error. The error says “The system has rebooted without cleanly shutting down first,” and it is the digital fingerprint of a PSU-driven shutdown.
Step 1: Press the Windows key, type Event Viewer, and open the app.
Step 2: In the left sidebar, expand Windows Logs and click System.
Step 3: On the right side, click Filter Current Log. In the Event sources dropdown, select Kernel-Power. Click OK.
Step 4: Look for Event ID 41 entries. Note the timestamps. If they line up with your gaming crashes, the system lost power without a clean shutdown, which is exactly what a failing PSU does.
Also check for Event ID 6008, which logs unexpected shutdowns. A cluster of 6008 and 41 errors on the same timestamps, with no corresponding blue screen Event ID 1001, is a strong PSU signature. If blue screen errors were the cause, you would see BugCheck events instead.
Export the filtered log if you want to share it with a friend or tech support. The pattern is more important than any single entry. Three Kernel-Power 41 errors in a week, all during gaming sessions, is enough evidence to replace the PSU without further testing.
PSU Age, Quality, and Wattage: When to Replace
Even a high-quality PSU does not last forever. The general expectation is 5 to 10 years of reliable service from a reputable unit. Cheap, no-name PSUs found in budget prebuilts often start failing after 2 to 3 years of gaming use, sometimes sooner if the system has been upgraded with a more powerful GPU.
Capacitor aging is the silent killer. Electrolytic capacitors inside the PSU degrade over time and with heat cycling. After 5 years of heavy use, a PSU that was originally rated for 600W of clean power may only deliver 450W with significantly worse ripple. The label has not changed, but the actual capacity has.
If your PSU is over 7 years old, replacement is a proactive move even if you have not seen symptoms. If it is over 10 years old, retire it regardless of how it behaves. The risk to your other components is no longer worth the savings.
Quality matters as much as age. A PSU from Corsair, Seasonic, EVGA, be quiet!, or Super Flower with an 80 Plus Bronze rating or higher and a 5 to 10 year warranty will outlast and outperform a generic unit with double the wattage. PSU tier lists maintained by the Cultists Network are the community-trusted reference for picking a safe unit.
For wattage, use the OuterVision Power Supply Calculator or PCPartPicker to estimate your system’s draw, then add a 20 to 30% buffer. That buffer keeps the PSU in its efficiency sweet spot, leaves headroom for transient spikes from modern GPUs, and extends the unit’s lifespan by not running it at maximum output continuously.
Can a Failing PSU Damage Other Components?
Yes, and this is the question that should motivate you to act on the symptoms in this guide. A failing PSU is not just inconvenient. It can destroy your GPU, motherboard, CPU, RAM, and storage drives in a single event.
The protection mechanisms built into modern PSUs are designed to prevent this. Over-voltage protection (OVP), under-voltage protection (UVP), over-current protection (OCP), short-circuit protection (SCP), and over-power protection (OPP) all exist to cut power before damage propagates. A quality PSU from a reputable brand will almost always trip these protections before anything downstream is harmed.
The danger comes from cheap PSUs that lack some or all of these protections, or from catastrophic failures like a blown MOSFET that bypasses the protection circuit entirely. In those cases, full rail voltage can dump into the 12V line and fry everything connected to it. Reddit is full of stories about a $30 no-name PSU taking out a $700 GPU.
The cost math is simple. A quality 650W to 850W PSU from a reputable brand is roughly the price of a single AAA game. Replacing a GPU and motherboard that a cheap PSU destroyed is the price of a console. When you see symptoms of PSU failure, treat replacement as urgent, not optional.
One more consideration: a failing PSU can also corrupt your game saves and your operating system installation. Sudden power loss while Windows is writing to the SSD can corrupt system files. If you notice Windows failing to boot cleanly after a series of gaming crashes, the PSU may have already done software damage that no hardware replacement will fix.
FAQs
How to tell if a PSU is failing?
A failing PSU shows up as random shutdowns or restarts under gaming load, blue screen errors with Kernel-Power or WHEA codes, FPS drops and stuttering when the GPU hits peak draw, coil whine or ticking noises from the PSU case, and Kernel-Power Event ID 41 errors repeating in Windows Event Viewer. If two or more of these are present, treat the PSU as the prime suspect.
How long does a gaming power supply last?
A quality gaming PSU from a reputable brand typically lasts 5 to 10 years of regular use. Cheap PSUs found in budget prebuilts often start failing after 2 to 3 years, especially after a GPU upgrade. After 7 years, proactive replacement is wise. After 10 years, retire the unit regardless of symptoms.
How to test a gaming power supply?
Start with the paperclip test on the 24-pin ATX connector to confirm the PSU powers on at all. Then use a multimeter on the 12V, 5V, and 3.3V rails while the system runs a game or OCCT power stress test. Healthy 12V under load is between 11.76V and 12.24V. Finally, check Windows Event Viewer for Kernel-Power Event ID 41 errors that match your crashes.
How do I know if my PSU is fried?
A fried PSU either will not power on at all, emits a burning smell or visible smoke, makes a loud popping sound, shows visibly swollen or leaking capacitors, or has melted plastic on the modular cable connectors. If any of these are present, unplug the PC immediately and replace the PSU. Do not attempt to power it on again.
Conclusion
Spotting how to know if your power supply is failing during gaming comes down to pattern recognition. If your crashes cluster under GPU load, if Event Viewer is full of Kernel-Power 41 errors, and if lowering GPU power demand makes the crashes back off, your PSU is the most likely culprit. Run the paperclip test, check rails with a multimeter or HWiNFO, and if a borrowed PSU stops the crashes entirely, buy a replacement from a tier-list-approved brand with at least a 20% wattage buffer over your calculated load. Your GPU, motherboard, and game saves will thank you.