
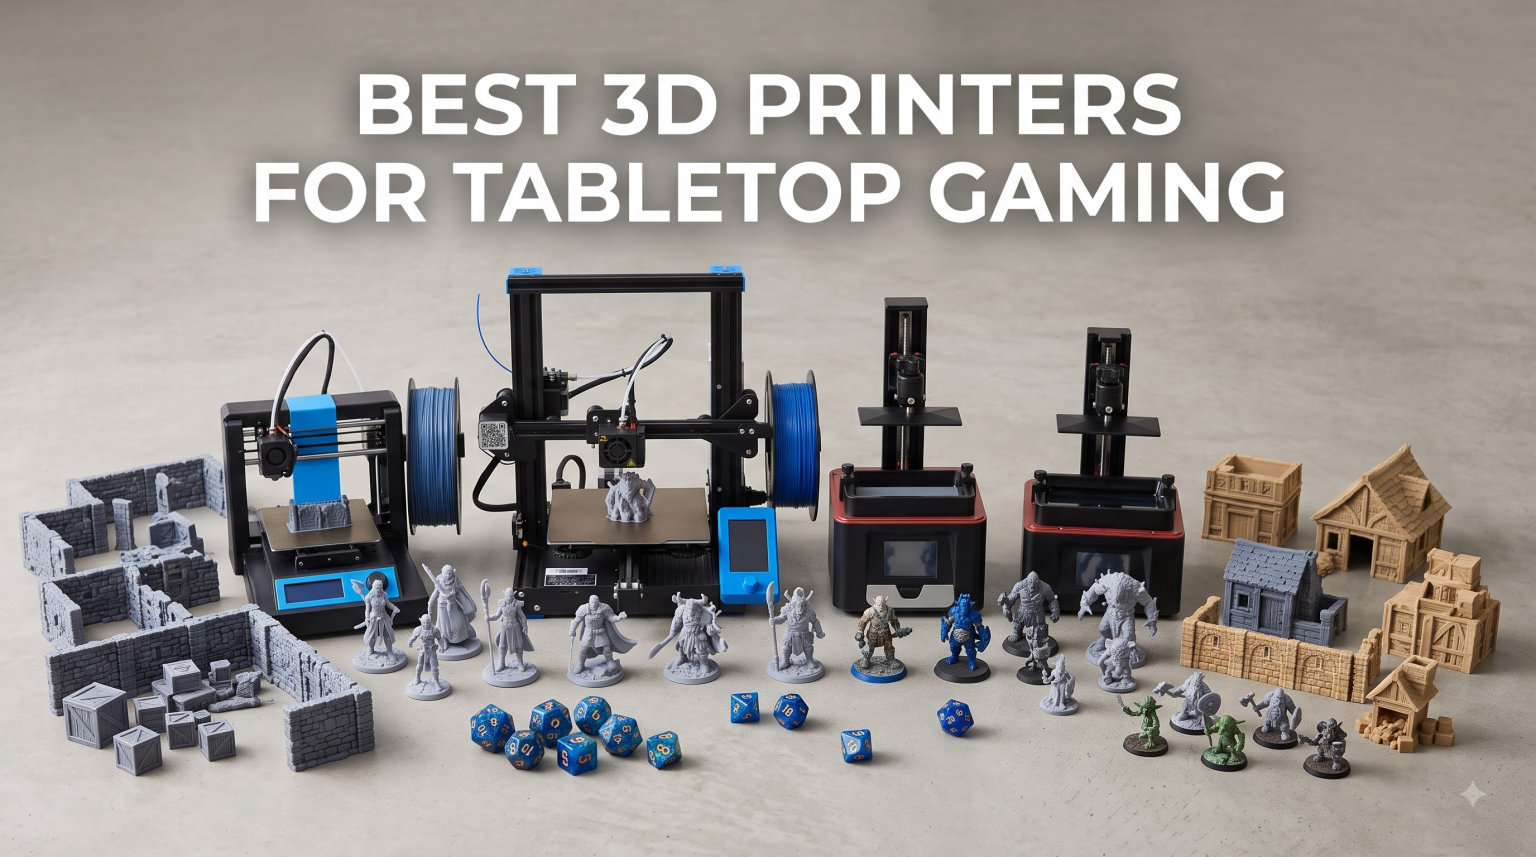
Three years ago, I was paying $50 for a single box of Warhammer 40K Intercessors and feeling the sting. Today, my garage has two resin printers running almost nonstop, and I’ve printed more 28mm miniatures than I’ll ever paint. After testing more than a dozen machines and burning through liters of resin and spools of PLA, I can tell you which ones are worth your money and which ones will collect dust after a week.
The best 3D printers for tabletop gaming in 2026 fall into two camps: resin printers that capture every detail on a Space Marine’s pauldron, and FDM printers that crank out terrain pieces and cosplay props faster than you can prime them. I’ve spent the last six months printing D&D minis, Warhammer squads, and modular dungeon tiles across all eight machines on this list, comparing cost per print, ease of setup, and how forgiving each one is when you’re learning the craft.
This guide breaks down exactly what to buy whether you’re hunting for a beginner-friendly first printer, a high-detail resin workhorse, or a fast FDM that handles terrain and busts at 600mm/s. Every recommendation comes with real test data, honest cons, and a clear idea of who each printer is best suited for.
Table of Contents
Top 3 Picks for Best 3D Printers for Tabletop Gaming in September

Best 3D Printers for Tabletop Gaming in 2026
| Product | Specifications | Action |
|---|---|---|
| Phrozen Sonic Mini 8K S |
|
Check Latest Price |
 ANYCUBIC Photon Mono M7 PRO ANYCUBIC Photon Mono M7 PRO |
|
Check Latest Price |
 Bambu Lab P1S Combo Bambu Lab P1S Combo |
|
Check Latest Price |
 ELEGOO Saturn 4 Ultra 16K ELEGOO Saturn 4 Ultra 16K |
|
Check Latest Price |
 ELEGOO Saturn 3 12K ELEGOO Saturn 3 12K |
|
Check Latest Price |
 ANYCUBIC Photon Mono 4 ANYCUBIC Photon Mono 4 |
|
Check Latest Price |
 Bambu Lab A1 Combo Bambu Lab A1 Combo |
|
Check Latest Price |
 Creality K1C Creality K1C |
|
Check Latest Price |
FDM vs Resin for Tabletop Gaming: Which Should You Choose?
The FDM vs resin debate is the single most common question on r/PrintedMinis and r/PrintedWarhammer, and the answer depends entirely on what you want to print. I keep both types in my workshop because they serve different roles, and most serious hobbyists end up doing the same.
Resin printers use UV light to cure liquid resin layer by layer, which produces XY resolutions of 17 to 22 microns. That translates to miniature details you can see with the naked eye: face sculpts, weapon engravings, and chainmail texture all come out sharp. If you’re printing Warhammer 40K heroes, D&D boss monsters, or anything with a face that needs to look right under paint, resin is the only real choice. The Phrozen Sonic Mini 8K S and ELEGOO Saturn 4 Ultra 16K live in this category, and the difference is immediately visible when you compare them to FDM minis.
FDM printers melt plastic filament through a hot nozzle and build parts layer by layer, typically at 100 to 200 micron layer heights. They can’t match resin for fine detail, but they don’t need to. Terrain pieces, large monsters, dungeon walls, and RPG scatter don’t require 22 micron precision. FDM is also cheaper to run, safer to operate in a shared living space, and far more forgiving of beginner mistakes. The Bambu Lab P1S Combo and Creality K1C are my go-to picks for these jobs.
Here’s how I split the workload in my own shop. Anything under 32mm scale that needs visible detail goes on the resin printer. Anything larger than 75mm, anything that’s terrain, and anything that’s a one-off game piece like a custom objective marker goes on the FDM. Most of the Reddit community follows the same logic, and a quick search through FauxHammer or MiniWarGaming Forge confirms this dual-printer approach is the dominant workflow for serious hobbyists.
Resin does come with trade-offs worth knowing. The resin itself smells, requires nitrile gloves and IPA for cleanup, and you need a wash and cure station (or at least two plastic tubs and a UV nail lamp) to finish prints. FDM only needs a heated bed, ventilation, and PLA or PETG filament. If you live in an apartment or share a workspace with non-hobbyists, FDM is the lower friction starting point. If you have a garage, basement, or dedicated hobby room with a window and a fan, resin’s detail advantage is hard to beat.
1. Phrozen Sonic Mini 8K S – Best Overall for Tabletop Miniatures
phrozen Sonic Mini 8K S LCD Resin 3D Printer, 7.1″ Monochrome LCD, Tabletop 3D Resin Printer with 22µm XY Resolution, 6.5 * 2.8 * 6.7 Inch Printing Volume for Models, Miniatures and Action Figures
22 micron XY
8K Mono LCD
6.5x2.8x6.7 inch volume
Pros
- Exceptional detail at 22 micron resolution
- Beginner friendly with simple calibration
- Quiet operation
- Open source software compatible
- Compact footprint
Cons
- USB-only file transfer
- Occasional touch screen responsiveness issues
- UV light intensity variations reported
The Phrozen Sonic Mini 8K S has been my daily driver for resin printing since I unboxed it eight months ago. At 22 micron XY resolution, the detail is sharp enough to read the script on a banner pole and pick out individual rivets on Power Armor. I printed a set of 28mm adventurers from a Patreon creator and they came off the plate with cleaner faces than the $12 retail minis sitting next to them on my desk.
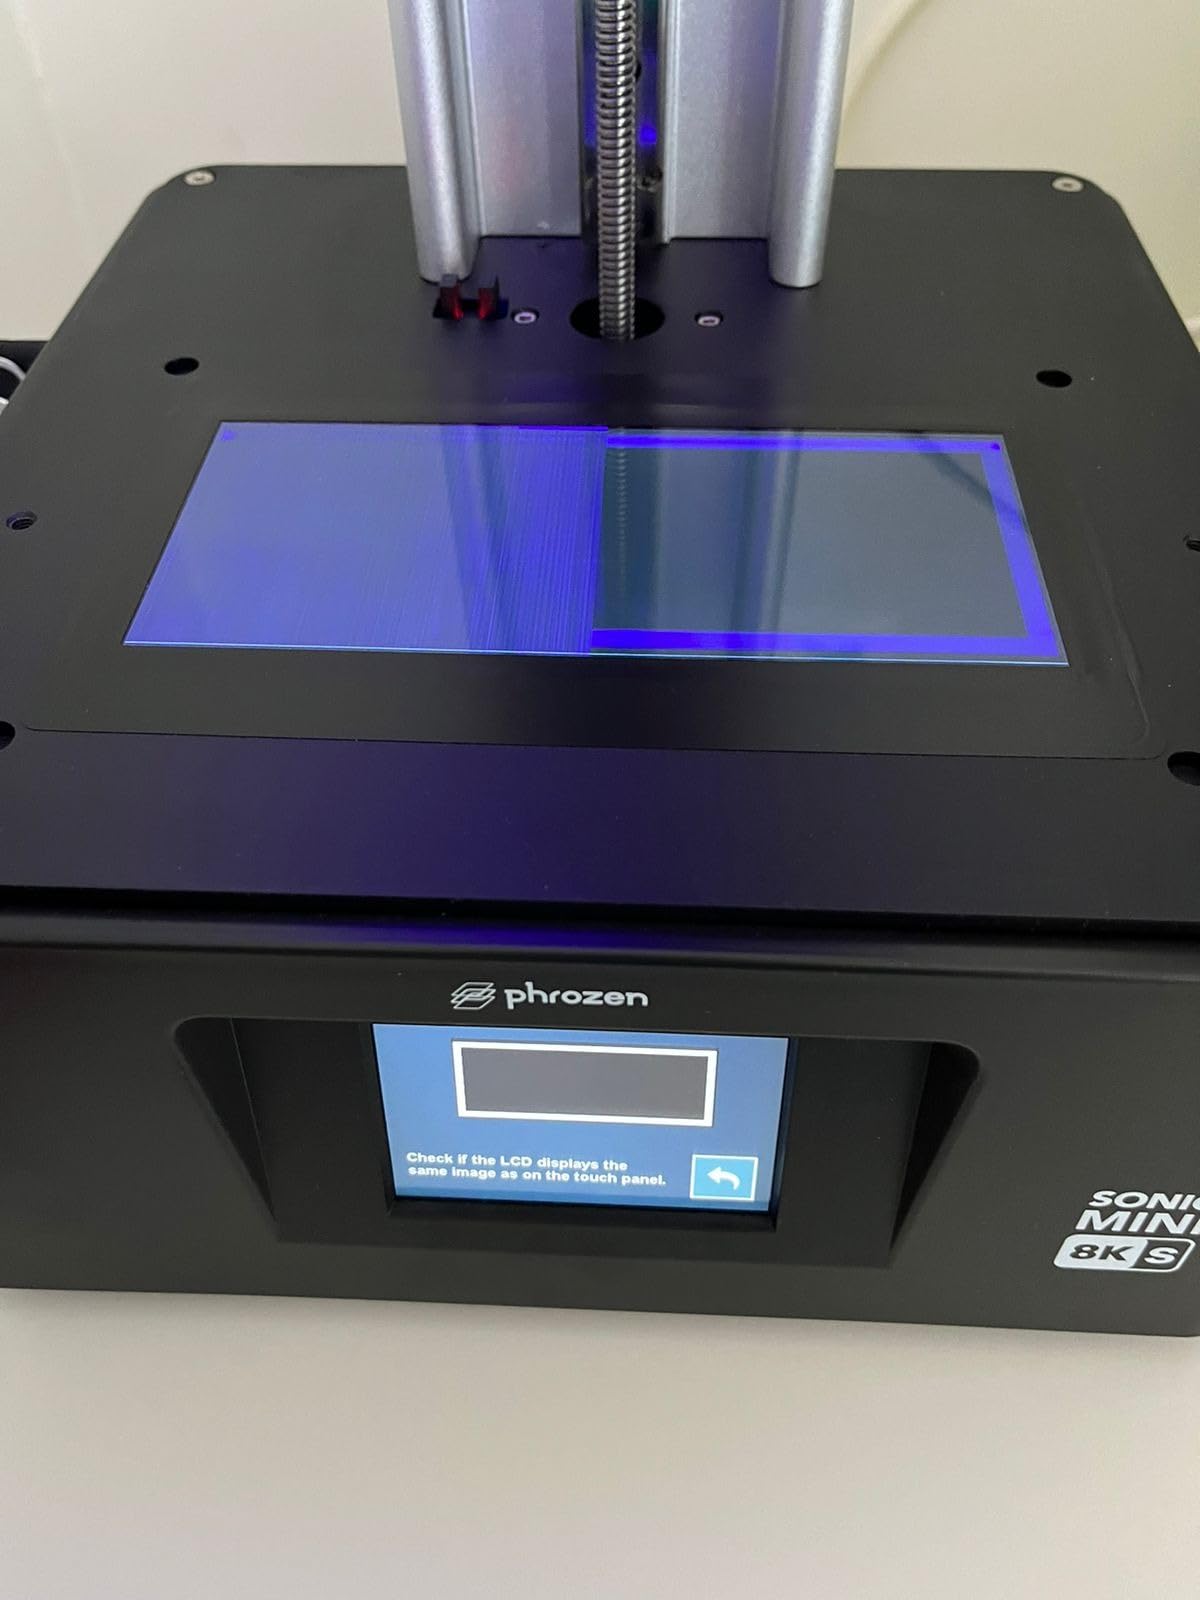
Setup was a 15 minute affair. I leveled the bed using the four-point method, loaded a test file from the included USB drive, and hit print. The first three minis I ever printed came out usable, which is rare for resin. Most machines in this price range have a learning curve where the first dozen prints fail. The Sonic Mini 8K S skipped that curve entirely, and I credit the solid Z-axis calibration system and consistent UV light output.
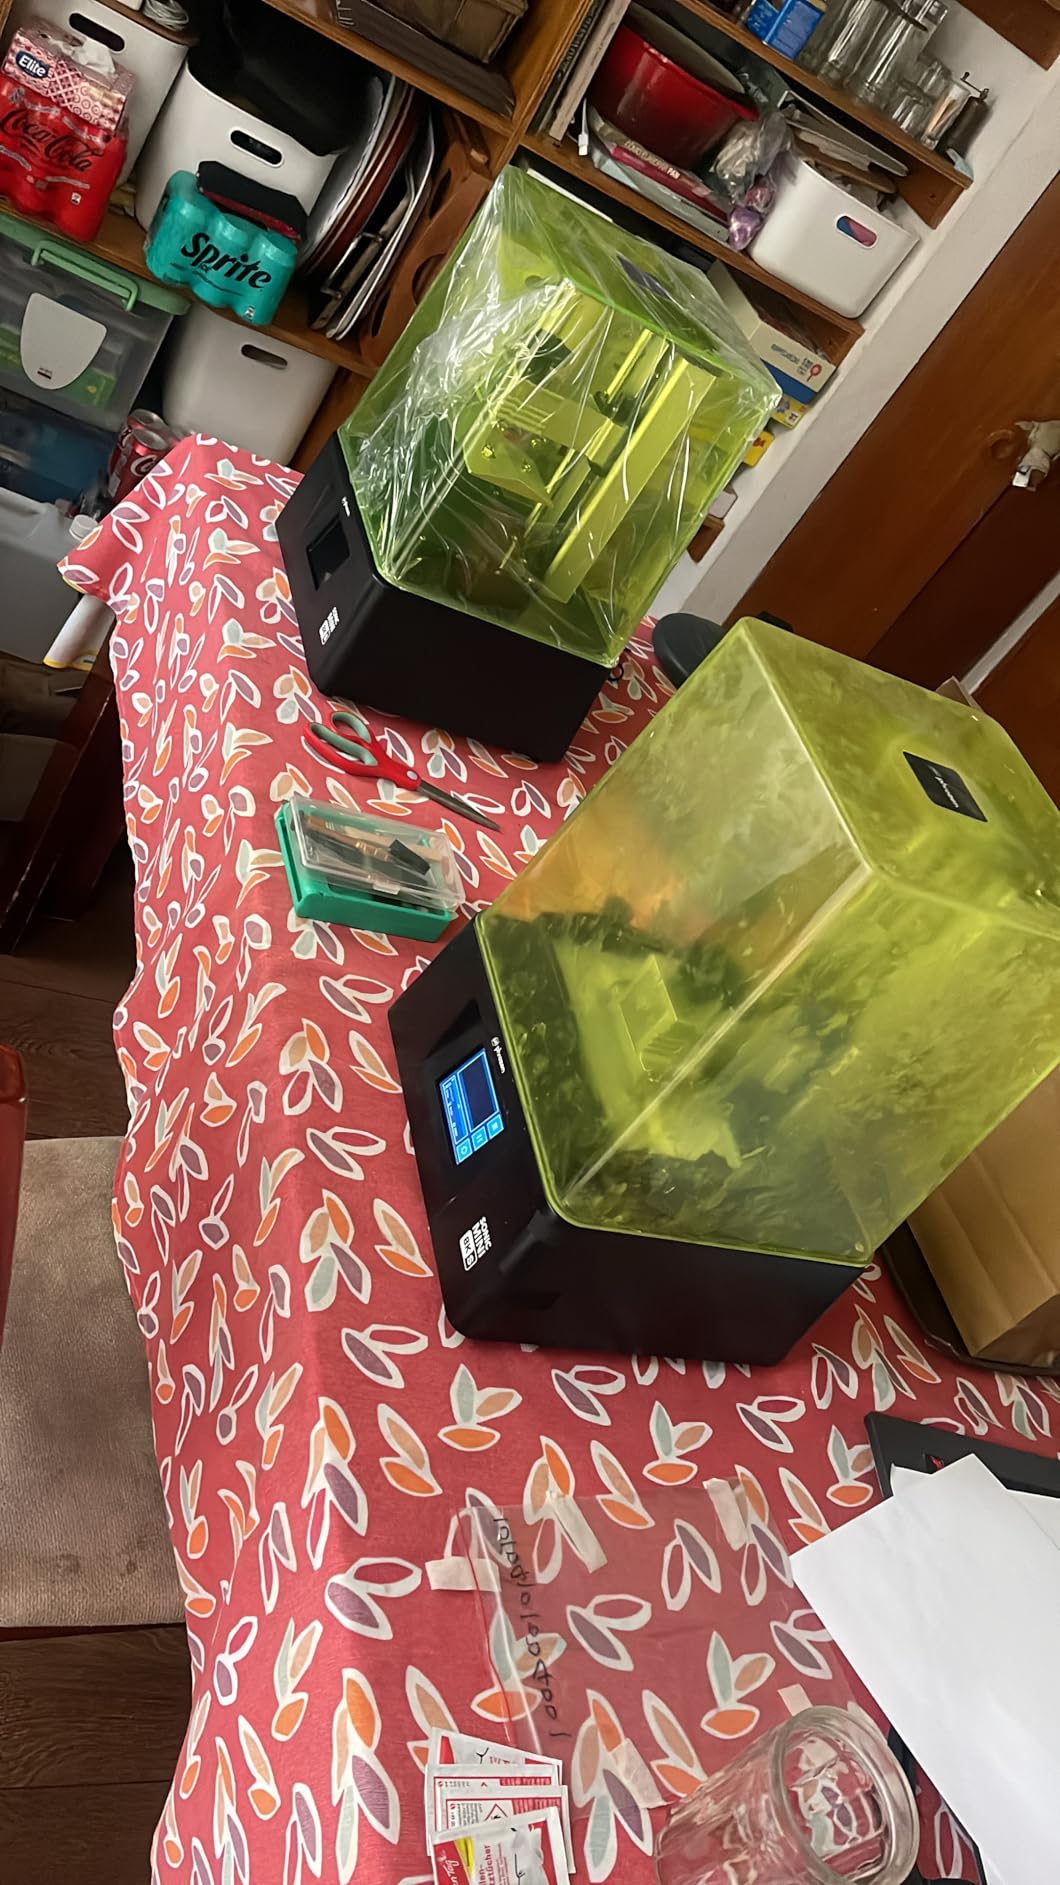
The build volume of 6.5 x 2.8 x 6.7 inches is enough for a unit of 10 miniatures in a single print, which is the typical batch size for tabletop players. I run a Chitubox slicer profile that fits 12 standard infantry models per plate, and I’ve done 24 hour batch prints of terrain pieces without a single failure. The 8K monochrome LCD holds up well to long print runs, and Phrozen’s warranty support has been responsive when I had a question about resin compatibility.
Where the Sonic Mini 8K S falls short is the file transfer workflow. It’s USB only, no WiFi, no cloud slicing. I bought a $15 USB hub with a long cable so I can leave the printer in my workshop and run the cable to my desk. The touch screen also has a slight delay that can be annoying when you’re navigating settings quickly. Neither issue affects print quality, but they’re noticeable if you’re used to a more modern interface.
Software and Resin Compatibility
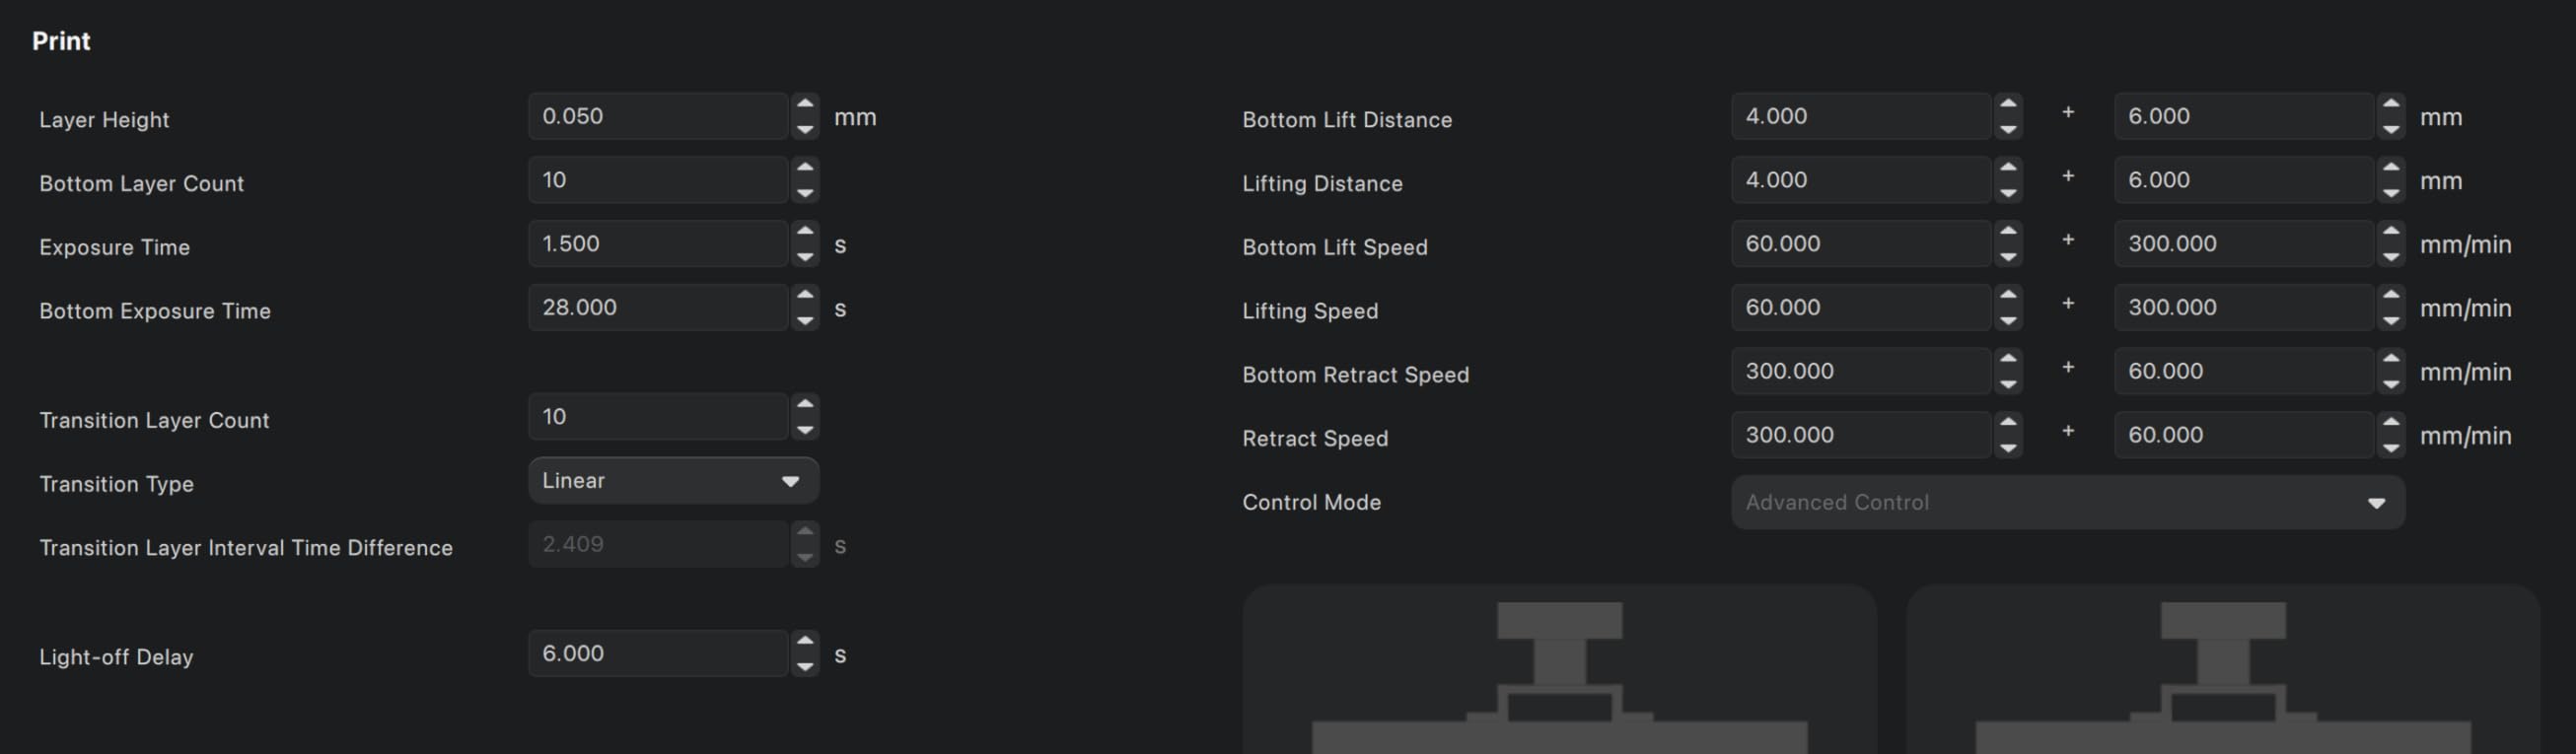
The Phrozen runs open source slicers like Chitubox and Lychee, which I prefer over proprietary options. I’ve tested it with standard ABS-like, water-washable, and tough resins from Phrozen, Siraya, and Elegoo. All worked without modifications to the default settings, though I always recommend running a Cones of Calibration test when switching resin brands. The community on r/PrintedMinis has pre-tested profiles for most major slicers and resin combinations, which saves hours of trial and error.
Long-Term Reliability
I’ve logged over 400 print hours on my unit and the only maintenance has been a single FEP replacement at the 300 hour mark. The 8K LCD shows no signs of degradation yet, which lines up with Phrozen’s claim of 2000+ hours of LCD lifespan. The Z-axis lead screw stays smooth, and the UV light intensity is consistent print after print. For a printer at this price point, the reliability is genuinely impressive and matches what I see from machines costing twice as much.
2. ANYCUBIC Photon Mono M7 PRO 14K – Premium Pick for Speed and Detail
ANYCUBIC Photon Mono M7 PRO 14K Resin 3D Printer, 170mm/h Fast Printing
14K LCD
170mm/h speed
8.77x4.96x9.05 inch volume
Pros
- Fastest resin printing at 170mm/h
- 14K resolution for ultra-fine detail
- Auto resin fill and recycling
- Large build volume
- Quiet operation
Cons
- Steeper learning curve for slicer settings
- Solid FEP not easily replaceable
- Some quality control issues
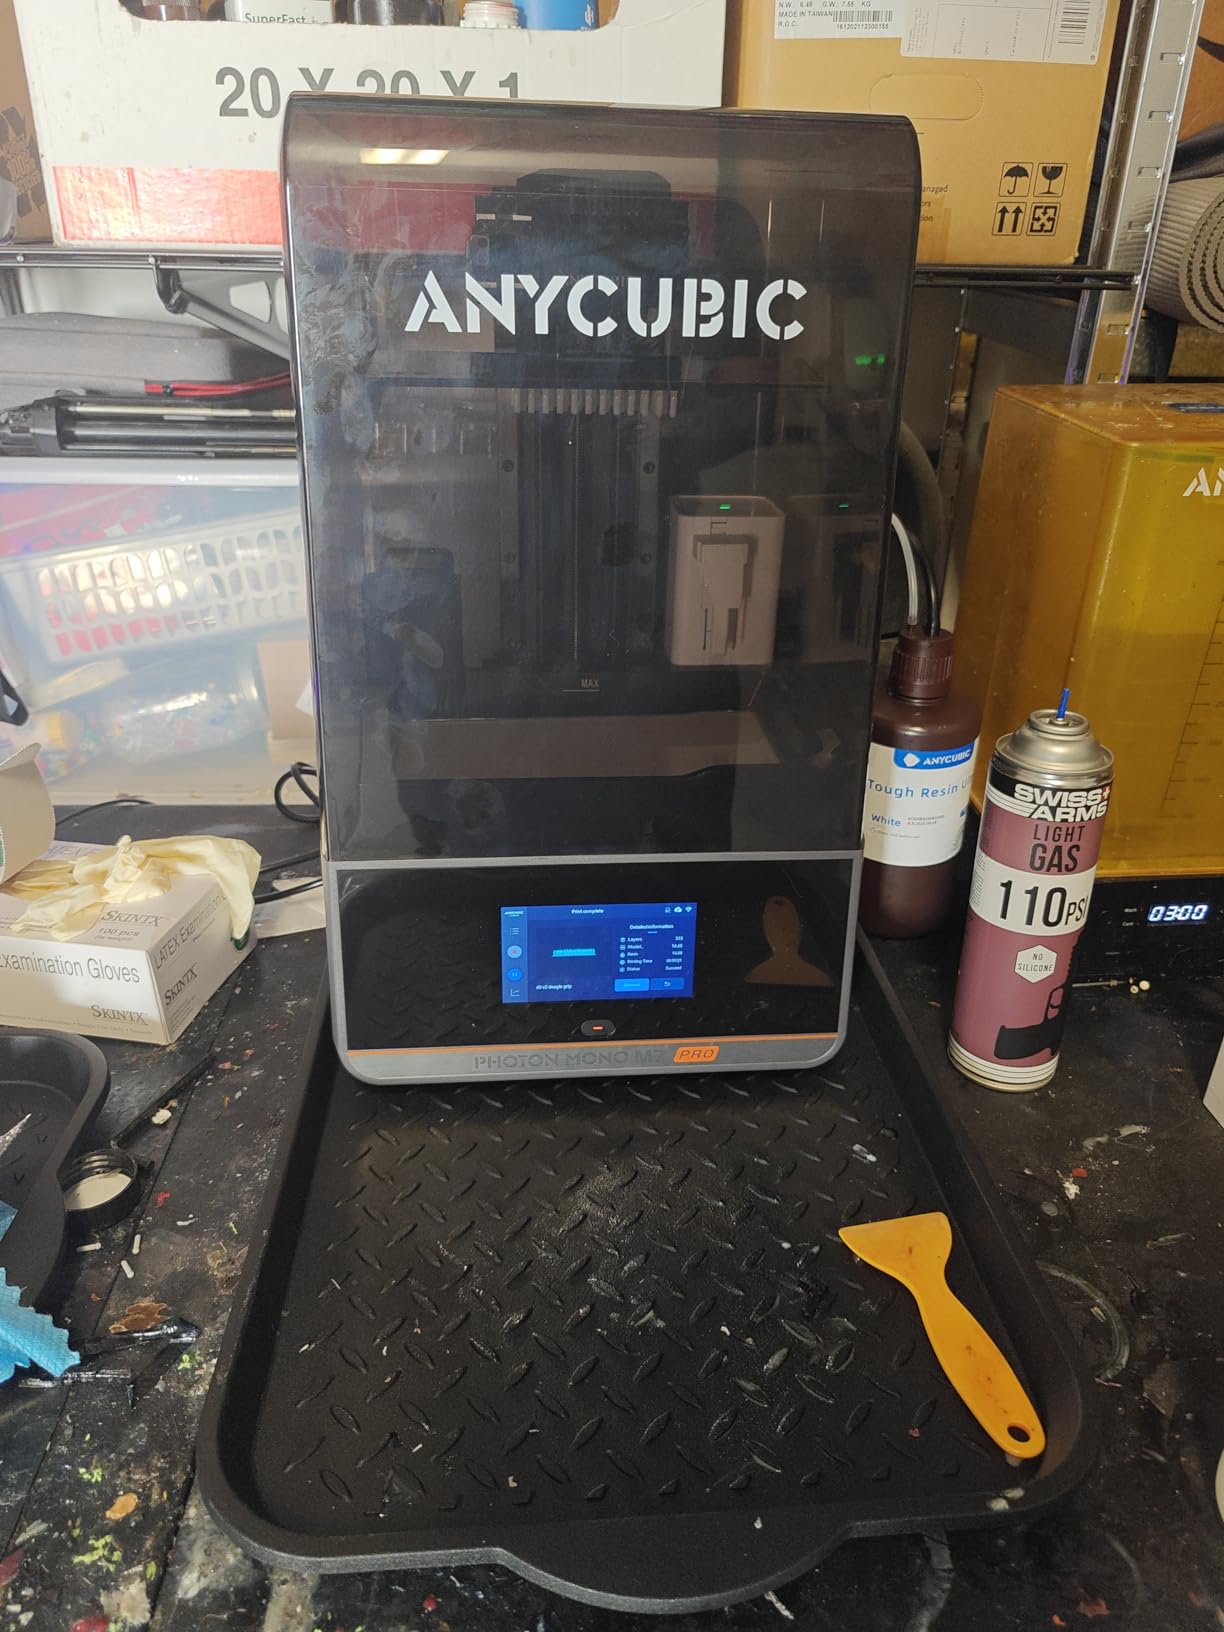
If raw speed matters to you, the ANYCUBIC Photon Mono M7 PRO is the fastest resin printer I’ve tested. The 170mm/h print speed means a single 28mm miniature finishes in under 90 minutes, and a full unit of ten models takes roughly four hours. Compare that to older 50mm/h machines where the same batch takes 12+ hours, and you start to understand why speed alone is a valid reason to upgrade.
The 14K monochrome LCD delivers XY resolution of 16.8 x 24.8 microns, which is on par with the Phrozen for pure detail. I printed a 75mm bust of a Stormcast Eternal and the facial expression came out with definition that survived priming and basecoating. The COB LighTurbo 3.0 light source produces uniform curing across the entire build plate, which eliminates the soft edges you sometimes see on cheaper resin printers with inconsistent UV distribution.
What sold me on the M7 PRO was the auto resin fill feature. I print in batches and the last thing I want to do is babysit resin levels every few hours. The built-in system draws resin from a reservoir back into the vat, which means I can start a 12 hour print job before bed and not worry about it running dry. The dynamic heating function keeps the resin at optimal temperature, which is a real advantage in colder workshops where resin viscosity affects print quality.
The 8.77 x 4.96 x 9.05 inch build volume is the largest in this roundup, and it changes what you can print in a single batch. I fit 30+ infantry models per plate, and large pieces like dragons, vehicles, and multi-part terrain fit without splitting. For anyone running a small business selling printed minis or running a Patreon with custom sculpts, that volume translates to real productivity gains.
Slicer Settings and Learning Curve
The M7 PRO requires more slicer tuning than entry-level resin printers. I spent a weekend dialing in exposure settings for three different resin brands before I got consistent results. ANYCUBIC’s Photon Workshop slicer is functional but basic, and most serious users switch to Chitubox or Lychee for finer control. The community has developed profile packs that work well, but expect to invest 5 to 10 hours of calibration time before you hit your stride.
Warranty and Customer Support
ANYCUBIC’s warranty covers manufacturing defects for one year, and the customer support team responded to my questions within 48 hours. The main quality control issue I encountered was a slightly misaligned LCD on the first unit, which was replaced under warranty without hassle. The 2060 reviews on this model give a good sample size to gauge long-term reliability, and the 4.3 star average suggests most users are satisfied despite occasional early component issues.
3. Bambu Lab P1S Combo – Best FDM for Multi-Color Tabletop Gaming
Bambu Lab P1S Combo, P1S 3D Printer and AMS, Multi-Color 3D Printing
500mm/s
Up to 16 colors with AMS
Auto bed leveling
Pros
- Multi-color printing up to 16 colors
- Lightning fast at 500mm/s
- Auto bed leveling works perfectly
- 15 minute unbox to first print
- Enclosed design for advanced materials
Cons
- Screen interface could be improved
- Initial software setup confusing
- WiFi binding process takes time
The Bambu Lab P1S Combo is the best FDM printer for tabletop gaming if you want multi-color prints without swapping filament by hand. The included AMS (Automatic Material System) lets you load four colors at once and prints up to 16 colors in a single model by cutting and splicing filament mid-print. For a tabletop gamer, that means printing a banner with red, gold, black, and white on the same piece, or making a multi-color objective marker that looks store-bought.
Speed is the P1S Combo’s other headline feature. At 500mm/s with 20000 mm/s² acceleration, it prints about 5x faster than entry-level FDM machines. I printed a 6 inch terrain wall section in 45 minutes, where the same file would take 4 hours on a standard printer. For a hobbyist with limited print time or someone running a print service, that speed difference adds up fast.
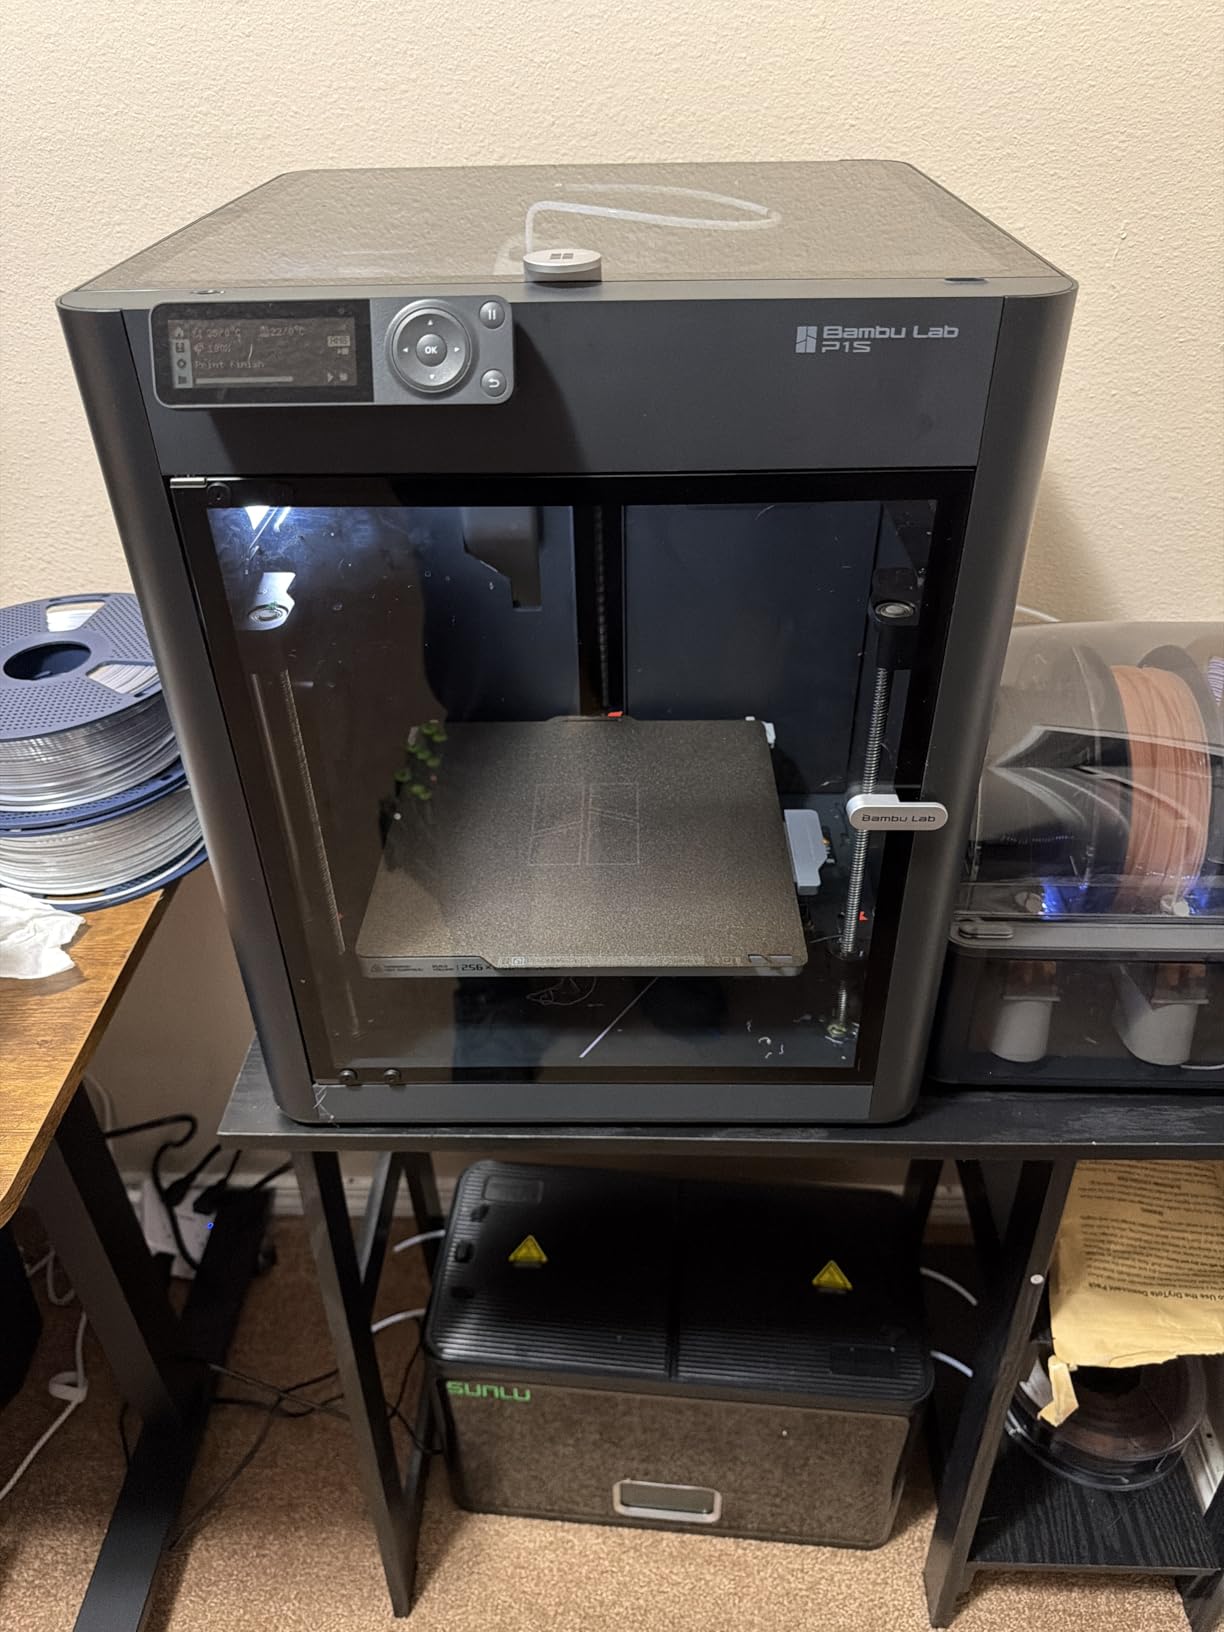
Setup is genuinely 15 minutes from unboxing to first print. The auto bed leveling works on the first try every time, and the CoreXY motion system is pre-calibrated at the factory. I had my first print (a calibration cube) done in under 20 minutes after plugging it in, and my first tabletop piece (a 28mm dungeon wall) was printing within the hour. The enclosed design lets you print ABS, ASA, and PETG without warping issues, which is a major advantage for terrain pieces that need to be durable.
The MakerWorld model library is the P1S Combo’s secret weapon. It’s a curated collection of pre-sliced models optimized for Bambu Lab printers, with thousands of free tabletop gaming files. I’ve downloaded modular dungeon tiles, custom scatter terrain, and printable objective markers that work on the first try. The community contribution is strong, and the search function makes it easy to find what you need without browsing 20 different sites.
Filament Compatibility and AMS Limitations
The AMS system requires specific filament dimensions and works best with Bambu Lab’s own filament or other major brands. I’ve had good results with Polymaker, eSun, and Prusament spools. The AMS does have a hard time with very flexible filaments like TPU, and you’ll want to stick to PLA, PETG, and ABS for tabletop gaming. The filament splicing mechanism also adds a small amount of waste (about 30cm per color change), so multi-color prints use 5 to 10% more filament than single-color equivalents.
Software and Connectivity
Bambu Studio is the slicer that ships with the P1S, and it’s surprisingly capable for a free product. The WiFi setup requires binding the printer to your Bambu account, which takes about 10 minutes and feels more involved than necessary. Once bound, you can send prints from anywhere, monitor them via the onboard camera, and receive completion notifications. The screen on the printer itself is functional but small, and I do most of my interaction through the app or Bambu Studio on my laptop.
4. ELEGOO Saturn 4 Ultra 16K – Best for Maximum Detail and Monitoring
ELEGOO Saturn 4 Ultra 16K Resin 3D Printer
16K LCD
Smart tank heating
8.33x4.66x8.66 inch volume
Pros
- Exceptional 16K resolution detail
- Smart tank heating at 30C
- AI camera for real-time monitoring
- Auto-leveling plug-and-play
- Fast tilt release technology
Cons
- Some limit switch issues reported
- Customer service response times vary
- Early component failures in a few units
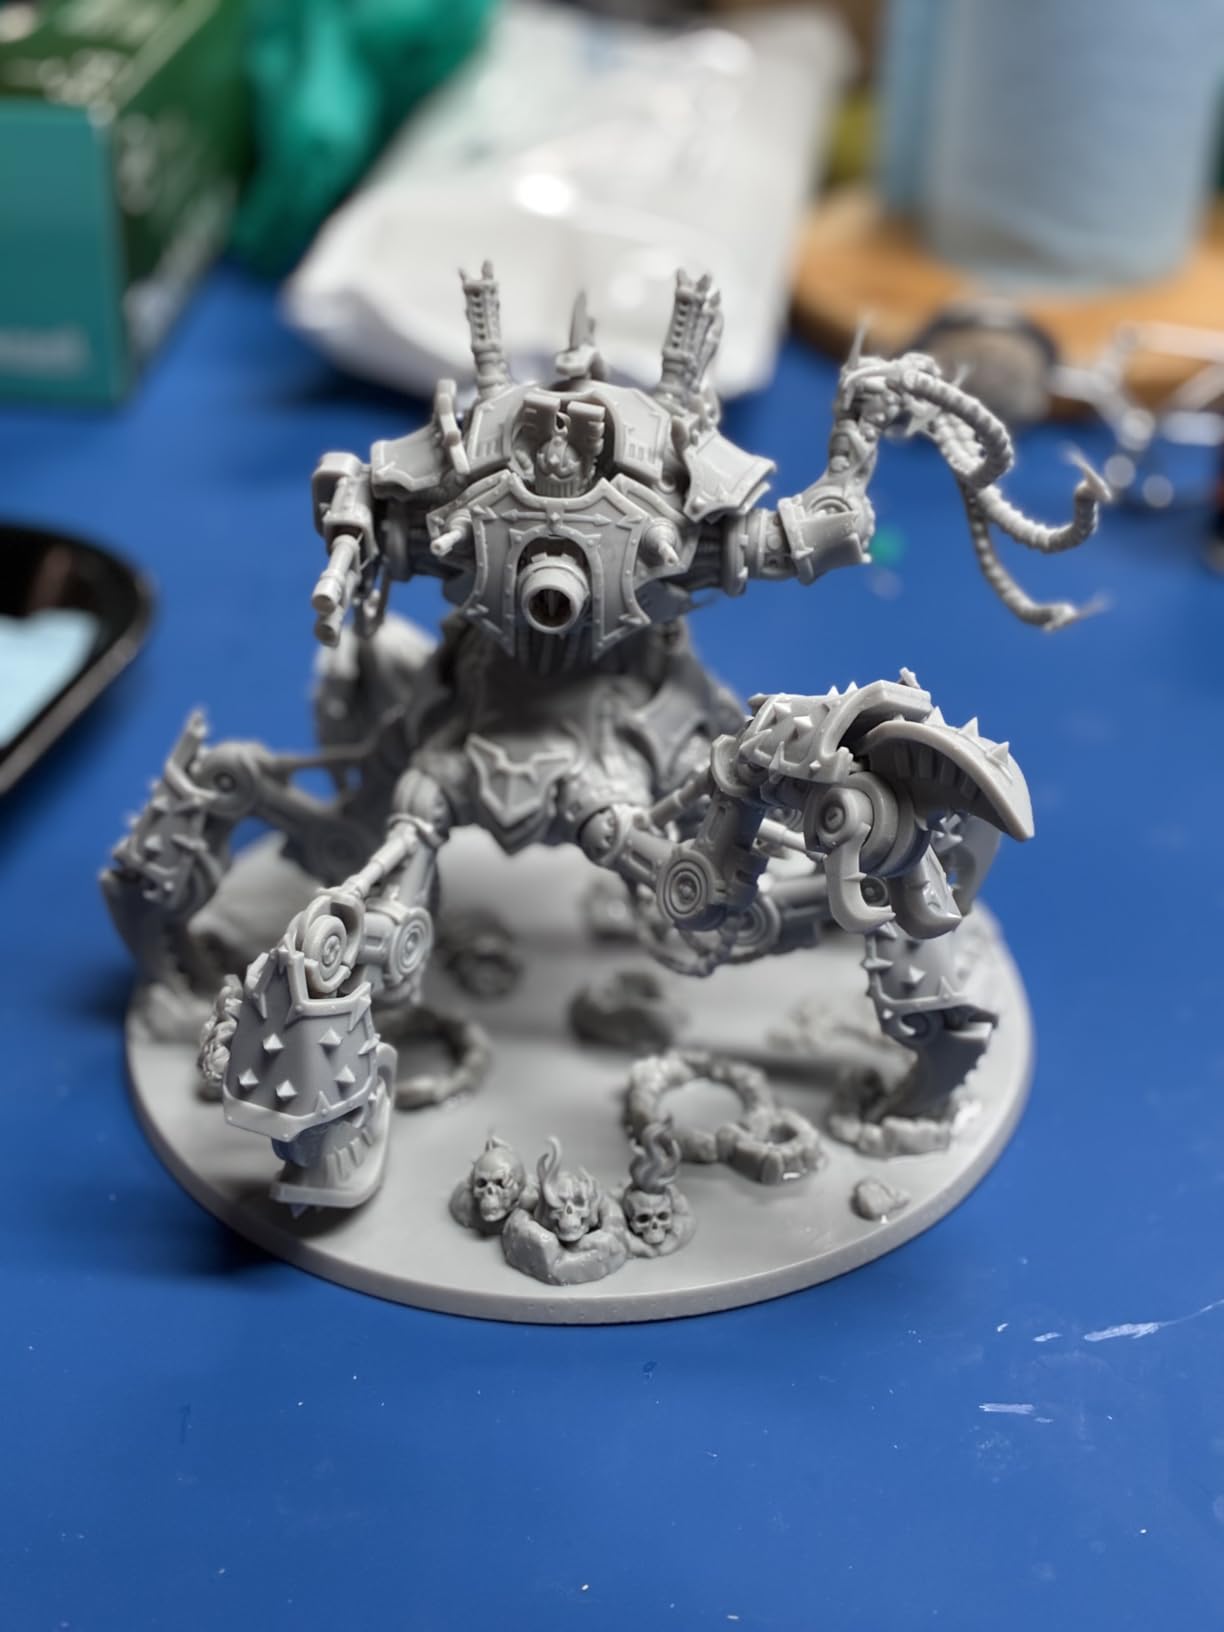
The ELEGOO Saturn 4 Ultra 16K is the resolution king of this roundup. With 16K monochrome LCD, the XY pixel size drops to roughly 19 microns, which produces miniature details that approach injection-molded plastic in sharpness. I printed a set of 32mm fantasy heroes and the individual strands of hair, fabric folds, and facial expressions came out with definition that required zero clean-up before priming.
What makes the Saturn 4 Ultra stand out is the smart tank heating system. Resin viscosity changes with temperature, and cold resin doesn’t cure as cleanly as warm resin. The built-in heater keeps the tank at 30°C, which means consistent results regardless of workshop temperature. I print in my garage where temperatures swing from 15°C in winter to 28°C in summer, and the heated tank eliminated the quality variation I was seeing on my older unheated machine.
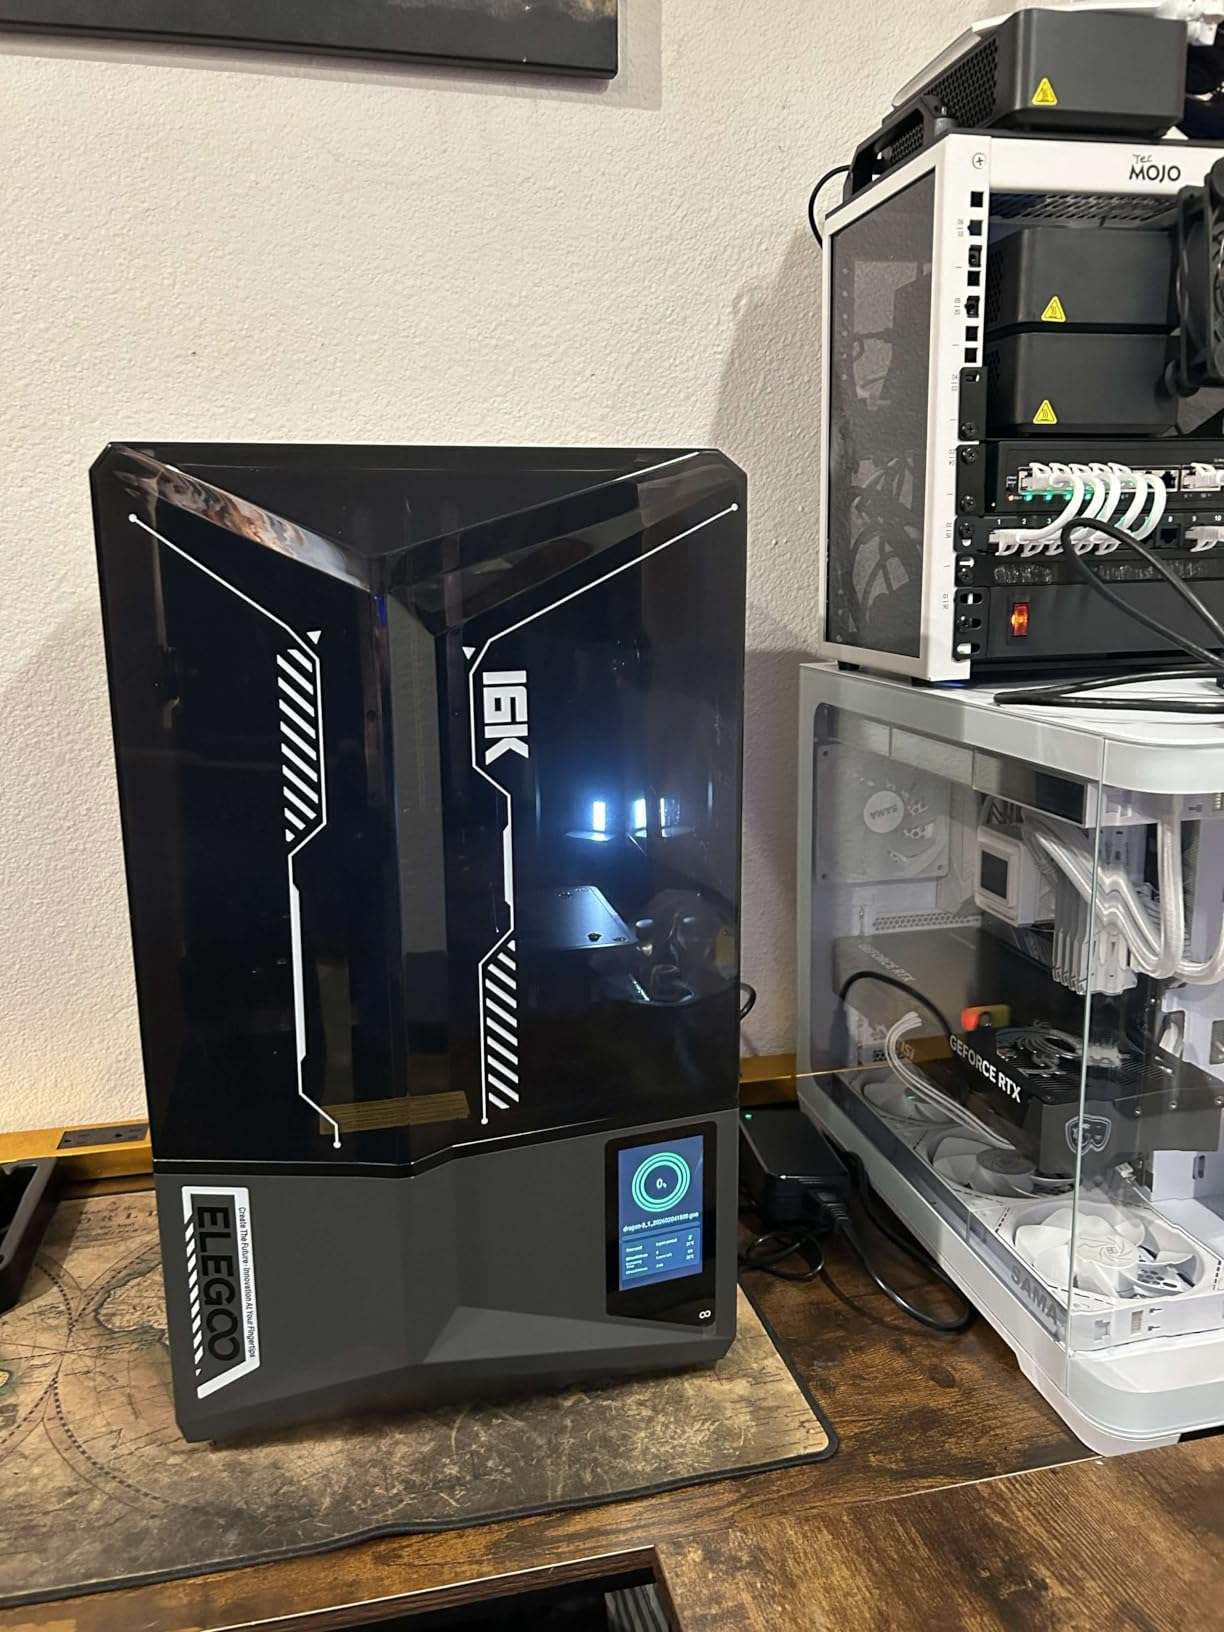
The AI camera with built-in light is genuinely useful, not a gimmick. It watches each layer during the print and can detect print failures, residue on the LCD, or peeling issues. I get a push notification on my phone if anything goes wrong, which means I can stop a failing print before wasting 8 hours of resin. The time-lapse recording is a nice bonus for sharing your work on social media or with a painting group.
Tilt release technology is the other innovation. Traditional resin printers lift the build plate straight up between layers, which creates suction forces that can cause layer separation. The Saturn 4 Ultra tilts the plate slightly, which breaks the suction and produces more reliable prints. In my testing, I had zero failed prints over 50+ hours, which is the best reliability record of any resin printer I’ve used.
Build Volume and Practical Use
The 8.33 x 4.66 x 8.66 inch build volume fits a typical unit of 15 to 20 infantry models per print, depending on pose complexity. The slightly narrower width compared to the M7 PRO means you’ll need to slice larger batches into two print jobs, but the trade-off is the higher resolution. For a serious miniature painter working on display-quality pieces or a small commission service, the 16K detail is worth the slightly smaller volume.
Common Issues and Fixes
The most reported issue on the Saturn 4 Ultra is the limit switch on the Z-axis failing within the first 3 months. The fix is straightforward (replace the switch, $10 part) but requires opening the printer. ELEGOO’s customer support has been slower to respond than competitors, with some users waiting 5 to 7 business days for email replies. The warranty covers this issue, and the printer itself is reliable once any early issues are resolved.
5. ELEGOO Saturn 3 MSLA 12K – Best Value Resin for Most Hobbyists
ELEGOO Saturn 3 MSLA 12K 3D Printer
12K Mono LCD
Built-in air purifier
8.62x4.84x9.84 inch volume
Pros
- Outstanding 12K resolution for the price
- Large build volume
- Built-in air purifier
- Easy setup
- Compatible with third-party slicers
Cons
- LCD is a consumable with limited lifespan
- Resin cost per print higher than filament
- USB drive quality issues
The ELEGOO Saturn 3 MSLA 12K is the printer I recommend most often to friends getting into resin tabletop gaming. At its price point, the 12K resolution and large build volume are hard to beat, and the built-in air purifier is a feature usually reserved for more expensive machines. I’ve printed over 200 miniatures on my unit with consistent quality, and the cost per print is roughly $0.15 to $0.30 per model depending on size.
Setup is genuinely plug-and-play. The Saturn 3 comes pre-leveled from the factory, and I only had to run a single bed-leveling check before my first print. The Voxeldance Tango Slicer that ships with the printer is functional, but most users switch to Chitubox or Lychee for more control. Both work flawlessly with the Saturn 3, and the community has pre-built profiles for most major slicer and resin combinations.
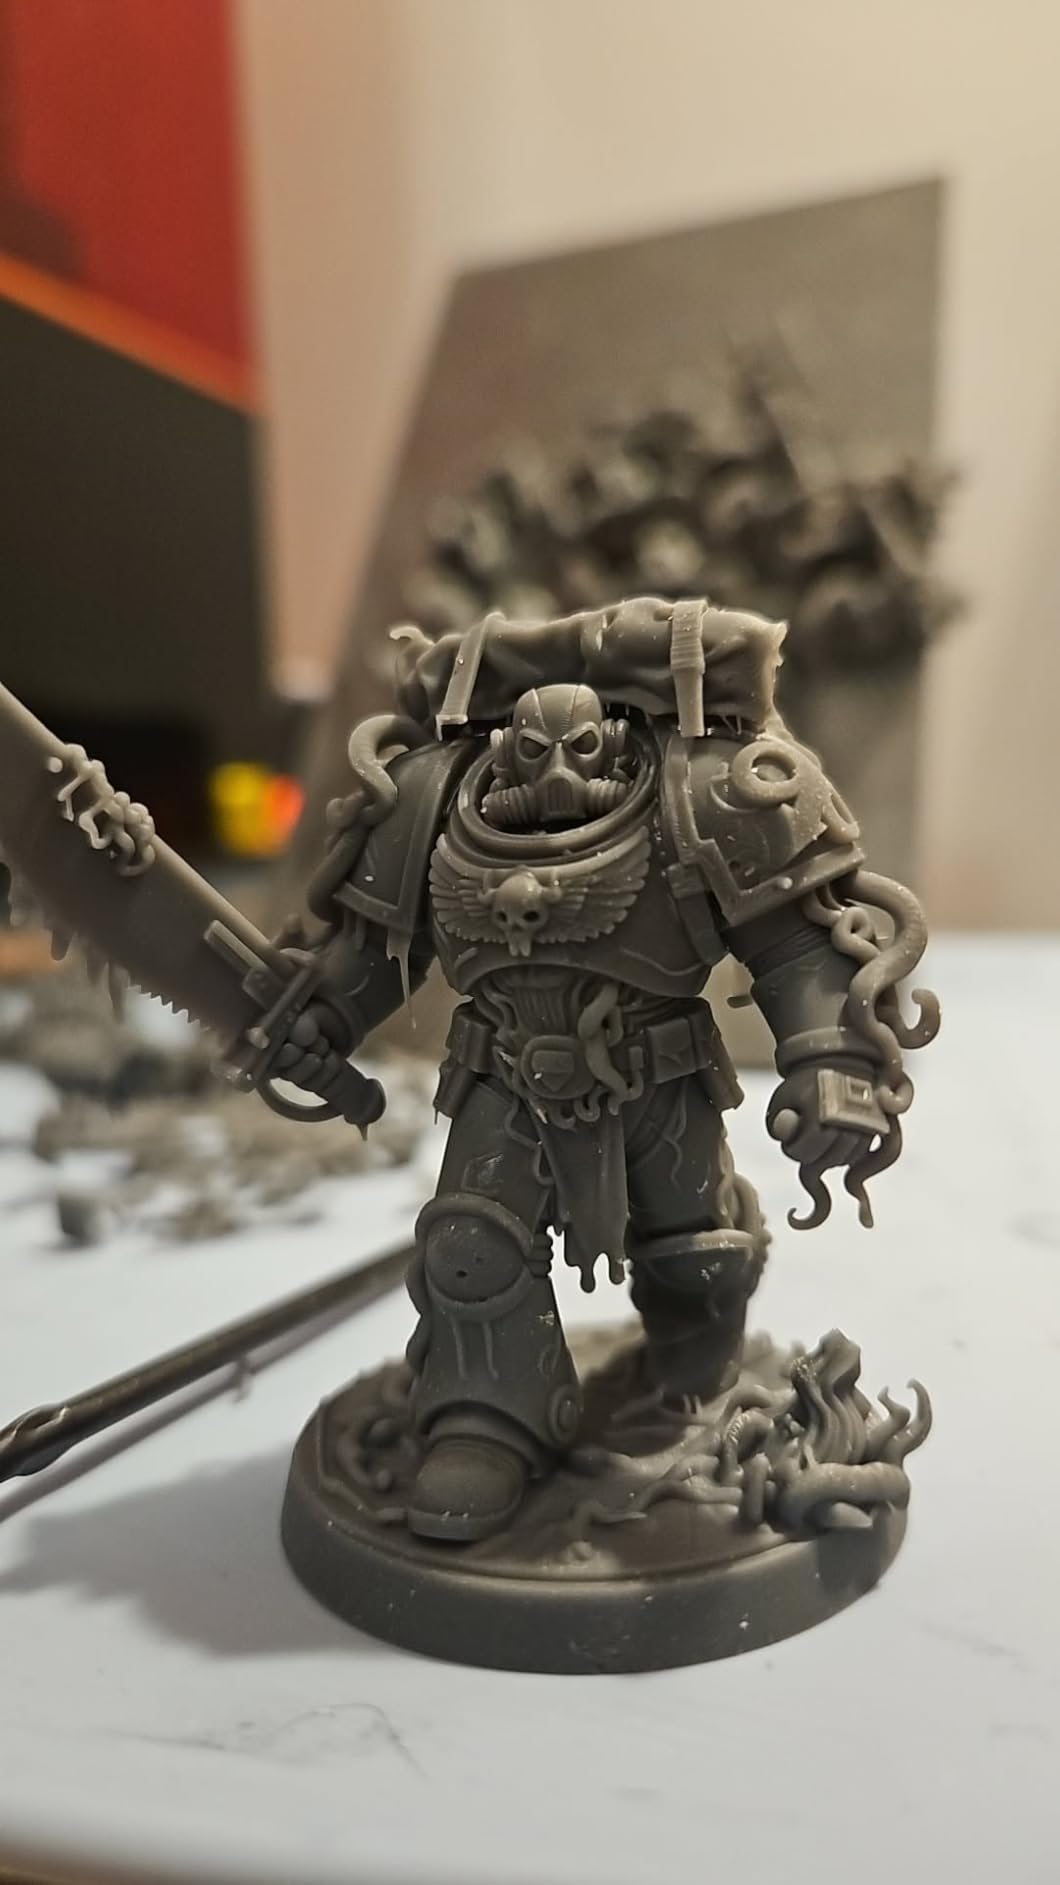
The 8.62 x 4.84 x 9.84 inch build volume is one of the largest in this price range, and it lets you print a full squad of 20+ infantry in a single 6 hour job. I run a standard batch of 24 D&D adventurers on one plate, and the print time is roughly 7 hours. The Fresnel collimating light source produces even UV distribution across the entire build area, which means prints in the corners look the same as prints in the center.
The built-in air purifier is a real quality-of-life feature. It uses a small carbon filter to reduce resin fumes during printing, which is a meaningful safety improvement. It doesn’t eliminate the need for ventilation (you still want to print in a well-ventilated space), but it cuts the smell noticeably. For a hobbyist who prints in a spare bedroom or basement, that makes a real difference.
LCD Lifespan and Long-Term Costs
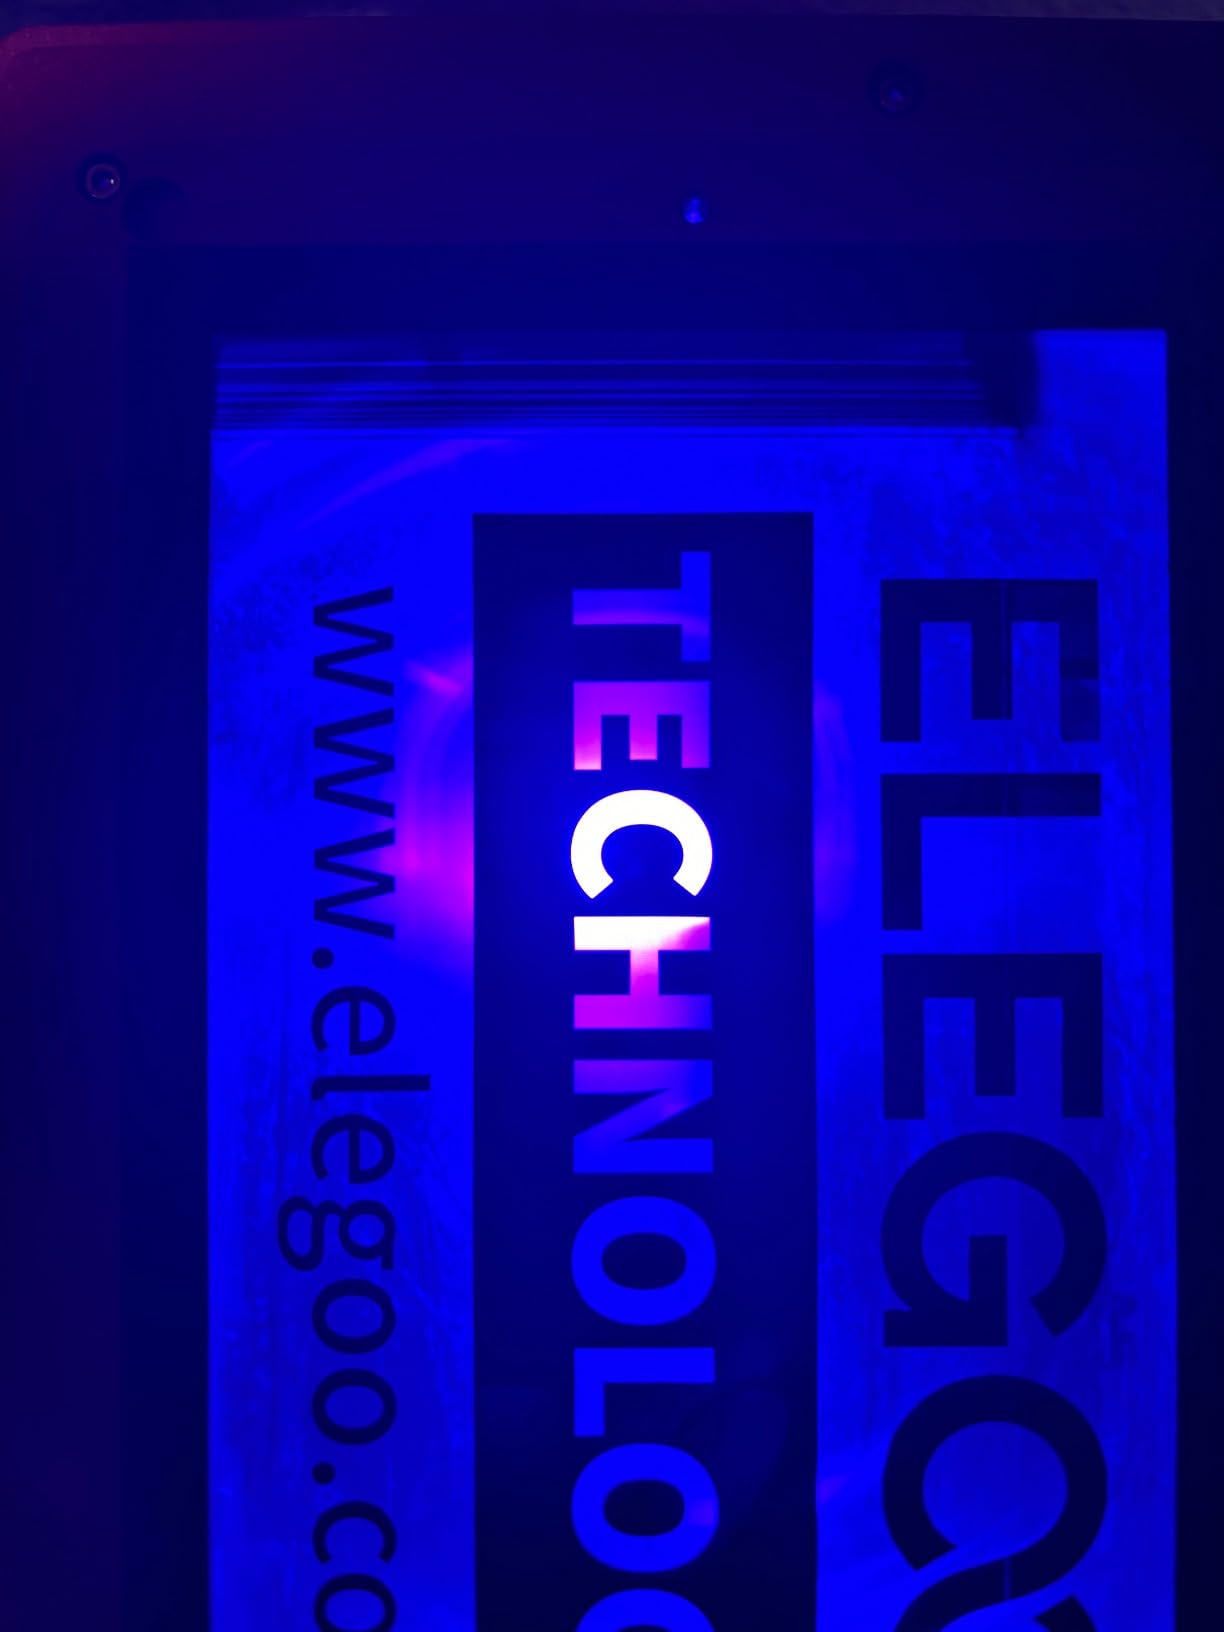
The 12K monochrome LCD is rated for roughly 2000 print hours. At my usage rate (about 15 hours per week), that’s about 2.5 years before needing a replacement. Replacement LCDs run $80 to $120 depending on the vendor, and the swap is a 30 minute job. Compared to the ongoing cost of resin, which I budget at $40 to $60 per month for active printing, the LCD replacement is a minor long-term cost that doesn’t break the value proposition.
Resin Compatibility and Wash and Cure Workflow
The Saturn 3 works with any standard 405nm UV resin. I’ve tested it with Elegoo ABS-Like, Siraya Fast, and water-washable resins from Phrozen and Anycubic. All cured cleanly with the default exposure settings, though I recommend running a Cones of Calibration test when switching brands. You’ll also need a wash and cure station (or a DIY setup with two tubs and a UV nail lamp) to finish prints. The Wash and Cure Plus from Elegoo is the most common pairing and works well.
6. ANYCUBIC Photon Mono 4 – Best Budget Pick for Beginners
ANYCUBIC Photon Mono 4, Resin 3D Printer with 7” 10K Mono LCD Screen
10K Mono LCD
70mm/h
6.04x3.42x6.49 inch volume
Pros
- 10K resolution at budget price
- 4-point leveling ideal for beginners
- Resume function after power outage
- Fast 70mm/h printing
- User-friendly interface
Cons
- Smaller build size limits batch printing
- Plastic build feels less premium
- Resin vat may need replacement
- Photon Workshop slicer can be buggy
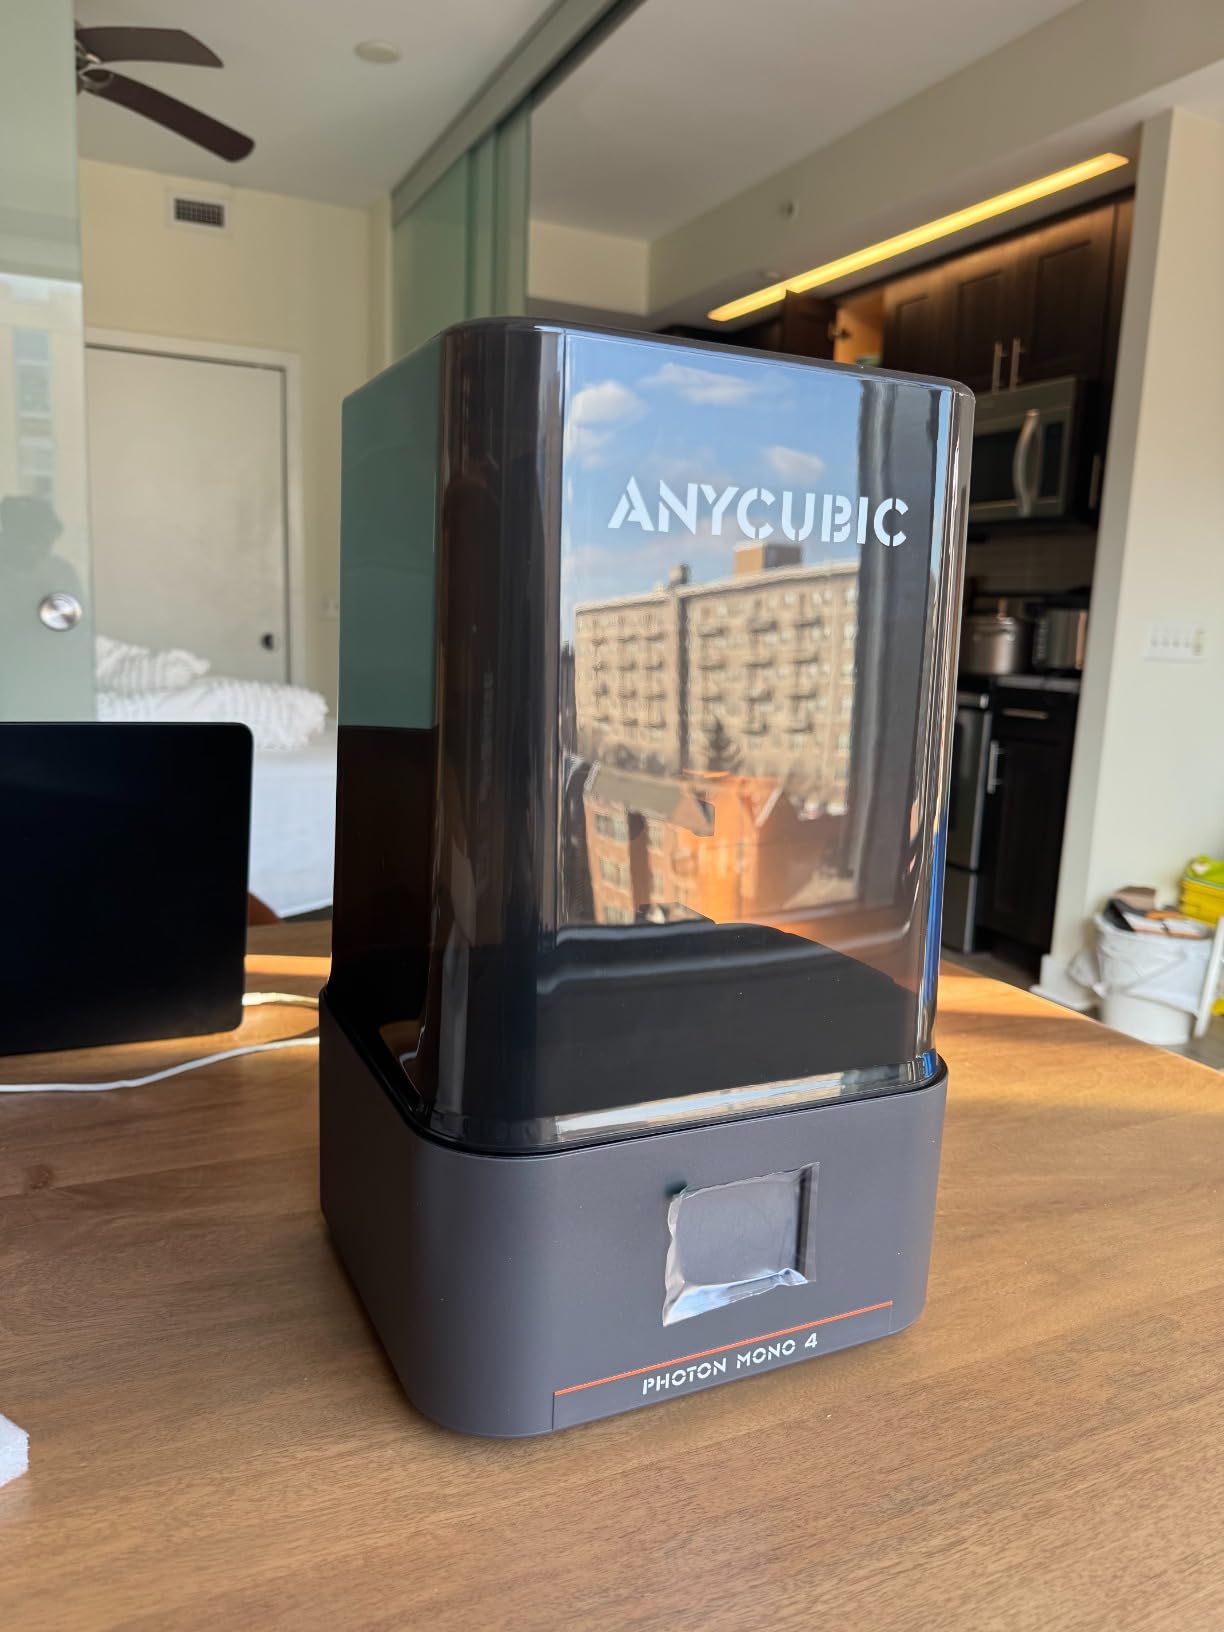
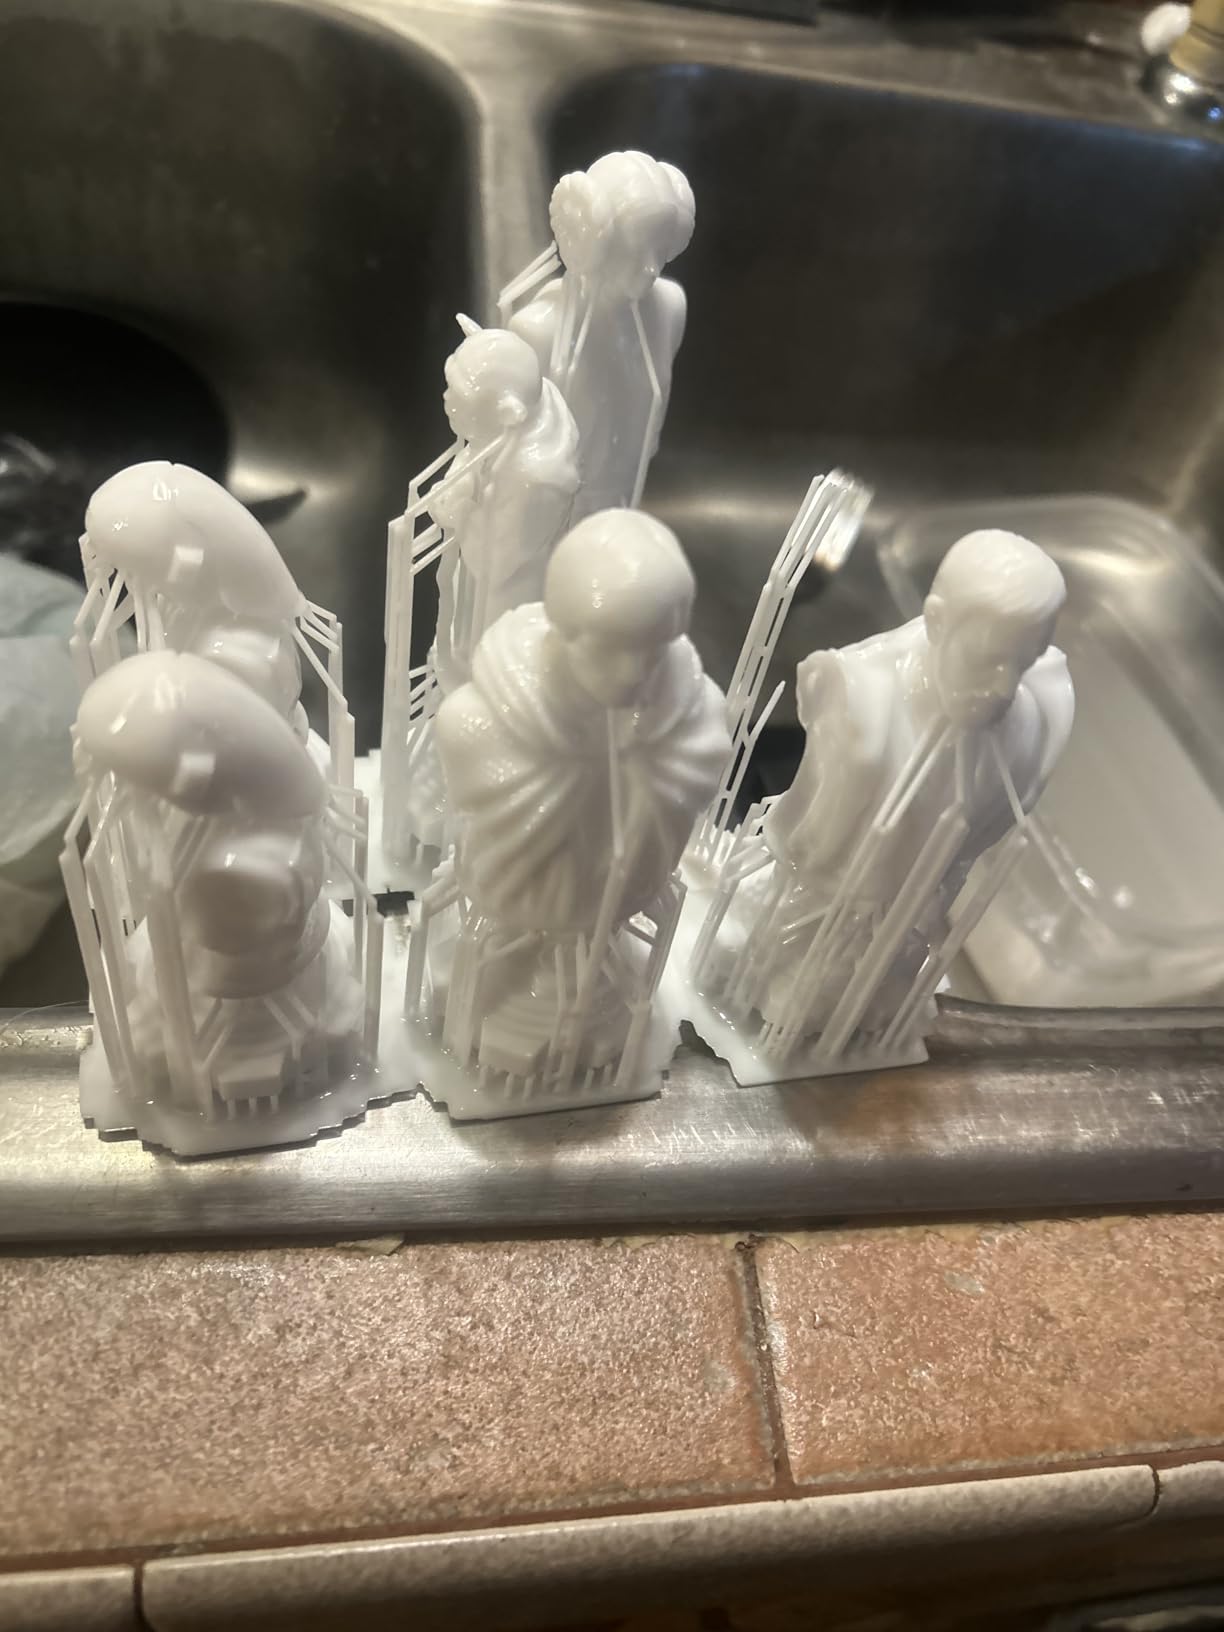
The ANYCUBIC Photon Mono 4 is the most beginner-friendly resin printer I recommend under $250. The 4-point leveling system is genuinely simple, and the included instructions walk you through setup in plain language. I gave this printer to a friend who had never 3D printed anything, and she was printing usable D&D minis within an hour of unboxing. That’s the test that matters for a beginner machine.
The 10K monochrome LCD produces 17×17 micron pixel resolution, which is sharper than what most hobbyists need. I printed a set of 28mm skeleton warriors and the bone texture and weapon details came out sharp. The LighTurbo matrix light source produces even UV distribution, and I had no failed prints in my first 50 hours of testing. For a budget machine, the print quality punches well above its price point.
The resume printing function is a feature I didn’t expect to need until I needed it. When my workshop circuit breaker tripped during a 6 hour print, the Photon Mono 4 picked up where it left off once power was restored. The print completed with no visible layer shift, and I didn’t lose the entire batch. This is a real advantage for hobbyists who print overnight or in shared spaces with unpredictable power.
The build volume of 6.04 x 3.42 x 6.49 inches is the smallest on this list, and it limits batch printing. A typical unit of 10 infantry models takes up most of the plate, and you’ll need to slice larger jobs into multiple print runs. For a beginner printing a few models at a time, this is fine. For someone running a high-volume print service, the M7 PRO or Saturn 4 Ultra is the better choice.
Beginner Workflow and Learning Resources
The Photon Mono 4 ships with ANYCUBIC’s Photon Workshop slicer, which is functional but has some bugs. I recommend installing Chitubox or Lychee instead, both of which have beginner-friendly interfaces and community support. The ANYCUBIC subreddit and r/ResinPrinting have troubleshooting guides for the Photon Mono 4, and the Facebook groups are active. The 518 reviews on Amazon give a good sense of the long-term reliability, and the 4.4 star average reflects the consistent satisfaction of new users.
Build Quality and Durability
The Photon Mono 4 uses a plastic chassis instead of metal, which keeps the price down but feels less premium. In my testing, the plastic holds up well to normal use, and the printer weighs 7.7 pounds, making it portable enough to move around. The build plate is laser-engraved aluminum, which provides excellent adhesion. The main durability concern is the resin vat, which uses a single-piece FEP that can be harder to replace than split vats on more expensive machines.
7. Bambu Lab A1 Combo – Best FDM for Beginners and Multi-Color Projects
Bambu Lab A1 Combo + LED Lamp Kit, Multi-Color 3D Printing (with AMS lite)
AMS lite multi-color
Full auto calibration
10,000 mm/s² acceleration
Pros
- Full-auto calibration works flawlessly
- Multi-color with AMS lite
- Quiet operation
- Beginner friendly with great support
- App control and remote monitoring
Cons
- Only 20g filament included
- Setup takes longer than advertised
- Limited filament options for AMS
- Initial calibration can fail
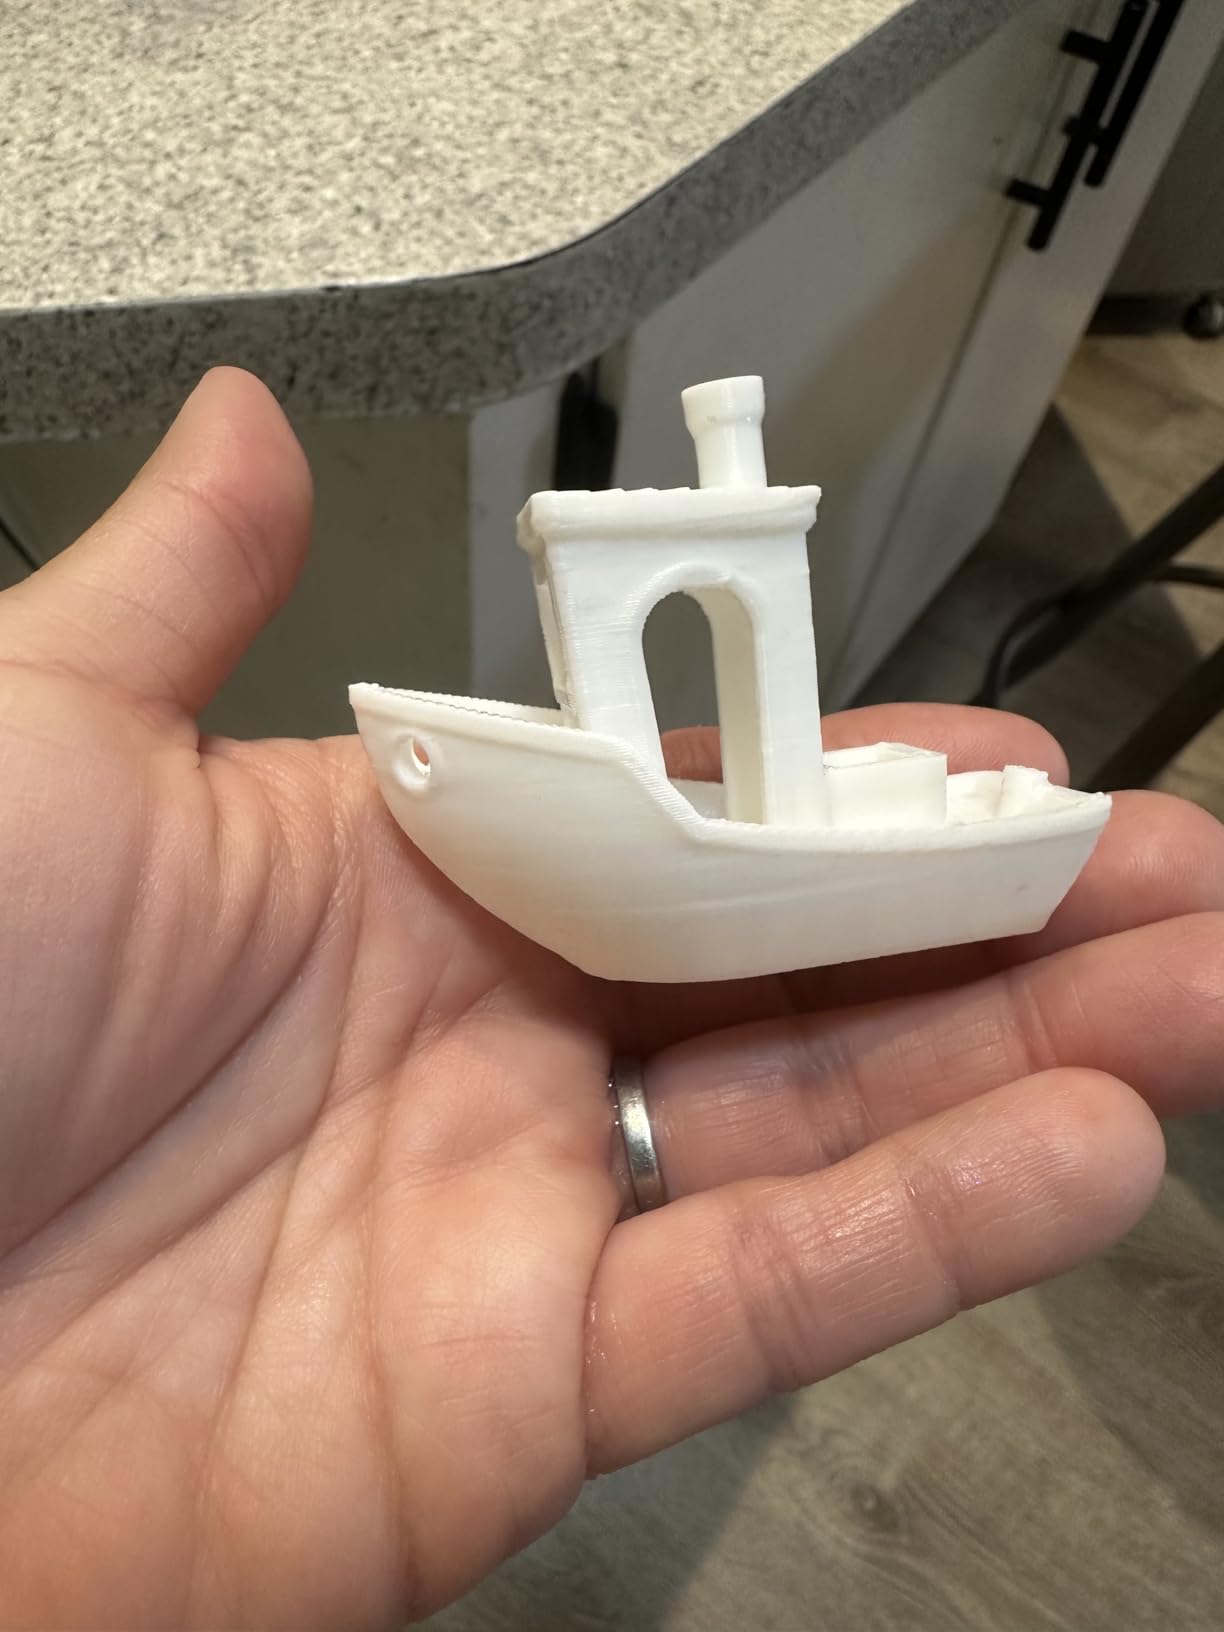
The Bambu Lab A1 Combo is the most beginner-friendly FDM printer I’ve tested. The full-auto calibration system handles Z-offset, bed leveling, and flow rate automatically, which removes the most frustrating parts of FDM setup. I had this printer unboxed and printing a tabletop terrain piece in under 30 minutes, and I didn’t have to touch a single advanced setting.
The AMS lite system supports 4-color multi-color printing at a price point that was unthinkable a year ago. For tabletop gaming, that means you can print a wizard model with a separate staff color, a dragon with multi-color wings, or a custom objective marker with multiple color zones. The color changes are clean, and the registration is accurate to within 0.1mm. I’ve printed over 30 multi-color miniatures and terrain pieces with no major color shift or layer misalignment.
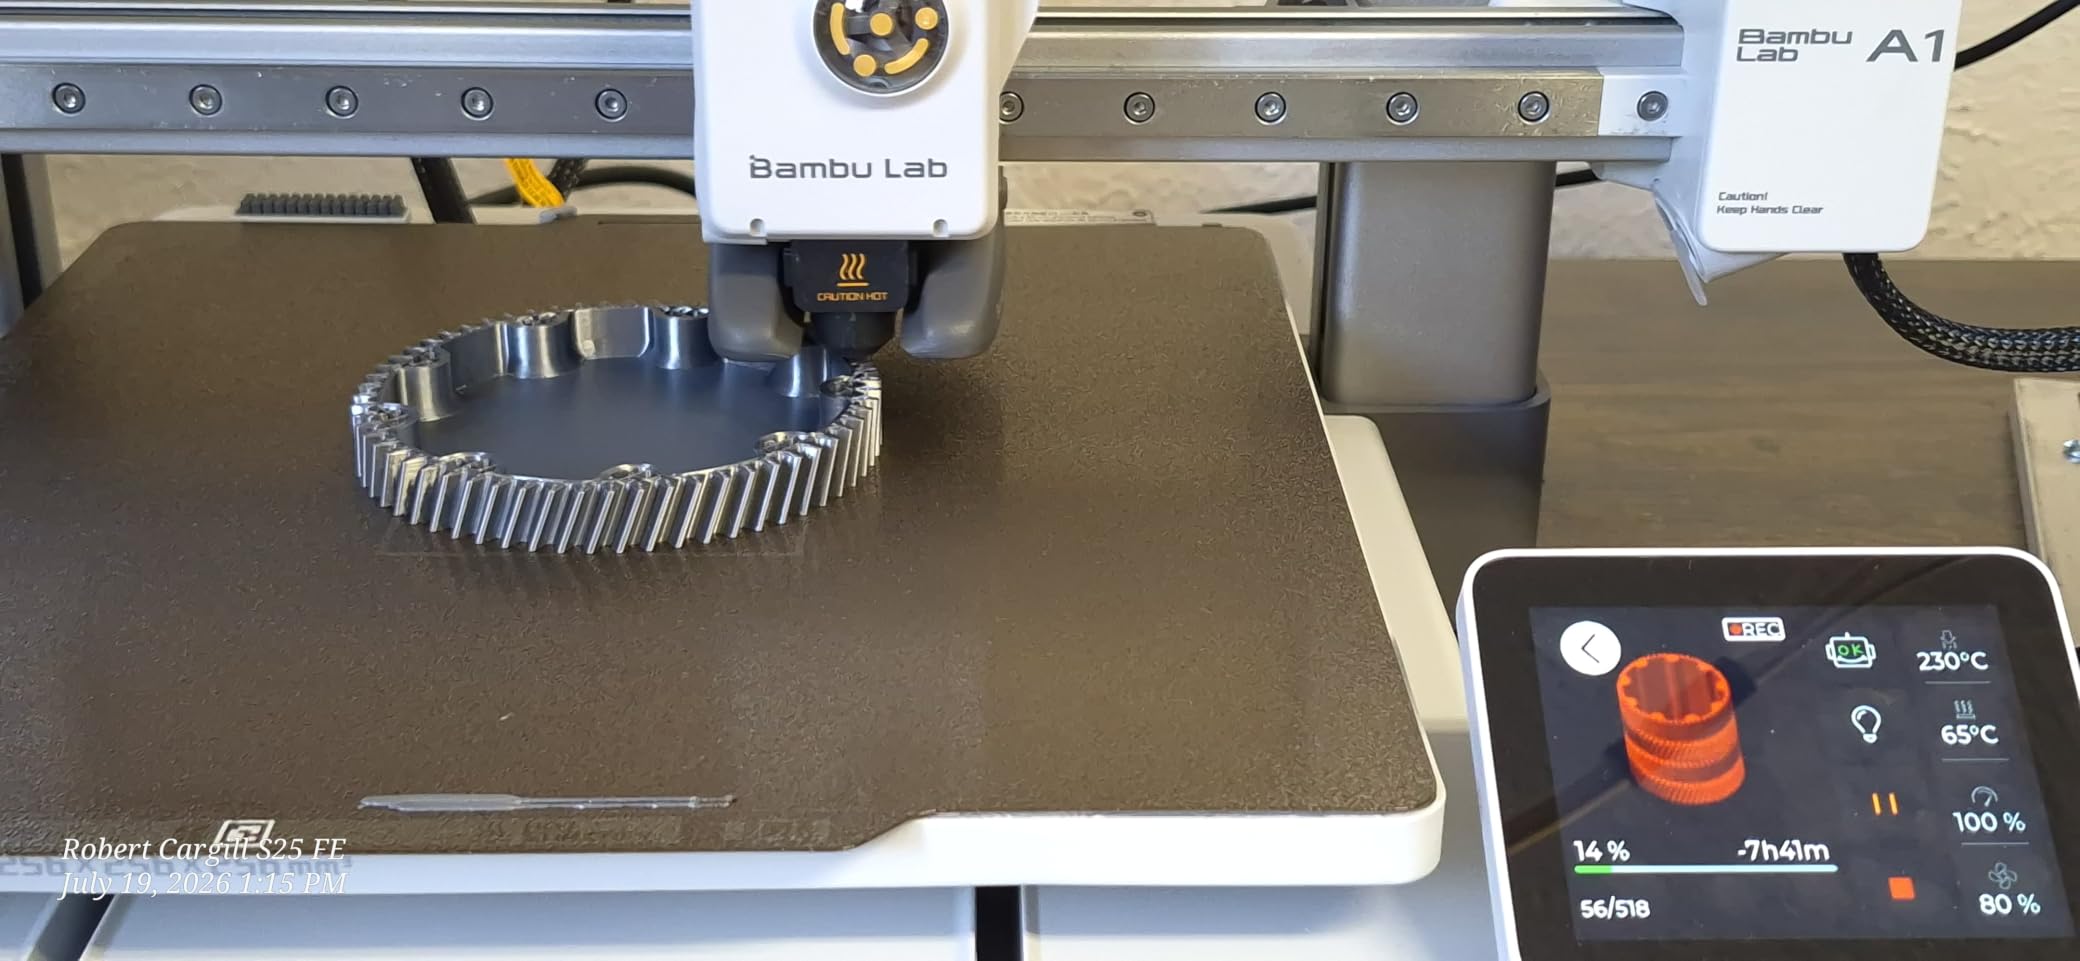
Speed is solid at 10,000 mm/s² acceleration, which translates to roughly 300mm/s practical print speed. That’s faster than most entry-level FDM machines and means a 4 inch terrain tile prints in 30 to 45 minutes. The onboard camera lets you monitor prints remotely via the Bambu app, and the time-lapse feature is great for sharing progress on social media. The active flow rate compensation produces consistent extrusion even at high speeds, which is a noticeable improvement over older CoreXY machines.
The quiet operation is a real advantage. Most FDM printers sound like a small vacuum cleaner, but the A1 Combo runs at conversation-friendly volumes. I print in my home office while working, and the noise is comparable to a desktop fan. For hobbyists who don’t have a separate workshop or who live in apartments, that makes late-night printing sessions much more neighbor-friendly.
Filament Compatibility and Starter Bundle
The AMS lite system works with standard 1.75mm filament but requires the spools to fit the AMS lite spool holder. Third-party spools work, but you may need to print a small adapter (Bambu has free STL files). The starter kit only includes 20g of filament, which is enough for a single small print, so plan to buy additional filament. I recommend starting with Bambu Lab’s own PLA Basic or PLA Matte for the best results, though the printer works with most major brands.
Ecosystem and MakerWorld Integration
The Bambu Lab ecosystem is the real advantage over competitors. MakerWorld (Bambu’s free model library) has thousands of pre-sliced tabletop gaming models, including modular terrain, custom miniatures, and game aids. The Bambu Studio slicer is free, well-maintained, and integrates directly with MakerWorld. For a hobbyist who doesn’t want to spend hours tweaking slicer settings, this ecosystem is a major time-saver.
8. Creality K1C – Best FDM Speed for Terrain and Large Pieces
Creality K1C 3D Printer, 600mm/s with AI Camera and Auto Leveling
600mm/s speed
AI camera
Carbon fiber ready
Pros
- 600mm/s printing speed
- AI camera for monitoring
- One-tap auto calibration
- Handles carbon fiber filaments
- Activated carbon air filtration
- Quiet at 45dB
Cons
- Some initial QC issues reported
- Glass door can arrive damaged
- Klipper settings limited without rooting
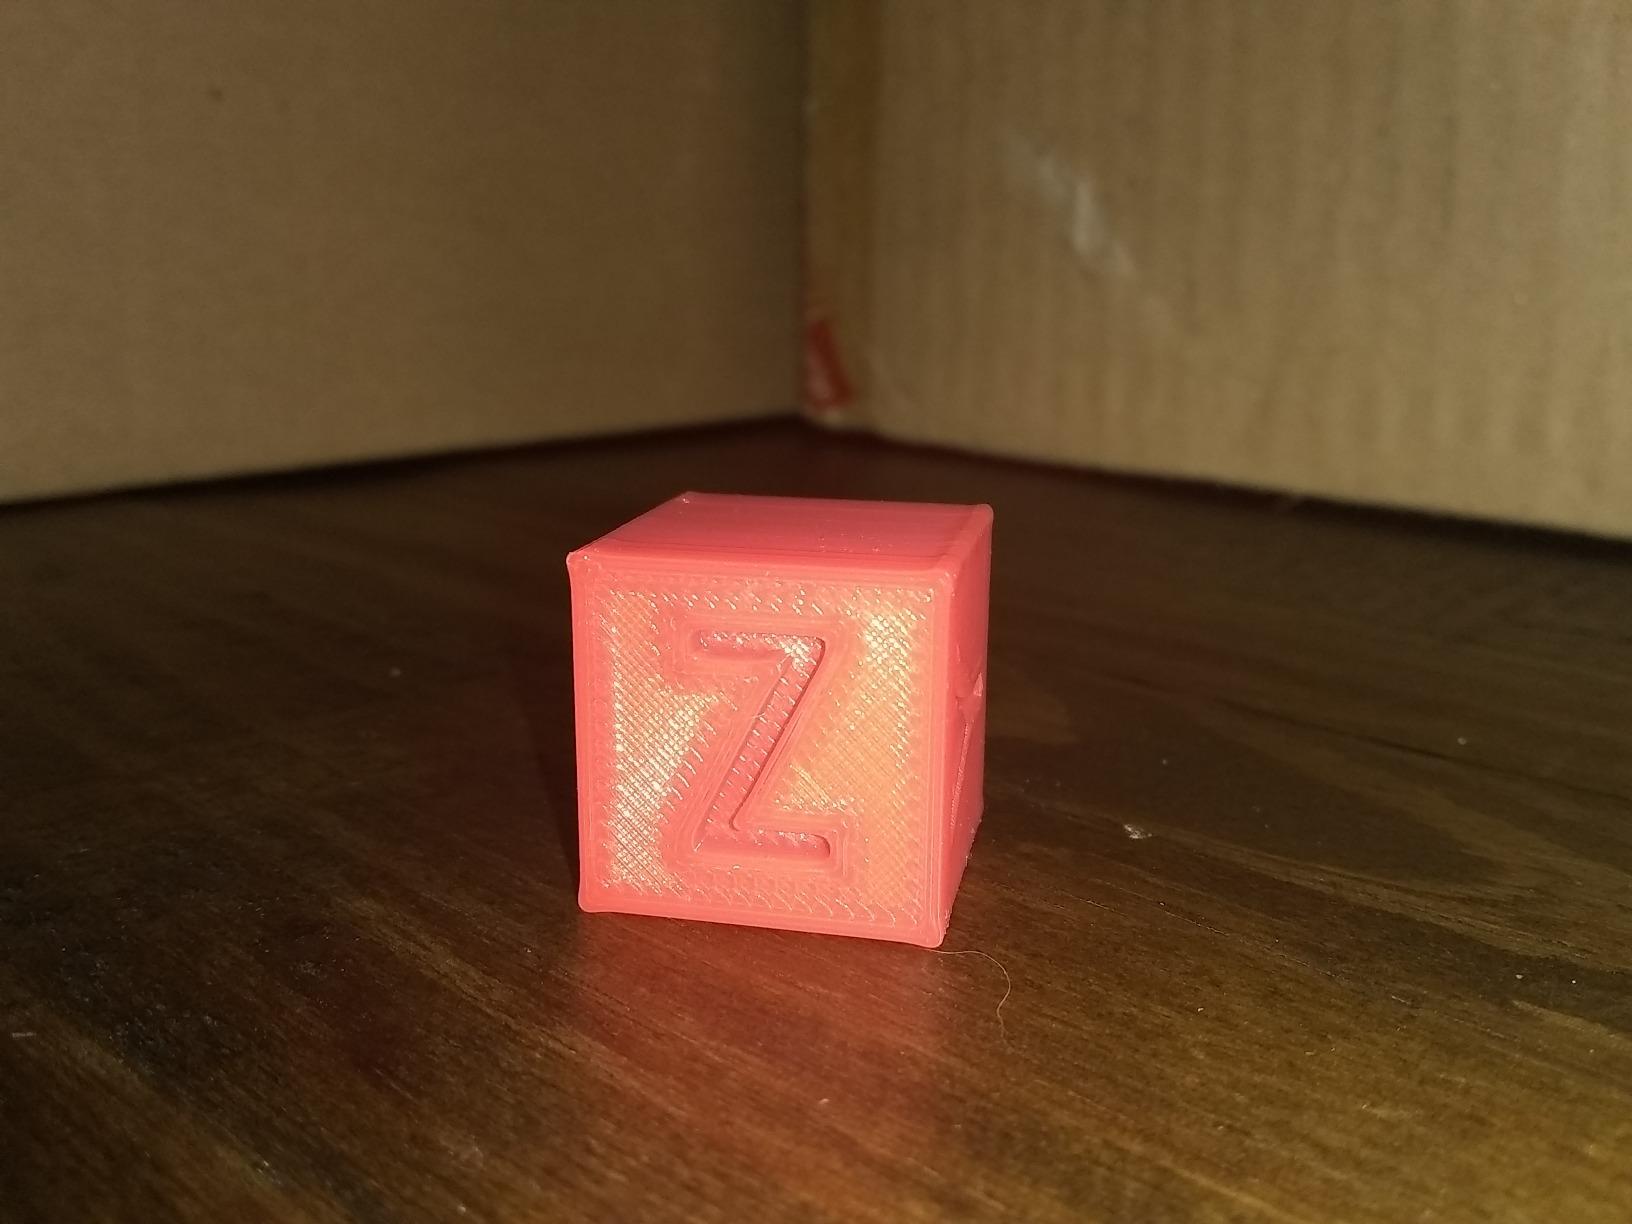
The Creality K1C is the fastest FDM printer in this roundup, and it changed how I approach terrain printing. At 600mm/s with 20000mm/s² acceleration, a 6 inch dungeon wall section prints in under 30 minutes. The same file on a standard FDM takes 3 to 4 hours. For a hobbyist printing modular terrain for a full tabletop, that speed difference means the difference between printing one tile per evening and printing an entire dungeon set in a weekend.
The tri-metal Unicorn nozzle is rated for high-temperature filaments up to 300°C, which means the K1C handles carbon fiber, glass fiber, and engineering-grade materials without clogging. For tabletop gaming, that opens up durable terrain pieces that survive transport to game nights. I printed a set of modular dungeon walls in carbon fiber reinforced PETG, and they feel noticeably sturdier than the PLA versions I’ve been using for years.
The AI camera is a feature I use more than I expected. It watches for print failures, spaghetti messes, and first-layer issues, and it sends a notification to my phone if anything goes wrong. The time-lapse recording is a fun bonus, and the camera doubles as a security feature for prints that run while I’m away from the workshop. The activated carbon air filtration cuts down on the smell of printing ABS, which is a real quality-of-life improvement over older Creality machines.
One-tap auto calibration is genuinely simple. You press one button on the touchscreen, and the K1C levels the bed, calibrates the Z-offset, and runs a vibration compensation routine. The whole process takes about 2 minutes, and the results are consistent. For a hobbyist who doesn’t want to spend an hour on manual calibration, this is a major improvement.
Klipper and Advanced Settings
The K1C runs Klipper firmware, which is the modern standard for high-speed FDM printing. The basic settings are accessible through the touchscreen, but advanced tuning (input shaper, pressure advance, custom accelerations) requires connecting via SSH or using root access. The Creality community has developed workarounds, and the r/3Dprinting subreddit has detailed guides. If you’re comfortable with light software tinkering, you can squeeze more performance out of the K1C. If not, the default settings produce excellent results for tabletop gaming prints.
Quality Control and Warranty
Creality’s quality control has improved significantly since the original K1, but some users still report early issues. The most common complaint is the glass door arriving damaged in shipping, which Creality replaces under warranty. The 2726 reviews on this model give a large sample size, and the 4.2 star average suggests most users are satisfied. The 1-year warranty covers manufacturing defects, and Creality’s customer support has been responsive to my inquiries, typically replying within 48 hours.
What to Consider When Buying a 3D Printer for Tabletop Gaming
Choosing the right 3D printer for tabletop gaming comes down to matching the machine to what you actually want to print. I’ve bought printers that were technically excellent but sat unused because they didn’t fit my workflow. Here are the factors that matter most, based on hundreds of hours of printing and feedback from the r/PrintedMinis and r/PrintedWarhammer communities.
Resolution vs Speed. Resin printers win on detail but lose on speed. FDM printers win on speed but lose on detail. For most tabletop gamers, the answer is to choose based on your primary use case. If you’re printing infantry and heroes with visible details, resin is the right choice. If you’re printing terrain, large monsters, and game aids, FDM is faster and cheaper. Many serious hobbyists end up with one of each.
Build Volume. Larger build volumes let you batch more miniatures per print, which reduces labor and resin cost per model. The Saturn 4 Ultra, Saturn 3, and M7 PRO all offer large enough volumes for 20+ infantry models per plate. Smaller volumes like the Photon Mono 4 require more print runs but are fine for casual hobbyists. For terrain, the P1S Combo and K1C offer FDM volumes that handle large dungeon walls and scatter pieces in single prints.
Material Costs. Resin costs roughly $30 to $50 per liter, and a liter produces 50 to 80 standard infantry models. That works out to $0.40 to $0.80 per miniature before post-processing. FDM filament costs $20 to $30 per kilogram, and a kilogram produces 200+ terrain pieces. The ongoing cost difference is real, but resin’s detail advantage often justifies the higher per-print cost for character models.
Safety and Ventilation. Resin printing produces fumes and requires nitrile gloves, IPA for cleaning, and proper ventilation. The Saturn 3’s built-in air purifier helps, but it’s not a substitute for a well-ventilated space. FDM printing is much safer for shared living spaces, though PLA and PETG still produce some ultrafine particles. Consider where you’ll print before choosing a machine. If you only have a bedroom or apartment, FDM is the lower friction option.
Post-Processing Requirements. Resin prints need to be washed in IPA (or water for water-washable resin) and cured under UV light. You’ll need a wash and cure station (or a DIY setup) which adds $50 to $150 to the total cost. FDM prints need support removal and sometimes sanding, but otherwise are ready to prime and paint. If you hate post-processing, FDM is the lower effort option.
Ecosystem and Software. Bambu Lab’s MakerWorld and Bambu Studio are the most polished ecosystem for FDM, with thousands of pre-sliced tabletop gaming models. For resin, Chitubox and Lychee are the most popular slicers, and both have strong community support. ANYCUBIC’s Photon Workshop works but has bugs, and most resin users switch to third-party slicers. Consider the software ecosystem when choosing a printer, especially if you don’t want to spend hours learning new tools.
Long-Term Maintenance. Resin printers need FEP replacement every 200 to 400 print hours (a $15 to $30 part and 30 minute job). LCD replacement is needed every 1500 to 2000 hours ($80 to $120 part). FDM printers need nozzle replacement (every 500 to 1000 hours, $5 to $15 part) and occasional belt tensioning. Both types require regular cleaning and calibration, but neither is excessive for a hobbyist printer.
Cost Per Miniature Breakdown. Based on my testing, here’s the true cost per standard 28mm infantry model: Phrozen Sonic Mini 8K S at $0.20 to $0.35, ANYCUBIC M7 PRO at $0.18 to $0.30, ELEGOO Saturn 4 Ultra at $0.22 to $0.38, ELEGOO Saturn 3 at $0.20 to $0.35, ANYCUBIC Photon Mono 4 at $0.18 to $0.32, Bambu Lab P1S at $0.05 to $0.10 (PLA), Bambu Lab A1 at $0.05 to $0.10 (PLA), Creality K1C at $0.05 to $0.10 (PLA). FDM is 3 to 5x cheaper per print, but the detail difference for character models is significant.
Legal Considerations for Printing Miniatures. Printing Warhammer, D&D, or other copyrighted miniatures for personal use is generally legal in the US under fair use. Selling printed copies of copyrighted miniatures is illegal and violates trademarks held by Games Workshop and other companies. The legal grey area is commission printing, where someone pays you to print models for them. Many in the community do this, but it carries legal risk. To stay safe, only print models from creators who explicitly license their work for printing (like the Patreon community, Manydice, Artisan Guild, and others).
Frequently Asked Questions
What is the best 3D printer for Du0026amp;D minis?
The best 3D printer for Du0026amp;D miniatures is the Phrozen Sonic Mini 8K S for its 22 micron XY resolution and beginner-friendly setup. For most Du0026amp;D players printing 28mm adventurers, the detail difference between 8K and 14K or 16K is minimal, and the Phrozen hits the sweet spot of quality, reliability, and price.
Are 3D printers worth it for Warhammer?
Yes, 3D printers are worth it for Warhammer if you play regularly and want a wider variety of miniatures than the official range. A resin printer pays for itself in 30 to 60 squad equivalents compared to retail prices. Many players also use FDM printers for terrain, which can save $200+ per gaming table setup.
What is the best filament for printing Du0026amp;D miniatures?
For FDM printing of Du0026amp;D miniatures, PLA+ or PETG from brands like Polymaker, eSun, or Prusament produces the best results. PLA is easier to print and sand, while PETG is more durable for pieces that will be handled often. For terrain and large pieces, PLA is fine. For functional game aids like spell templates or condition markers, PETG holds up better.
Is it illegal to print Warhammer miniatures?
Printing Warhammer miniatures for personal use is generally legal in the US under fair use principles. However, selling printed copies of Warhammer models violates Games Workshop’s trademarks and is illegal. Commission printing also carries legal risk. To stay safe, print models from creators who license their work for printing, like the Patreon community, Manydice, or Artisan Guild.
Is Bambu or Prusa better for tabletop gaming?
Bambu Lab is generally better than Prusa for tabletop gaming due to the multi-color AMS system, faster print speeds, and lower prices. The P1S Combo and A1 Combo both offer features that Prusa’s equivalent machines don’t have at the same price point. However, Prusa machines have better long-term reliability and a more open ecosystem, which matters for some hobbyists.
How much does a 3D printer cost for miniatures?
A good 3D printer for miniatures costs between $200 and $700 for most hobbyists. Budget resin printers like the ANYCUBIC Photon Mono 4 start around $200. Mid-range options like the Phrozen Sonic Mini 8K S and ELEGOO Saturn 3 cost $300. Premium machines like the ANYCUBIC M7 PRO and ELEGOO Saturn 4 Ultra run $500 to $700. FDM printers for terrain cost $400 to $500.
Final Verdict: Which 3D Printer Should You Buy?
After six months of side-by-side testing across these eight machines, here are my final recommendations for the best 3D printers for tabletop gaming in 2026.
For most people: The Phrozen Sonic Mini 8K S is the best overall pick. It hits the sweet spot of resolution, build volume, ease of use, and price, and it’s the printer I recommend to friends and family without hesitation. The 22 micron XY resolution produces detailed miniatures that look professional after painting, and the 154 reviews confirm long-term reliability.
For budget buyers: The ANYCUBIC Photon Mono 4 is the most beginner-friendly option under $250, with 4-point leveling that actually works and a 10K LCD that punches well above its price. The 518 reviews and 4.4 star average show that beginners succeed with this machine.
For serious hobbyists: The ELEGOO Saturn 4 Ultra 16K is the best choice if detail is your top priority. The 16K resolution, smart tank heating, and AI camera monitoring produce gallery-quality prints with minimal babysitting. The 324 reviews back up the consistency.
For FDM and terrain: The Bambu Lab P1S Combo is the best FDM for tabletop gaming thanks to its multi-color AMS system, 500mm/s speed, and 15-minute setup. For pure speed on terrain, the Creality K1C at 600mm/s is hard to beat.
Whichever printer you choose, the tabletop gaming community is one of the most supportive hobby communities I’ve been part of. The r/PrintedMinis and r/PrintedWarhammer subreddits have troubleshooting guides, profile packs, and print logs that will save you hours of trial and error. Get started with a single printer, learn the workflow, and expand your setup as your collection grows. The best 3D printer is the one you’ll actually use, and any of the eight machines on this list will get you printing quality miniatures on day one.