
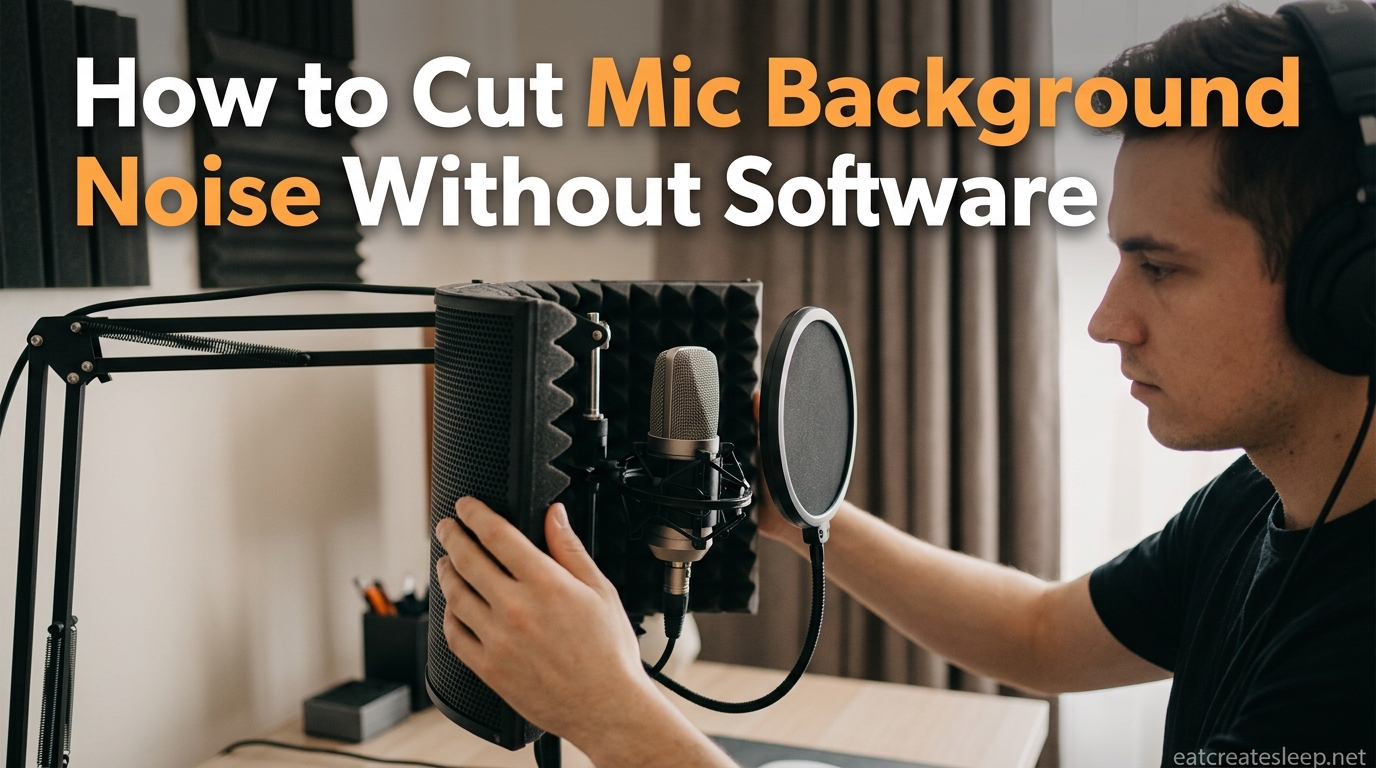
Nothing kills a stream faster than audio that sounds like it was recorded inside a wind tunnel. Viewers tolerate a shaky camera, grainy video, and even laggy gameplay. They will click away the second your mic starts picking up the ceiling fan, your mechanical keyboard, and the neighbor’s dog all at once.
If you are searching for how to reduce background noise on a streaming mic without software, you are in the right place. Every technique in this guide is hardware-only. No Krisp. No NVIDIA Broadcast. No OBS noise gate. No plugins. Just physical changes you can make in the next 30 minutes with stuff you already own or can pick up for under $30.
The quickest fix: position your microphone about two finger widths (roughly 2 to 3 inches) from your mouth, slightly off-axis from your lips, and lower the gain until your voice is the loudest thing the capsule hears. That single change does more for clean audio than most software ever will.
I have spent the last several years helping streamers, podcasters, and remote workers clean up their audio using nothing but mic positioning, room treatment, and a few cheap accessories. Below is everything I have learned, broken down step by step.
Table of Contents
How to Reduce Background Noise on a Streaming Mic Without Software: Start With Mic Placement
If you only do one thing on this entire page, fix your microphone placement. Placement is responsible for more background noise issues than any other single factor. A $400 condenser placed wrong will sound worse than a $40 dynamic placed right.
Move the Mic Close to Your Mouth
The single most effective hardware trick is proximity. Sound follows the inverse square law, meaning when you cut the distance to your mic in half, your voice gets roughly 6 dB louder at the capsule. If you then turn your gain down by that same 6 dB, your voice stays at the same level in the mix while every background source drops by 6 dB.
That is a massive signal-to-noise improvement for free. Aim for 2 to 3 inches between your mouth and the grille on a dynamic mic, or 4 to 6 inches on a condenser with a pop filter.
Slightly Off-Axis Is Better Than Dead-On
Point the capsule slightly off to the side of your mouth rather than straight at your lips. You still capture full voice, but you avoid the direct blast of air that causes plosives. This also pushes your breath noise past the mic instead of into it.
Use the Cardioid Pickup Pattern Correctly
Most streaming mics default to a cardioid pattern, which rejects sound from the rear and sides. The front of the mic (the side facing you, with the brand logo) is the most sensitive. The opposite side is the null point, where the mic hears almost nothing.
Aim the null point at your noisiest source. If your keyboard clacks are the problem, face the back of the mic toward the keyboard. If your fan is loud, point the rear of the mic at the fan. Rotating the mic 180 degrees can be the difference between a clean stream and constant background hiss.
The 3-to-1 Rule
The 3-to-1 rule is an audio engineering guideline: the distance between two sound sources (or between a sound source and a reflective surface) should be at least three times the distance from the source to the microphone. If your mic is 4 inches from your mouth, keep any reflective surface (wall, desk, monitor) at least 12 inches away to avoid phase cancellation and reflected noise.
Room Treatment and Acoustic Optimization
Your microphone does not just hear your voice. It hears your voice bouncing off every hard surface in the room. Bare drywall, hard floors, glass windows, and empty desks all reflect sound back into the capsule as reverb and ambience. Kill those reflections and you kill a huge chunk of perceived background noise.
Soften Every Hard Surface You Can
Soft, dense, porous materials absorb sound energy instead of reflecting it. The cheapest starting point is what you already own:
– A thick rug under your desk absorbs floor reflections.
– Curtains over windows tame high-frequency slap.
– A couch, armchair, or even a pile of laundry behind you breaks up reflections.
– Bookshelves full of books act as natural diffusers.
Acoustic Panels on a Budget
You do not need $300 studio foam kits. A pack of 12 wedge foam panels runs about $20 to $30 online and will cover the area directly behind your monitor and behind you. Focus first on the wall your mic faces, then on the wall behind you.
Avoid egg-crate mattress pads marketed as acoustic foam. They do almost nothing for the frequencies that matter for voice. Look for actual acoustic foam rated at least 1.5 inches thick, or spring for fiberglass rockwool panels if you want serious absorption.
Strategic Furniture Placement
Where you put your desk matters more than what is on it. Avoid sitting in the exact center of a square room, where low-frequency standing waves pile up. A corner placement with absorption on at least one wall typically gives the cleanest voice capture.
If your room has a parallel bare wall and window facing each other, you will get flutter echo. Break up one of those surfaces with a curtain, acoustic panel, or even a hanging blanket.
Pop Filters, Windscreens, and Shock Mounts
These three accessories do not eliminate ambient room noise, but they each kill a specific category of unwanted sound that often gets mistaken for background noise. Knowing which one solves which problem saves you money and frustration.
Pop Filters Handle Plosives
A pop filter is the nylon or mesh circle on a gooseneck that sits between your mouth and the mic. Its job is to diffuse the bursts of air from P, B, and T sounds before they hit the capsule. Plosives are not background noise, but they sound like noise spikes to your viewers.
Forum insight worth repeating: pop filters do NOT help with ambient noise, fan hum, or keyboard clicks. Many streamers buy one expecting silence and are disappointed. They are for plosives only.
Foam Windscreens Handle Air Movement
A foam windscreen slips over the mic capsule. It blocks moving air from fans, AC vents, and open windows. If your mic is picking up a low rumble from a fan pointed anywhere near your setup, a foam cover is the cheapest fix that does not require you to reposition the fan.
Windscreens also slightly dull high frequencies, which is why broadcasters using them tend to boost treble slightly in their EQ. Without EQ (since we are avoiding software), expect a marginally warmer tone.
Shock Mounts Handle Vibration and Thumps
A shock mount suspends the mic in elastic bands so desk thumps, foot-taps, and boom-arm movements do not transmit into the recording. If your viewers hear a low boom every time you type, the keyboard is likely vibrating the desk, which travels up the stand into the capsule. A shock mount breaks that physical connection.
Shock mounts do not stop airborne noise like voices, fans, or music. They only address mechanically transmitted vibration. Pair one with a heavy boom arm for the best results.
Isolation Shields for Focused Capture
A portable isolation shield (also called a reflection filter) mounts behind your mic and absorbs reflections coming from in front of you. It will not soundproof your room, but it tightens up the captured voice and reduces room ambience noticeably. Budget models start around $35.
Gain Staging and Distance Management
Gain is the amplification applied to your microphone signal at the input stage. The higher the gain, the more your mic hears everything in the room, including the noise floor of the device itself. Most streamers run their gain way too high because their mic is too far away.
The Gain-Noise Floor Relationship
Every audio interface, USB mic, and preamp has a noise floor, a constant hiss present even when the room is silent. When you crank the gain, you amplify that hiss along with your voice. Lower the gain, and the noise floor drops with it.
The fix is counterintuitive: move the mic closer and turn the gain down. Your voice stays audible because the capsule is closer to the source, but the noise floor drops because you are no longer amplifying as hard.
Proximity Effect Works in Your Favor
Proximity effect is the bass boost that happens when a directional mic is placed very close to the source. Getting close gives your voice a fuller, radio-style low end, which lets you run less gain while still sounding present and authoritative. Use it deliberately, not accidentally.
Concrete Distance Recommendations
– Dynamic mic (Shure SM7B, SM58, Rode PodMic): 1 to 3 inches from mouth, gain as low as possible while still peaking around -12 dB.
– Large-diaphragm condenser (AT2020, Blue Yeti): 4 to 6 inches with pop filter.
– Headset mic: corner of mouth, not directly in front, to avoid breath pops.
Mute the Mic When You Are Not Talking
This is not technically noise reduction, but it is the most reliable way to keep background noise out of your stream. Hit a hardware mute button or use a physical mute switch every time you step away, cough, or reach for a drink. A $15 mute pedal saves thousands of cringe moments over a streaming career.
Environmental Controls: Killing Noise at the Source
The cleanest audio comes from a quiet room. Before you reach for accessories, audit your environment and eliminate as much noise as possible at the source. A noisy room will beat any piece of hardware you throw at it.
Fan Noise: The Most Common Complaint
Fans are the single biggest background noise complaint from streamers, especially in summer. Most users refuse to turn them off because heat is real. Here are hardware-only fixes that let you keep the fan running:
– Move the fan behind the mic null point (the rear of a cardioid mic) so the capsule physically rejects it.
– Place the fan on a carpet or rug to kill vibration hum.
– Use a foam windscreen on the mic to block moving air without killing airflow.
– Switch from a high-speed small fan to a low-speed large fan. Large fans move more air at lower RPMs and produce a much lower-frequency hum that is easier to reject.
– Put a folded towel under the fan base to absorb motor vibration.
Mechanical Keyboard Isolation
If your mic picks up every keypress, you have two hardware options. First, place a thick mousepad or desk mat under your keyboard to absorb impact noise. Second, move the keyboard off-axis from your mic’s sensitive side. Most streamers put the keyboard directly in front of the mic, which guarantees it gets picked up.
Switching to a quieter switch type (like tactile browns or linear reds) is a hardware change, not software, and dramatically reduces the high-frequency clicks that cut through a mix.
Appliance and HVAC Hum
Anything with a motor produces low-frequency hum that travels through walls and floors. Air conditioners, refrigerators, plasma TVs, and computer fans all contribute. If you cannot turn them off, isolate them:
– Put anti-vibration pads under your PC case.
– Move your mic off the same desk surface as your computer.
– Close the door between you and major appliances during streams.
– Use a boom arm mounted to a heavy stand rather than clamped to the desk, to decouple the mic from desk vibration.
Household and Pet Noise
For family members, roommates, and pets, the only pure hardware fix is physical isolation. Close the door, post a recording sign, or schedule streams during quiet hours. Many podcasters report that recording at night, when the house is silent, is the single most effective noise reduction technique they use.
DIY Solutions and Hacks (No Purchase Required)
You do not need to spend money to hear a real improvement. These DIY tricks have been shared on streaming forums for years because they actually work. Try them before buying anything.
The Moving Blanket Vocal Booth
Drape a heavy moving blanket or thick comforter over a boom arm, mic stand, or two chairs positioned behind your mic. The blanket absorbs reflections from the rear and sides, dramatically reducing room ambience in your recording. This is essentially a free vocal booth.
For a more permanent version, build a frame from PVC pipe and clamp blankets to it. Total cost: under $20.
The Cardboard Baffle
A piece of cardboard with a towel taped to it makes an effective baffle between your mic and your keyboard. The cardboard blocks direct sound transmission while the towel absorbs what gets through. Lean it against books or a spare monitor stand.
Record in a Closet
Clothes are excellent sound absorbers. Recording with your mic inside a walk-in closet full of hanging clothes gives you near-studio acoustics for free. Many voiceover artists record in closets professionally because the result beats untreated rooms costing thousands.
If you cannot move your setup, open a closet door near your mic and hang a heavy jacket on the door. Even a small amount of soft surface near the mic helps.
The Pillow Fort Technique
For podcasters and voiceover work where you are not on camera, surrounding your mic with pillows creates a temporary isolation chamber. It looks absurd, but the audio difference is immediate and dramatic. Voice gets tighter, reverb drops, and background noise fades.
Suspend Your Mic Stand on a Shock Mount Made of Elastic
If you do not own a commercial shock mount, you can fashion one from heavy elastic bands looped around a frame. It will not look professional, but it will mechanically isolate the capsule from desk vibration better than a rigid stand.
Common Mistakes to Avoid
Most background noise problems trace back to a handful of avoidable mistakes. Run through this checklist before assuming you need new gear.
1. Running the gain too high. Almost every streamer does this at first. Lower the gain and move the mic closer instead.
2. Placing the mic on the desk in front of the keyboard. This puts your loudest noise source in the most sensitive pickup zone.
3. Using a condenser mic in an untreated room. Condensers are designed to capture detail, which means they capture everything. Switch to dynamic for noisy spaces.
4. Ignoring the cardioid null point. The rear of the mic should face your noisiest source, not the quietest wall.
5. Sitting in the center of a square, empty room. Standing waves build up in the center of symmetric rooms. Move toward a corner or add absorption.
6. Forgetting to decouple the mic from the desk. Boom arms and shock mounts are cheap and stop low-frequency thumps.
7. Assuming a pop filter stops ambient noise. It does not. It only stops plosives. Use a windscreen for air movement.
Quick Tips Summary
Here is the short version of every technique on this page, in priority order:
– Move your mic 2 to 3 inches from your mouth and lower the gain.
– Aim the cardioid null point at your loudest noise source.
– Add a thick rug, curtains, or acoustic foam behind you.
– Use a shock mount to decouple the mic from desk vibration.
– Slip a foam windscreen over the capsule to block fan air.
– Position your fan behind the rear of the mic, never in front.
– Record in a closet or surround the mic with blankets for instant treatment.
– Mute the mic with a hardware switch whenever you stop talking.
FAQs
How do I stop my mic from picking up so much background noise?
Move the microphone 2 to 3 inches from your mouth, lower the gain until your voice peaks around -12 dB, and rotate the mic so its rear null point faces your loudest noise source. This combination cuts most background noise without any software.
How to get rid of background noise for streaming without software?
Use hardware-only fixes: move the mic close, reduce gain, add acoustic panels or blankets, use a shock mount, and reposition fans and keyboards behind the cardioid null point. These techniques keep your stream clean without plugins or noise gates.
What is the 3 to 1 rule in micing?
The 3-to-1 rule says the distance between a sound source and any reflective surface should be at least three times the distance from the source to the microphone. This prevents phase cancellation and reflected noise from coloring your recording.
Is there a microphone that cancels out background noise?
Yes. Dynamic microphones with a tight cardioid or super-cardioid pattern naturally reject off-axis sound far better than condensers. Models like the Shure SM7B and Rode PodMic are popular with streamers because they capture voice up close while rejecting room ambience.
How close should my mic be to reduce background noise?
For dynamic mics, aim for 1 to 3 inches from your mouth. For large-diaphragm condensers, 4 to 6 inches with a pop filter. Closer placement lets you run lower gain, which directly lowers the noise floor of your entire signal chain.
Conclusion
Learning how to reduce background noise on a streaming mic without software comes down to four ideas: get the mic close, run low gain, treat the room, and kill noise at the source. Every technique on this page falls into one of those buckets.
Start with placement and gain staging, because those are free and produce the biggest improvement. Add a shock mount, a windscreen, and a few acoustic panels once you have the basics dialed in. Your viewers will notice the difference within the first 30 seconds of your next stream, and you will never want to go back to a noisy setup.