
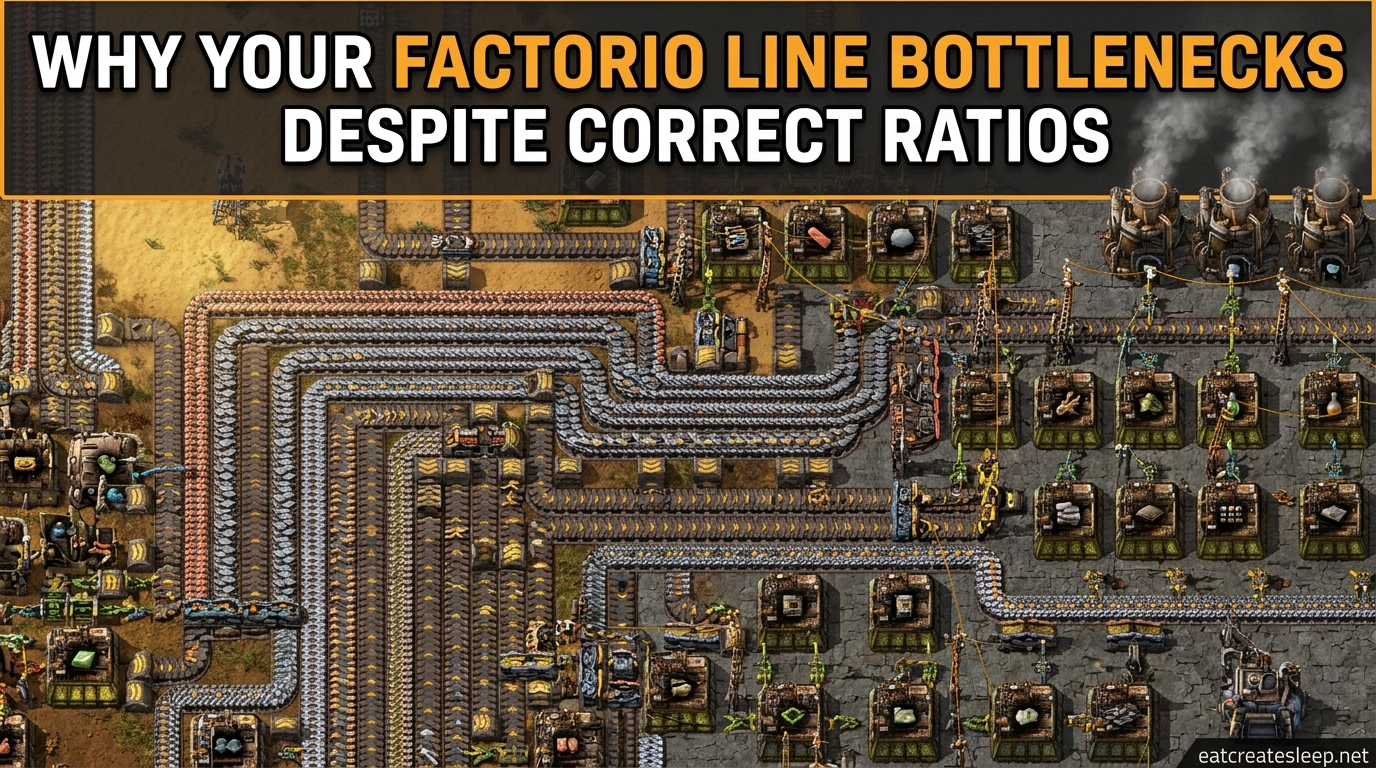
You calculated every ratio. You triple-checked the assembler counts. Your smelting column matches the perfect ratio from the wiki. And yet, the belt feeding your science packs is half-empty and your assemblers keep flickering between running and waiting. If this sounds familiar, you are not alone — this is one of the most common frustrations players voice on the r/factorio subreddit and the official forums.
The truth is that perfectly calculated ratios are only one piece of the puzzle. A production line in Factorio is a living system of belts, inserters, assemblers, and buffers, and the math that tells you “three assemblers feed two” says nothing about whether items can actually move between them fast enough. In this article I will explain exactly why your Factorio line bottlenecks even when the ratios are correct, and what you can do to find and fix the real constraint.
Table of Contents
Understanding What a Factorio Bottleneck Actually Is
A bottleneck in Factorio is any point where the flow of items is constrained below what downstream machines demand — not simply a machine producing too little. The confusion starts because most players equate “low output” with “bottleneck,” but the real definition is about flow, not volume. A single assembler running at full speed can still be a bottleneck if it cannot push its output anywhere.
That distinction matters because of a mechanic called backpressure. Backpressure is what happens when a downstream machine, belt, or chest is full and cannot accept more items. The signal travels backwards through inserters and belts until every upstream machine grinds to a halt, even though every single one of them is built to the correct ratio.
Picture a garden hose. The tap (your miners and smelters) is open. The nozzle (your consumer, like a science pack assembler) controls the flow. If the nozzle is partially closed, pressure builds up all the way back to the tap — even though the tap itself has plenty of capacity. In Factorio, items are the water, and a blocked output is the closed nozzle.
So when players ask “why does my production line stall,” the honest answer is rarely “your ratios are wrong.” It is almost always “something downstream is choking the flow, and the choke is propagating backwards.” Once you internalize that, every other bottleneck problem gets easier to diagnose.
Why Your Factorio Line Bottlenecks Even When the Ratios Are Correct
This is the core question, and the answer has several layers. Ratios assume a steady-state world where every machine can pull inputs and push outputs instantly. Factorio’s actual simulation has belts that move at finite speeds, inserters that swing on fixed tick cycles, and assemblers that pause when their output buffer fills. Each of those realities breaks the steady-state assumption.
Ratios Assume Perfect Throughput, Throughput Is Rarely Perfect
A ratio tells you how many assemblers you need to consume a given input rate. What it does not tell you is whether a single yellow belt can actually carry that input rate across the distance between your smelting column and your assembly area. A yellow belt moves 15 items per second. If your recipe math says you need 18 iron plates per second, the belt itself becomes the bottleneck — no matter how perfectly balanced your assemblers are.
This is the gap between theoretical consumption and actual throughput. Most ratio calculators, including the popular Kirk McDonald tool, output consumption rates. They do not tell you how many belts you need to deliver that consumption without compression loss.
Backpressure Stops Upstream Production
Even with the right ratios and the right belt tiers, a single consumer that goes idle will flood the line. Imagine your green science assemblers pause because your military science backed up. Suddenly the inserters feeding green science stop pulling. The belt fills. The gear assemblers feeding that belt stop. Within seconds, your entire iron processing chain has stalled — and none of it was caused by a bad ratio.
Players often misread this stall as a shortage. They build more smelters, which only makes the problem worse because the new smelters immediately back up too. The real fix is to address the downstream consumer that started the cascade.
Scale Changes Where the Bottleneck Lives
One of the most insightful observations from the r/factorio community is that bottlenecks are scale-dependent. At small scale, your limit is usually belt throughput. As you expand, the limit shifts to train crossings, then to inserter cycle times, then back to belts again as you upgrade to higher tiers. A design that ran flawlessly at 30 science per minute can collapse at 300 science per minute for reasons that have nothing to do with ratios.
This is why copying blueprints blindly often fails. A ratio-perfect setup that works in someone else’s base may stall in yours because your belt layout, inserter orientation, or train schedule is different. The bottleneck is contextual, not absolute.
Ratios Ignore Real-World Timing
Factorio runs on a 60-tick-per-second simulation. Every inserter swing, every assembler craft, every belt step happens on a discrete tick. A burner inserter takes roughly 0.12 seconds per swing. A fast inserter takes less, but still a measurable number of ticks. When you stack dozens of inserters along a line, those fractional delays add up to real throughput losses that no ratio can predict.
The community has a name for this: the cycle time illusion. Your ratios say the line should produce 20 items per second, but because inserters cannot actually transfer items that fast in your specific layout, real output is 16 or 17 items per second. The line looks balanced on paper and starved in practice.
The Hidden Bottlenecks: Inserters, Splitters, and Belt Compression
Most players never think about inserters as a bottleneck. They should. Inserter throughput is one of the most overlooked causes of stalls in otherwise ratio-perfect factories, and almost no competitor guide explains it clearly.
The Inserter Cycle Time Problem
Every inserter has a swing time — the number of ticks it takes to grab an item, rotate, and drop it. That swing time is fixed regardless of how desperate the target machine is. A stack inserter moving items from a chest to a yellow belt will only transfer as many items per second as its swing cycle allows, even if the chest is overflowing.
This becomes a hidden bottleneck in two common cases. First, when you feed a high-speed assembler with a single inserter pulling from a belt — the assembler can out-consume what the inserter can deliver. Second, when you unload a cargo wagon with too few inserters — the train sits at the station longer than necessary, clogging your rail network. In both cases, the ratios are correct, but the inserter count is not.
Belt Compression vs. Belt Saturation
Players often confuse two different belt problems. Belt saturation is whether items are present on the belt at all. Belt compression is whether items are packed tightly enough that no gaps exist between them. A belt can be saturated (items on every lane) without being compressed (gaps between items that waste throughput).
Compression loss usually comes from poorly designed splitters, balancers, or side-loading. A splitter that is not balanced will leave one output lane half-empty even though total input matches total output. The fix is rarely more belts — it is a proper lane balancer or a redesigned merge.
Splitters Can Create Invisible Chokepoints
A common question on the forums is “do splitters slow down belts in Factorio?” The honest answer is: a properly placed splitter does not, but a splitter used to merge or balance at the wrong spot absolutely can. When a splitter takes two full lanes and splits them onto a single lane, items back up at the splitter itself. The same goes for side-merging two belts onto one — the merge point becomes a permanent chokepoint that no ratio calculation will reveal.
If you see a splitter with a gap on one output and a backlog on the input, you have found a compression bottleneck. Rebalancing the downstream belts or upgrading the lane will usually resolve it.
How to Find Your Real Bottleneck in 5 Steps
Diagnosing a stall is faster than you think if you follow a methodical process. Most players panic-build more machines when they should be watching their belts.
Step 1: Open the production graph. Press P and watch the graph for each item in the stalled chain. The item that is producing at full capacity but never increases is feeding into something blocked. The item that is producing below its expected rate is being starved.
Step 2: Walk the line backwards from the consumer. Start at the science pack or final product and trace inputs backwards. The first machine you find that is running at 100% while its output belt is full is sitting behind the bottleneck. The first machine running at less than 100% with an empty output belt is starving for input.
Step 3: Look for backed-up belts, not empty belts. A backed-up belt means something downstream cannot consume fast enough. An empty belt means something upstream cannot produce fast enough. The fix for each is opposite, so do not confuse them.
Step 4: Check inserter counts and belt tiers along the suspect segment. If an assembler is starved despite a full belt next to it, you likely do not have enough inserters — or the wrong tier of inserter — to feed it. If a belt is full but downstream assemblers still idle, the belt tier itself may be the limit.
Step 5: Remove the suspected bottleneck and observe. Upgrade the belt, add an inserter, or split the line into parallel lanes. If production jumps, you found it. If it does not, repeat from step 2 with the next candidate.
Practical Fixes for Common Bottlenecks
Once you have located the real constraint, the fixes tend to fall into a small number of patterns. Here are the ones that solve the most stalls I have seen.
Use Buffers to Smooth Out Bursty Production
A buffer chest between two stages of production absorbs momentary surges and prevents backpressure from cascading. Buffers are especially useful before train stations, where intermittent loading and unloading can otherwise stall an entire line. The key rule: buffers mask problems, they do not solve them. Use them to smooth flow, not to hide a persistent shortage.
Split Into Parallel Lanes
If a single belt is your bottleneck, splitting your production into two or more parallel lanes is often faster and cheaper than upgrading every belt on the bus. Each lane handles a fraction of the total flow, which means each lane stays uncompressed and the assemblers downstream stay fed.
Upgrade Belts Before Adding More Smelters
When iron plate supply stalls, the instinct is to build more furnaces. Often the right move is to upgrade the belt carrying the plates. A red belt carries twice what a yellow belt does, and that single change can unblock an entire smelting column without laying a single new furnace.
Use Speed Modules on the Constraint, Not Everywhere
The Theory of Constraints, popularized by Goldratt’s The Goal and frequently cited on the Factorio forums, says you should only ever optimize the bottleneck itself. Putting speed modules in a non-bottleneck machine just creates more backpressure. Putting them in the bottleneck machine increases the throughput of your entire line. This is one of the highest-leverage fixes in the game.
Balance Your Main Bus
An unbalanced main bus is a silent killer. If one lane is being pulled harder than others, the splitter network feeding the bus will starve that lane even when total supply is sufficient. A proper 4-to-4 or 8-to-8 balancer at regular intervals along the bus keeps flow even and prevents surprise stalls.
FAQs
Why does my Factorio factory stall even with correct ratios?
Correct ratios only guarantee that your machines can theoretically produce the right amounts. They do not account for belt throughput limits, inserter cycle times, backpressure from downstream consumers, or scale-dependent constraints. The stall is almost always caused by flow being blocked somewhere along the line, not by your ratios being wrong.
What causes Factorio bottlenecks besides bad ratios?
The most common causes are belt throughput limits, inserter swing-time limits, backpressure from downstream consumers, unbalanced splitters, train-station unload rates, and scale shifts where a layout that worked at one output level fails at a higher one.
How do I fix Factorio line bottlenecks?
Open the production graph, walk the line backwards from the consumer, identify whether the belt is backed up or empty, check inserter counts and belt tiers along the suspect segment, then upgrade the belt, add parallel lanes, or apply speed modules to the constrained machine.
Do splitters slow down belts in Factorio?
A properly placed splitter does not reduce total throughput, but a splitter used to merge two lanes onto one or to balance at the wrong spot can create compression loss and leave one output lane half-empty, which functions as a chokepoint even though the ratios appear correct.
What should be on the main bus in Factorio?
The main bus typically carries iron plates, copper plates, steel, gears, electronic circuits, advanced circuits, processing units, plastic, sulfur, and sometimes stone and coal. Each item should have its own set of lanes with proper balancers to keep flow even and prevent one consumer from starving the rest.
Conclusion
If you take one thing from this guide, let it be this: ratios describe potential, not reality. Your Factorio line bottlenecks even when the ratios are correct because belts, inserters, backpressure, and scale all impose real constraints that no ratio calculator can see. Find the constraint, fix only the constraint, and the rest of your factory will follow. The Theory of Constraints has held up across decades of real-world manufacturing, and it holds up just as well on Nauvis.