
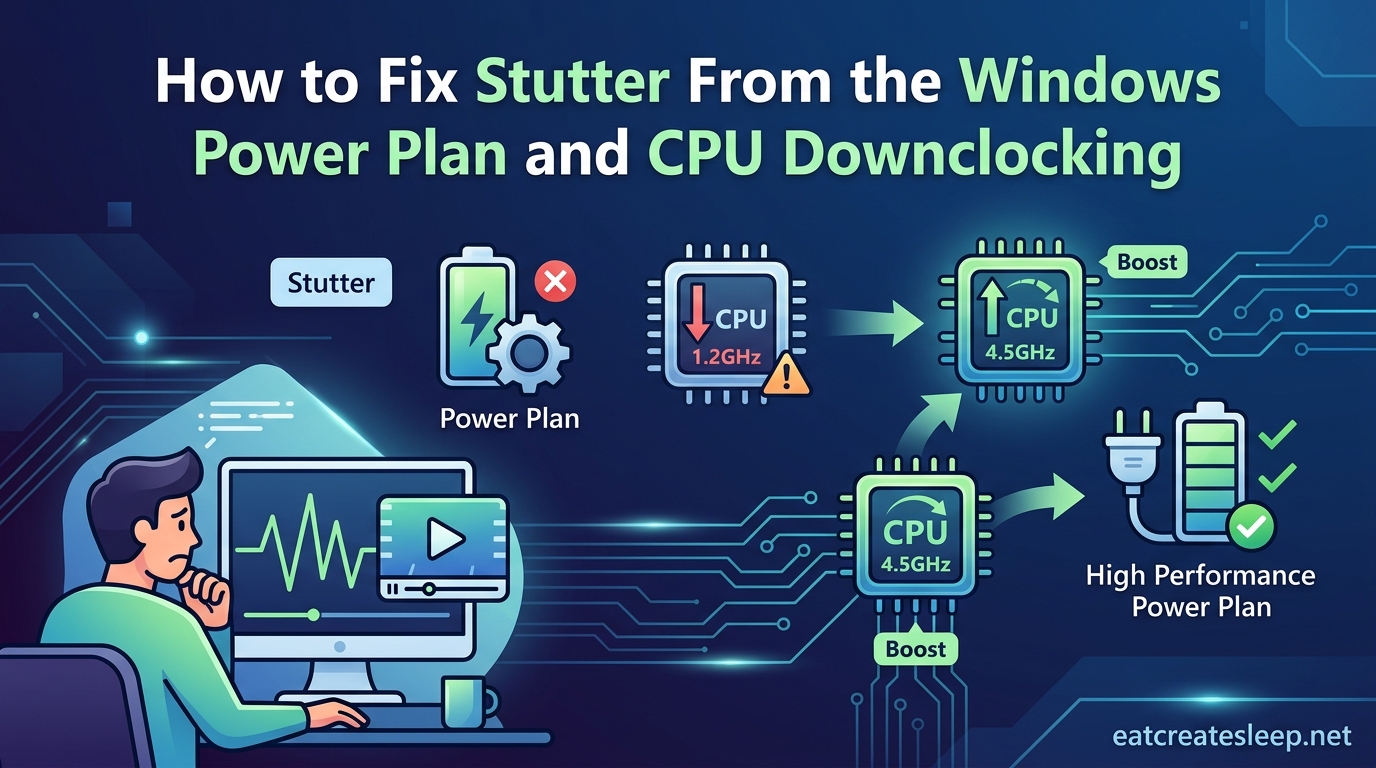
You built or bought a fast PC, but every few seconds the screen hitches. Frames drop, audio pops, and your cursor feels like it is swimming through mud. If this sounds familiar, the culprit is probably not your graphics card. It is likely your Windows power plan forcing your CPU to slow down at the worst possible moment.
Learning how to fix stutter from the Windows power plan and CPU downclocking can transform a frustrating setup into a smooth, responsive machine. I have dealt with this exact problem on gaming rigs, audio workstations, and everyday laptops. The fix is usually buried three menus deep in Control Panel, but once you know where to look, it takes about two minutes.
This guide walks through why power plans cause stutter, how to confirm the problem, and the exact steps to lock your CPU at full speed. I will also cover core parking, the minimum processor state setting, and what to try when the basic fix does not stick.
Table of Contents
Why Power Plan Settings Cause Stuttering
Windows ships with several power plans, and the default on most systems is called Balanced. The Balanced plan tells your CPU to slow down when demand is low and speed back up when demand rises. That sounds smart in theory, but in practice it creates a lag between the moment your system needs power and the moment the CPU actually delivers it.
That lag is what you experience as stutter. Your CPU drops to a lower clock speed, a game or application suddenly demands more performance, and the processor takes a fraction of a second to ramp back up. During that fraction of a second, frames are missed and the display stutters.
CPU downclocking happens through something called P-states, or performance states. Windows and your processor negotiate a clock speed based on the current power plan rules. On Balanced, the CPU is allowed to drop to a very low frequency, sometimes under 1 GHz, when the system thinks you are idle. The problem is that background tasks, game engines, and audio drivers do not always trigger a fast ramp-up.
Core parking makes the problem worse. Windows can shut down entire CPU cores to save power, then wake them back up when load increases. Each time a core is parked or unparked, there is a brief latency spike. Stack enough of those spikes together and you get consistent micro-stuttering.
How to Tell if Your Power Plan Is Causing the Stutter
Before you start changing settings, confirm that the power plan is actually the problem. Not all stutter comes from CPU throttling, and you do not want to waste time on a fix that does not apply.
The fastest check is to open Task Manager while the stutter is happening. Go to the Performance tab, click CPU, and watch the Speed value. If the clock speed is bouncing around wildly, dropping below your base frequency and then spiking, your power plan is likely downclocking the CPU under load.
For a more thorough diagnosis, download a free tool called LatencyMon. It is the diagnostic tool most trusted by audio professionals and the forum communities I have followed for years. Run it for a few minutes while the stutter occurs, and it will show you exactly which drivers are causing DPC latency spikes and whether the CPU is being throttled.
If LatencyMon reports high DPC latency that spikes in time with your stutter, and Task Manager shows clock speed fluctuations, you have confirmed the problem. Move on to the fix below.
Step-by-Step: Fix Stutter by Changing Your Power Plan
Here is how to fix stutter from the Windows power plan and CPU downclocking in six clear steps. These instructions work on both Windows 10 and Windows 11.
Step 1: Open Control Panel. Press the Windows key, type Control Panel, and hit Enter. The Settings app does not give you access to the advanced power options you need, so you must use Control Panel.
Step 2: Navigate to Power Options. If your Control Panel is in Category view, change the view in the top right to Large Icons, then click Power Options. You should see a list of available power plans with radio buttons next to each one.
Step 3: Select High Performance. If you see it in the list, click the radio button next to High Performance. If you only see Balanced and Power saver, click the link that says Show additional plans to reveal it. Still do not see it? I cover how to unlock it in the advanced tweaks section below.
Step 4: Open advanced power settings. With High Performance selected, click Change plan settings next to it, then click Change advanced power settings. A small window will pop up with a tree of expandable categories.
Step 5: Expand Processor power management. Click the plus sign next to Processor power management. You will see three sub-settings: Minimum processor state, Maximum processor state, and System cooling policy.
Step 6: Set minimum processor state to 100 percent. Click the plus sign next to Minimum processor state, then click the word that says something like 5 percent. Change it to 100 percent. Click Apply, then OK. This single change is what stops the CPU from downclocking.
After applying, launch whatever was stuttering and test it. Most users see the stutter disappear immediately.
The Minimum Processor State Setting Explained
The minimum processor state setting is the single most important value for fixing CPU-related stutter, yet it is barely explained in the Windows interface itself. Here is what it actually does.
Minimum processor state tells Windows the lowest clock speed percentage your CPU is allowed to drop to. At the default setting of 5 percent, Windows can throttle your processor down to a crawl whenever it thinks you are not doing anything demanding. At 100 percent, the CPU is never allowed to reduce its clock speed below its base frequency.
Setting it to 100 percent does not overclock your CPU. It simply prevents the aggressive downclocking that causes the stutter in the first place. Your processor will still boost above its base frequency when needed through its own turbo or precision boost mechanisms. What it will not do is drop below base frequency and then struggle to ramp back up.
One thing to keep in mind: setting minimum processor state to 100 percent will increase idle power consumption and heat slightly. On a desktop, this is a non-issue. On a laptop, you may notice shorter battery life, so consider applying this only when plugged in for gaming or intensive work.
Disable Core Parking to Prevent Micro-Stutters
Core parking is the other half of the stutter problem. Even with your power plan set to High Performance and minimum processor state at 100 percent, Windows may still park unused CPU cores. Each time a core is parked or unparked, a small latency spike occurs.
For most users, the High Performance plan already disables core parking by default. But some system manufacturers and certain Windows updates override this behavior. To verify, go back to the advanced power settings window and look for a setting called Processor performance core parking min cores under Processor power management.
If you see it, expand it and set the value to 100 percent. This tells Windows to keep all cores active at all times. If you do not see the core parking options in the advanced settings menu, you can use a free utility called Quick CPU or Power Settings Explorer to reveal hidden power settings that Windows hides by default.
After disabling core parking, the micro-stutters that happen at irregular intervals should disappear. This is especially noticeable in games with sudden scene transitions or in audio production when playback pops at random moments.
Balanced vs High Performance: Which Actually Helps
People often ask whether the Balanced plan is fine if they just tweak a few settings. The honest answer is: it depends on your hardware and your tolerance for occasional hitches.
The Balanced plan is designed to save power by aggressively reducing clock speeds during light loads. On modern CPUs with fast boost algorithms, the transition from low to high clock speed can happen in milliseconds. On older processors or heavily loaded systems, that transition is slower and more visible. The Balanced plan is also where core parking is most aggressive.
The High Performance plan disables most of the aggressive downclocking. It keeps the CPU at or near its base frequency at all times and allows boost clocks to engage more quickly. For gaming, real-time audio, and any latency-sensitive work, High Performance is the better choice.
On laptops, there is a real trade-off. High Performance on a laptop running on battery will drain the battery faster and generate more heat. Many laptop users set the power plan to High Performance only when plugged in and switch to Balanced or a manufacturer-specific mode when on battery.
Windows 11 also has a new recommended power mode toggle in Settings that sits on top of the Control Panel power plan. Make sure that toggle is set to Best Performance if you are on Windows 11 and still seeing stutter after switching to the High Performance plan.
Advanced Tweaks: Registry and Ultimate Performance
If the High Performance plan is not enough, or if you do not see it in the list, there are two advanced options worth trying.
The Ultimate Performance plan is a hidden power plan that goes further than High Performance. It removes even more power management restrictions and is designed for workstation-class hardware. To unlock it, open an Administrator Command Prompt and run: powercfg -duplicatescheme e9a42b02-d5df-448d-aa00-03f14749eb61. The plan will then appear in your Power Options list.
For AMD processors specifically, Ryzen users should install the AMD chipset drivers and use the Ryzen Balanced or Ryzen High Performance plan that comes with them. AMD processors have their own precision boost algorithms that work differently than Intel Speed Shift, and using the AMD-specific plan can actually perform better than the generic Windows plans.
Intel users should make sure Speed Shift is enabled in the BIOS. Speed Shift allows the CPU to change frequencies much faster than the older SpeedStep technology, which reduces the latency of clock transitions and can reduce stutter on its own.
Some advanced users go further with registry tweaks related to the Multimedia Class Scheduler Service and foreground processing priority. These are riskier changes that can cause system instability if done incorrectly, so I recommend trying everything else first before touching the registry.
When the Fix Does Not Work: Troubleshooting
Sometimes you apply the power plan fix and the stutter persists. Here are the most common reasons why and what to check next.
Thermal throttling can mimic power plan stutter. If your CPU is overheating, it will downclock itself regardless of your power plan settings to prevent damage. Check your CPU temperatures with a tool like HWMonitor or Core Temp. If temperatures are consistently above 90 degrees Celsius under load, you have a cooling problem, not a power plan problem.
BIOS settings can also override Windows power management. Some motherboards have their own power management features like Intel C-States or AMD Cool’n’Quiet that can cause downclocking even on High Performance plans. Check your BIOS for any CPU power management or C-state control options and test disabling them.
If the stutter only happens in one specific game or application, the problem may be software-specific rather than power-related. Check for known issues with that software, update your graphics drivers, and verify game files before assuming it is a system-wide power problem.
Finally, a faulty or degraded CPU can cause stuttering, though this is rare. If you have ruled out everything else and the stutter persists across all applications, consider running a CPU stress test like Cinebench or Prime95 to check for instability. A processor that throttles or crashes under sustained load may need to be reseated, repasted, or replaced.
How to Stop Power Settings From Resetting
One of the biggest frustrations users report is that their power plan settings revert after a restart, a Windows update, or waking from sleep. Here is how to make the fix stick.
First, check whether your motherboard or laptop manufacturer installed a power management utility. Programs like Asus Armoury Crate, Lenovo Vantage, and Dell Power Manager can override your Windows power plan settings. Open whatever manufacturer tool is installed and set its power mode to match what you want Windows to use.
Second, delete the power plans you do not want. Windows can sometimes switch back to Balanced if it thinks Balanced is the preferred plan. Open an Administrator Command Prompt and use powercfg /list to see all plans, then use powercfg /deleteguide followed by the GUID of the plan you want to remove. A trick shared across multiple forums is to delete all plans except High Performance, forcing Windows to use it exclusively.
Third, be aware that major Windows feature updates, like the move to Windows 11 24H2, can reset power settings entirely. After any major update, re-check your power plan and minimum processor state to make sure they are still correct.
FAQs
How to fix a CPU stutter?
To fix CPU stutter, switch your Windows power plan to High Performance, set the minimum processor state to 100 percent in advanced power settings, and disable core parking. Use LatencyMon to confirm the CPU is being throttled before and after the change.
Can CPU throttling cause stuttering?
Yes. When a CPU downclocks to save power and then has to ramp back up under sudden load, the transition creates brief latency spikes that appear as stuttering, frame drops, and audio pops.
How to stop CPU power throttling?
Open Control Panel, go to Power Options, select High Performance, then click Change advanced power settings. Expand Processor power management and set Minimum processor state to 100 percent. This prevents Windows from reducing the CPU clock speed below its base frequency.
What’s the best power plan for gaming?
The High Performance power plan is best for gaming because it keeps the CPU at or near its base clock speed at all times, reducing the latency spikes that cause stutter. On Windows 11, also set the power mode slider in Settings to Best Performance.
Why do my power settings keep changing in Windows 11?
Windows updates, manufacturer power utilities like Armoury Crate or Lenovo Vantage, and the Windows 11 power mode toggle in Settings can all override or reset your Control Panel power plan. Delete unwanted plans with powercfg, disable manufacturer utilities, and recheck settings after major updates.
What is the minimum processor state setting in Windows 11?
Minimum processor state is the lowest clock speed percentage Windows is allowed to drop your CPU to. Setting it to 100 percent prevents downclocking entirely, which eliminates the stutter caused by the CPU ramping between low and high frequencies.
Conclusion
Fixing stutter from the Windows power plan and CPU downclocking comes down to three changes: switch to High Performance, set minimum processor state to 100 percent, and disable core parking. Run LatencyMon to confirm the problem, apply the settings, and test your workload.
If the stutter returns after a restart or update, check for manufacturer power utilities and delete unused power plans with powercfg. When the basics do not work, investigate thermal throttling, BIOS C-state settings, and platform-specific options like AMD chipset drivers or Intel Speed Shift. The fix is almost always in the power settings, you just have to know where Windows hid it.