
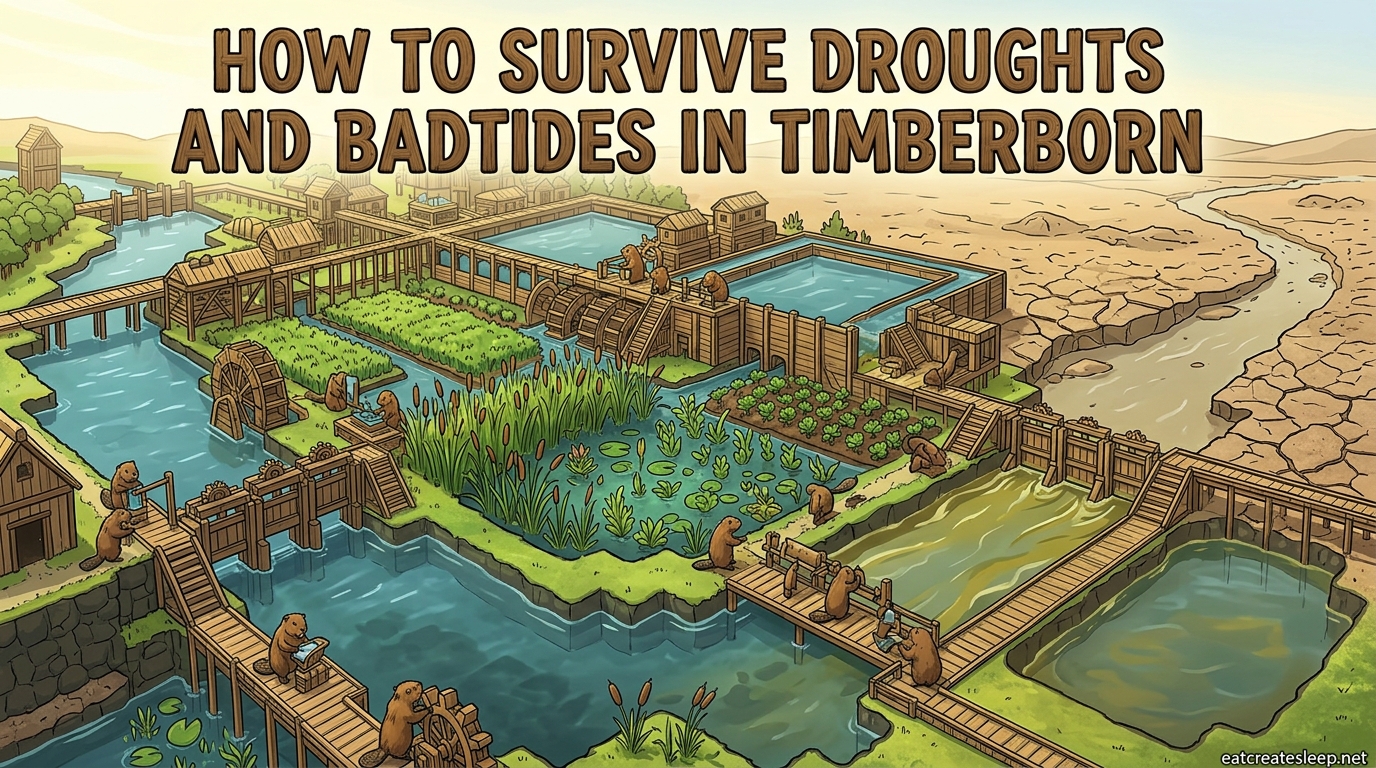
Every Timberborn colony dies the same way. The river stops flowing, the crops wither, and the beavers look up at empty water tanks wondering what happened. I have watched this exact scenario play out across dozens of saves, and the cause is almost always the same: bad reservoir design and zero preparation for Badtides.
This guide covers exactly how to survive droughts and Badtides in Timberborn with reservoir design that actually works. You will learn water storage math, depth-over-breadth principles, dam and floodgate choices, contamination barriers, crop timing, and emergency protocols you can run when the warning siren hits.
Everything here is built from the official Timberborn wiki numbers, the in-game water physics simulation, and what experienced players on Reddit and Steam have stress-tested through 30-plus day hard mode droughts. By the end, you will have a step-by-step drought survival checklist and a reservoir blueprint that scales from your first 5-day drought all the way to endgame Badtide chains.
Table of Contents
How to Survive Droughts and Badtides in Timberborn with Reservoir Design?
The short answer is this: build deep reservoirs before you need them, isolate at least one clean water reserve from the main river, stack dams vertically, and use floodgates to control flow into your irrigation channels. Timberborn drought survival comes down to storing enough water during temperate seasons to outlast every drought and Badtide the game throws at you.
The rest of this guide breaks down each piece of that strategy with specific numbers, comparison tables, and step-by-step instructions so you can apply it to your own colony whether you are playing Folktails on normal or Iron Teeth on hard mode.
Understanding Drought and Badtide Mechanics
What Happens During a Drought
A drought in Timberborn is a weather event where every water source on the map stops flowing. Rivers dry up, irrigation channels go empty, and any crop or tree relying on that water starts dying within days. Your colony survives only on water you stored in tanks and reservoirs before the drought started.
Droughts cycle with temperate seasons. During a temperate period, rivers flow and you can refill storage. When the drought warning appears, you have a short window to close floodgates, divert water into your reserves, and lock down irrigation before the riverbed goes dry.
The defining mechanic is consumption. Every beaver drinks roughly 2 water per day. Crops, trees, and certain buildings also draw water through irrigation. If your stored water plus your daily intake hits zero, beavers start dying of thirst within a single cycle.
What Is a Badtide and Why It Is Worse
A Badtide is a contamination event that is more dangerous than a regular drought. Instead of rivers simply stopping, the water source keeps flowing but releases badwater, a contaminated fluid that poisons any beaver who drinks it and kills crops it touches through irrigation.
According to the official Timberborn wiki, when a Badtide starts the water source contamination begins at 50 percent and ramps to 100 percent over roughly 12 hours. Contamination then starts decreasing about 12 hours after the Badtide ends. That 12-hour ramp is critical because if you do not isolate your clean water reserves fast, the contamination front pushes into your tanks and irrigation network.
Badtides are worse than droughts because you cannot just wait them out on stored water. You have to physically block the contamination from reaching your clean supply, and you have to keep your beavers from drinking tainted water during the entire event.
How Bad Droughts Get in Timberborn
Drought length scales hard with difficulty. On easy mode, droughts last around 2 to 5 days and show up rarely. On normal mode, they stretch to 7 to 15 days and occur more often as cycles stack. On hard mode, droughts routinely hit 30 days or longer, and they stack with Badtides that can shut down your clean water for full cycles.
The game also uses a handicap cycle system. Early cycles give you short, forgiving droughts so you can build infrastructure. As cycles progress, droughts get longer, appear closer together, and Badtides start mixing in. The longest droughts in Timberborn are effectively unlimited because once you survive a 30-day hard mode drought, the next cycle can chain another drought immediately after a brief temperate window.
Water Physics and Evaporation
Evaporation Rate Explained
Timberborn uses a 2D and 3D water simulation where every exposed surface tile loses water to evaporation. The community-documented rate is roughly 0.045 units of water per exposed surface tile per cycle. That number sounds small, but it compounds fast on wide shallow reservoirs.
Here is why this matters. A reservoir that is 10 tiles wide by 10 tiles long but only 1.5 blocks deep exposes 100 surface tiles to evaporation. A reservoir that is 5 tiles wide by 5 tiles long but 6 blocks deep exposes only 25 surface tiles while holding a comparable volume. The deep reservoir loses a quarter of the evaporation for the same stored water.
This is the foundation of reservoir design in Timberborn. Depth always beats breadth. Every tile of exposed surface is a leak, and the only way to shrink that leak without losing capacity is to push your storage deeper into the terrain.
Does Underground Water Evaporate in Timberborn
Yes, underground water still evaporates in Timberborn. There is no way to fully stop water from evaporating outside of sealed storage tanks. This is a common misconception spread by older guides, but players who tested it on Reddit confirmed that any open water surface, even one carved into terrain, loses water to evaporation at the same 0.045 per tile rate.
The reason underground storage still helps is geometry. When you dig down, you naturally create deep narrow chambers with small surface footprints. A 3 by 3 channel cut 8 blocks deep has only 9 exposed surface tiles but holds 72 units of water. That is the practical workaround, not a special evaporation rule.
For true evaporation-proof storage, use Large Water Tanks and Small Water Tanks. Those are sealed structures that hold water with zero evaporation loss.
Water Storage Math: How Much Do You Need
Daily Water Consumption by Colony Size
The baseline Timberborn water consumption rate is about 2 water per beaver per day for drinking alone. On top of that, crops draw water through irrigation and certain food processing buildings consume extra. A safe planning figure for a mixed farming colony is 2.5 to 3 water per beaver per day.
To calculate the water you need for a drought, multiply your colony size by your daily consumption per beaver, then multiply that by the drought length in days, and add a 20 percent safety buffer. That gives you the minimum stored water you should have sitting in tanks and reservoirs the moment a drought warning fires.
Storage Structure Capacities
Each storage structure in Timberborn holds a fixed amount. Small Water Tanks hold 30 units and are cheap early-game options for spreading water near housing. Large Water Tanks hold 100 units each and are the backbone of any mid-game colony. Reservoir capacity depends entirely on dimensions and is calculated as width times length times water depth in blocks.
A single filled Large Water Tank keeps 50 beavers in drinking water for less than a day. That is why every serious drought survival strategy relies on natural reservoirs dug into terrain rather than tanks alone. Tanks are buffers; reservoirs are the real storage.
Required Water Units Reference
Here is a quick reference for how much stored water you want before a drought hits, assuming 3 water per beaver per day with a 20 percent buffer applied:
- 10 beavers, 5 day drought: roughly 180 water units
- 10 beavers, 10 day drought: roughly 360 water units
- 20 beavers, 10 day drought: roughly 720 water units
- 20 beavers, 15 day drought: roughly 1,080 water units
- 30 beavers, 20 day drought: roughly 2,160 water units
- 30 beavers, 30 day drought: roughly 3,240 water units
These numbers explain why hard mode demands serious engineering. A 30-beaver colony needs over 3,000 units of stored water to outlast a single long drought, and you usually have only one temperate season to refill everything.
Reservoir Design Principles: Depth Over Breadth
Why Deep Reservoirs Beat Wide Ones
Reservoir design in Timberborn rewards depth because depth cuts evaporation without cutting storage volume. A 5 by 5 reservoir dug 6 blocks deep exposes 25 surface tiles and holds 150 units of water. A 10 by 10 reservoir at 1.5 blocks deep exposes 100 surface tiles and holds roughly 150 units too, but it bleeds four times the evaporation every cycle.
Over a 20-day drought, that extra evaporation from the wide shallow design can cost you dozens of units of water. Multiply that across multiple reservoirs and you can lose hundreds of units, which is often the difference between surviving and running dry.
The rule is simple. Always dig down before you dig out. Build the deepest reservoir your terrain allows, then expand the footprint only when you have already maxed depth. Stacked dams let you push reservoir floors well below natural river level.
Using Natural Terrain to Your Advantage
The best reservoir placement in Timberborn is inside natural terrain depressions, canyons, and cliff-bordered basins. Natural walls mean you only need to build one or two dam walls instead of enclosing the entire reservoir, which saves resources and construction time.
On canyon maps, look for U-shaped bends in the river where you can dam a single opening and flood a deep natural basin. On plain terrain, your best bet is to dig down into the ground using platforms and explosives to carve a deep pit, then build levee walls around the top to add even more depth.
Always pair your reservoir with a Deep Water Pump placed at the deepest point. Deep Water Pumps can draw water from 6 tiles of depth, far more than the standard Water Pump which only reaches 2 tiles. A deep reservoir with a standard pump is a waste because you cannot access most of the water you stored.
Underground Water Storage Technique
The underground water storage technique is one of the most underused tricks in Timberborn. The idea is to carve channels deep into the ground, below your main district level, and flood them with clean water during temperate seasons. Because these channels are narrow and deep, they have a tiny evaporation footprint relative to their volume.
Players on the Timberborn subreddit discovered this as a workaround for the evaporation problem. Even though underground water still evaporates at the same rate per exposed tile, the geometry of a carved channel means you expose very few tiles while holding a large volume. A 3-wide channel cut 8 deep along a 20-tile run exposes 60 surface tiles but holds 480 units of water.
The catch is access. You need Deep Water Pumps or shafts to pull the water back out. Plan the layout before you dig so the pump sits at the deepest point of the channel network.
Dam, Levee, and Floodgate: Choosing the Right Tool
Dam vs Levee vs Floodgate Comparison
The three core water control structures in Timberborn each do a different job. Picking the wrong one for your reservoir will either leak water you needed or block flow you relied on.
Dams are partial-height walls that let water flow over the top once it rises past the dam’s 0.65 block height. They are ideal for reservoirs where you want to capture rising water during temperate seasons and release it gradually downstream. Dams are the backbone of cascade reservoir systems.
Levees are full-height walls that completely block water. They do not let anything pass. Use levees when you need a hard seal, like isolating a clean water reserve from a contamination front during a Badtide. Levees are also the standard structure for raising reservoir walls above natural terrain.
Floodgates are adjustable structures that you can open and close manually. A floodgate lets you control exactly when water flows in or out of a reservoir. They are the single most important tool for Badtide response because you can slam them shut the moment contamination appears and reopen them when the all-clear sounds.
The common combination is levee walls for the main reservoir shape, a dam for overflow control, and a floodgate at the inlet so you can isolate the reservoir on demand. That triad gives you passive filling, overflow protection, and emergency cutoff all in one structure.
Cascading Reservoir Systems
A cascade reservoir system is a chain of reservoirs stacked along a river, each one feeding into the next through a dam or floodgate. The top reservoir catches water first, overflows into the middle reservoir, which overflows into the bottom reservoir. This setup gives you free passive filling during temperate seasons with no micromanagement.
The advantage of a cascade is redundancy. If one reservoir runs dry, the ones above it can release water downstream to top it up. If contamination hits, you can isolate individual reservoirs in the chain without losing the whole network. Cascades scale naturally with your colony because you can always add another tier upstream as your water needs grow.
For hard mode, a three-tier cascade is the minimum serious setup. Each tier should be deep, fed by a floodgate from the tier above, and have its own Deep Water Pump for local distribution.
Badtide Protection Strategies
Isolating Clean Water Reserves
The most important Badtide strategy is having at least one clean water reservoir that is completely isolated from the main river. This reservoir is never directly connected to flowing water. It is filled through a floodgate or pump line that you only open during temperate seasons, and you slam it shut the moment a Badtide warning appears.
Experienced Timberborn players on Reddit stress this constantly. If every reservoir you own is connected to the river, then one contamination front can poison all of them in a single Badtide. An isolated reserve is your insurance policy against total colony loss.
Build the isolated reserve deep, cap it with a floodgate, and never route badwater-capable channels anywhere near its inlet. The cost of one extra floodgate and a few levee blocks is trivial compared to rebuilding a dead water network.
Contamination Barriers
Contamination barriers are structures you place to physically block badwater from reaching your clean water supplies and irrigation lines. The key placement rule, confirmed by community testing, is that barriers must be placed beside where the contamination is, using the ground tile next to the contamination source rather than on top of it.
A levee is the standard barrier because it blocks water completely. A row of levees between your main river and your irrigation inlet will stop badwater from creeping into your crop network during a Badtide. Floodgates work too if you need to reopen flow once the contamination clears.
Remember the timing. Contamination ramps from 50 percent to 100 percent over about 12 hours, then takes another 12 hours to clear after the Badtide ends. Your barriers need to be in place for the full duration, not just the peak. Keep them sealed until the contamination percentage drops back to zero.
Curing and Recycling Badwater
There is no direct cure for badwater in Timberborn in the sense of a single building you drop on contaminated water to clean it. The only ways to deal with badwater are to isolate it, let it drain away through floodgates once the Badtide ends, or use advanced fluid dump and water recycling setups to dilute contamination below harmful levels.
Some players build water recycling systems where contaminated water is dumped into a sealed basin and slowly diluted with clean water until the contamination percentage drops to safe levels. This is advanced and resource-heavy, but it can recover usable water from a Badtide rather than just venting it downstream.
For most colonies, the practical approach is containment and patience. Seal off the badwater, let the Badtide end, open floodgates to flush the contamination downstream, and refill your clean reserves during the next temperate window.
Food Stockpiling and Crop Timing
Water is only half of drought survival. The other half is food, because crops die when irrigation dries up. You need enough stored food to feed your colony through the entire drought plus a safety buffer, and you need to time your planting so harvests land before the river goes dry.
A safe food buffer is 10 days of food for every beaver at minimum consumption. Bread is the most space-efficient because it packs densely into warehouses. Carrots and potatoes work early game but spoil your warehouse efficiency if you stockpile too much raw produce. Hoarding bread is the standard play for surviving when crops fail for 10 or more days.
Crop timing matters as much as volume. Check the growth time of each crop against the drought cycle. If a crop takes 8 days to mature and the drought hits in 6, you will lose the harvest unless that field has independent irrigation from an isolated reservoir. Time your temperate season planting so the last harvest lands a day or two before the drought starts.
Beehives accelerate crop growth and can squeeze an extra harvest out of each temperate window. Tree management also matters because trees need irrigation and take longer to grow than crops. Plant your tree farm early in the cycle so the trees are mature before droughts start hitting hard.
Emergency Drought Protocols
When the drought warning fires, you have a short window to lock down your colony. Run this checklist the instant the warning appears:
- Close all floodgates leading into your clean water reservoirs. This locks the contamination and drought out of your reserves.
- Divert any remaining river flow into your deepest reservoir using T-valve or floodgate diversion. Every unit you grab now is a unit you drink later.
- Prioritize water for drinking over irrigation. Beavers die without water in days; crops can wait.
- Pause new construction that consumes water and redirect haulers to food and water logistics.
- Cap population growth by pausing breeding pods for Iron Teeth or managing housing for Folktails. New beavers mean new water consumption.
- Switch food production to non-irrigated sources if possible, like bread from existing grain stockpiles.
- Monitor reservoir levels daily. If a reservoir drops below 30 percent, cut irrigation to that zone entirely.
If you follow this checklist every time, even 20-plus day droughts become survivable on normal difficulty. On hard mode, add an eighth step: prepare to manually pump from your deepest reserves using Deep Water Pumps placed well below natural terrain.
Common Mistakes and Pro Tips
The number one mistake new players make is building wide shallow reservoirs. They look impressive and fill fast, but they bleed water to evaporation and run dry before the drought ends. Always dig deep before you dig wide.
The second most common mistake is connecting every reservoir to the main river. One Badtide and your entire water network is contaminated. Always keep at least one isolated reserve behind a closed floodgate.
The third mistake is underestimating consumption. Players stockpile what looks like a lot of water, then watch it vanish in a 10-day drought because they planned for drinking only and forgot crop irrigation. Always include irrigation in your water math, not just beaver consumption.
A pro tip from veteran Timberborn players: build your Deep Water Pumps before you need them. A deep reservoir is useless if your pump only reaches 2 tiles down. The Deep Water Pump unlocks access to the bottom of your storage, which is where most of the volume actually sits.
Another pro tip: use water batteries. A water battery is a sealed reservoir filled during temperate seasons and held in reserve with no connection to the outside. You crack it open only when every other water source is gone. Think of it as your colony’s emergency savings account.
Frequently Asked Questions
How to deal with bad tide in Timberborn?
Close all floodgates leading into your clean water reservoirs the moment the Badtide warning appears. Build levee or floodgate contamination barriers beside the river to block badwater from reaching your irrigation. Wait out the Badtide on stored clean water, then flush the contamination downstream once it ends. Always keep at least one isolated reserve never connected to the main river.
How bad do droughts get in Timberborn?
Droughts scale sharply with difficulty. Easy mode droughts last around 2 to 5 days. Normal mode stretches them to 7 to 15 days. Hard mode routinely hits 30 days or longer, and late-cycle hard mode can chain droughts back to back with only brief temperate windows between them.
How do you protect from badwater in Timberborn?
Use levees and floodgates to physically block badwater from entering your clean water network. Place contamination barriers beside the contamination source, not on top of it. Isolate at least one clean water reservoir from the main river entirely. Seal everything before the contamination ramp hits 100 percent, which takes roughly 12 hours.
How to cure badwater in Timberborn?
There is no single building that cures badwater. The practical approach is containment: seal off contaminated water with floodgates, let the Badtide end, then flush the badwater downstream. Advanced players build water recycling setups that dilute contamination below harmful levels using clean water and fluid dumps, but this is resource-heavy and not required for normal difficulty.
How do you get water during a drought in Timberborn?
During a drought, your only water sources are what you stored before it started. Draw from Large and Small Water Tanks, from deep reservoirs using Deep Water Pumps, and from isolated reserves behind floodgates. Build water batteries as a last-resort sealed reserve for long droughts. Plan storage capacity before the drought warning fires, not after.
What is the longest drought in Timberborn?
Hard mode droughts routinely reach 30 days or more, and late-game cycles can chain droughts back to back. There is no hard cap on drought length. As cycles progress, droughts get longer and appear closer together, which is why late-game hard mode colonies need thousands of stored water units and multiple deep reservoirs to survive.
Does underground water evaporate in Timberborn?
Yes, underground water still evaporates. There is no way to fully stop evaporation on open water outside of sealed tanks. The evaporation rate is roughly 0.045 units per exposed surface tile per cycle. Underground storage helps because deep narrow channels expose fewer surface tiles relative to their volume, but only sealed water tanks offer zero evaporation loss.
Conclusion
Learning how to survive droughts and Badtides in Timberborn with reservoir design comes down to a few core habits: dig deep rather than wide, isolate at least one clean water reserve from the main river, use floodgates and levees to control contamination, and stockpile food alongside water before the warning siren hits.
Run the emergency checklist every time a drought or Badtide fires, keep your water math ahead of your population growth, and treat every temperate season as your only chance to refill. Do that consistently and even 30-day hard mode droughts become routine instead of colony-ending.
Next step: open your current save, find your deepest natural basin, and start digging. A 5 by 5 reservoir cut 6 blocks deep is a better investment than ten Large Water Tanks, and it will still be useful a hundred cycles from now.