
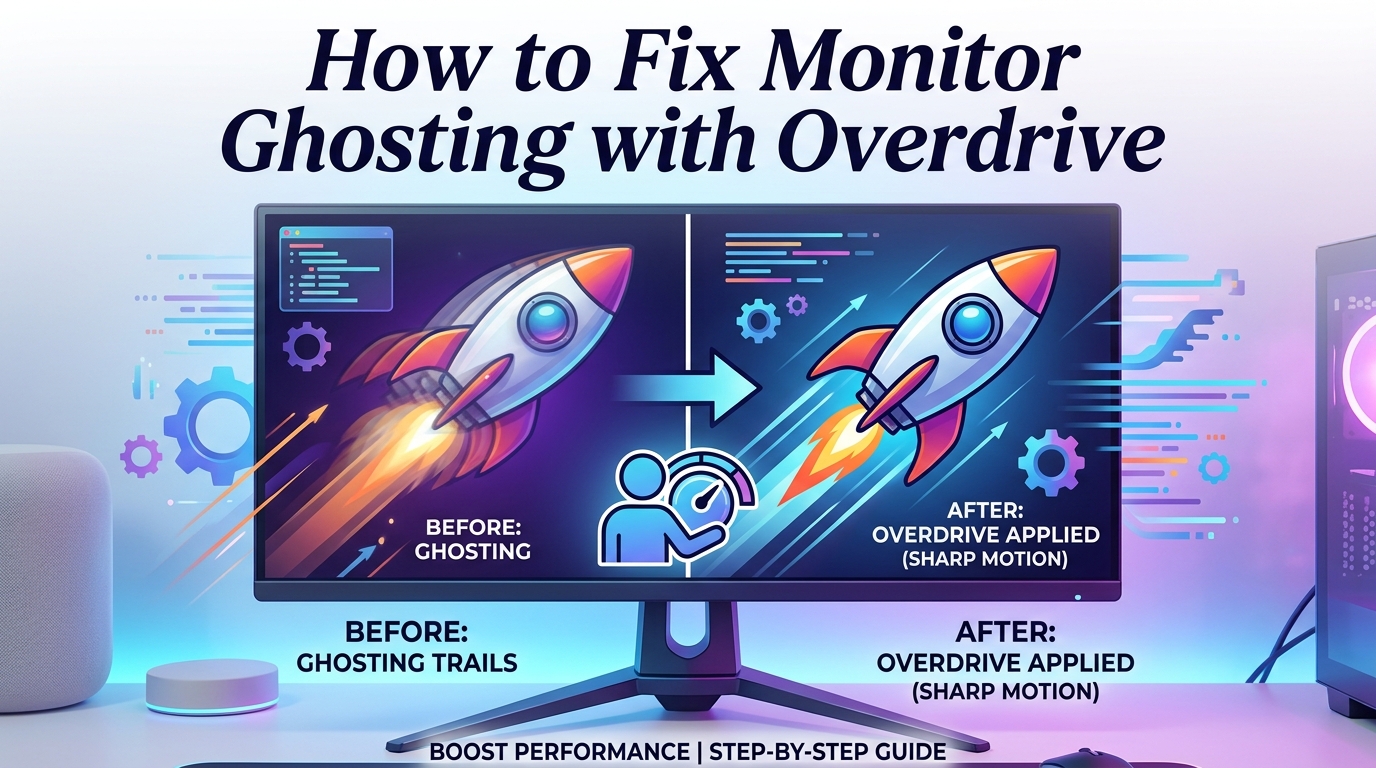
If your screen shows trails behind moving objects and you’ve cranked the overdrive setting only to find bright halos or colored coronas replacing the original blur, you’re stuck in the most common monitor tuning trap. The fix is a specific, repeatable tuning process that picks the lowest overdrive level that removes the original ghosting without introducing inverse ghosting artifacts. I’ve used this exact approach on IPS, VA, and TN panels ranging from 75Hz office screens to 360Hz esports displays, and it works in roughly five to ten minutes once you know what to look for.
This guide walks you through what overdrive actually does, why the highest setting usually makes things worse, how to identify which artifact you have, and the step-by-step method for finding your monitor’s sweet spot. I cover panel-specific behavior, refresh rate interactions, VRR quirks, and the testing tools I rely on to verify results. By the end, you’ll have a calibration process you can run any time your display, GPU, or game settings change.
Table of Contents
What Is Monitor Ghosting
Monitor ghosting is a visual artifact where moving objects leave a faint trail or shadow behind them as they cross the screen. The trail is the same color as the object, just dimmer and slightly offset, and it becomes most visible against high-contrast backgrounds like dark scenes in games or scrolling white text on a black page.
Ghosting happens because of pixel response time. Every pixel on an LCD panel is a tiny liquid crystal that has to physically rotate to change color. The amount of time this rotation takes, measured in gray-to-gray (GtG) transitions, is your monitor’s response time. If a pixel cannot finish its transition before the next frame arrives, the previous frame’s color “leaks” into the new one, producing the trail you see.
Slow response times cause ghosting. A 60Hz panel that refreshes every 16.7ms gets away with mediocre pixel response. A 144Hz panel refreshing every 6.9ms, or a 240Hz panel at 4.2ms, demands much faster transitions, which is why ghosting complaints are loudest on high-refresh displays. Marketing numbers like “1ms response time” usually refer to the best-case GtG transition, not the average across all transitions, so a monitor labeled 1ms can still ghost badly in real use.
The good news: ghosting is usually fixable without buying new hardware. The bad news: the fix (overdrive) introduces a different problem (inverse ghosting) when set too high. The rest of this guide is about navigating that tradeoff.
What Is Inverse Ghosting
Inverse ghosting is the opposite of regular ghosting in appearance but is created by the same underlying mechanism fighting itself. Instead of a dim trailing shadow, you see a bright halo, a colored corona, or a “ghost” that appears on the leading edge of a moving object, then flips to a darker shadow on the trailing edge. The artifact is often more distracting than the original ghosting because it adds light, not just blur.
The technical name for this is overshoot. It happens when the voltage applied to push a pixel to its new color overshoots the target, so the pixel briefly lands at a brighter or differently tinted value, then settles. Your eye reads that brief overshoot as a halo or fringe. In fast motion, this looks like a glowing outline trailing the object.
Many users describe inverse ghosting as “white halos,” “colored fringes,” “glowing edges,” or “ghosting that’s actually brighter than the original.” If you’ve ever lowered a monitor’s overdrive setting and watched ugly halos disappear, you’ve already seen inverse ghosting in action. The Reddit community consistently upvotes this diagnosis: “Use less aggressive overdrive mode. The overdrive being cranked is the issue.”
The critical insight is that inverse ghosting is not a sign that your monitor is broken. It’s a sign that you have too much overdrive applied for the current refresh rate, frame rate, or transition. Lowering the setting should remove it. If lowering the setting does nothing, you have a different problem covered in the troubleshooting section at the end.
How the Overdrive Setting Works
Overdrive is a manufacturer feature designed to speed up pixel transitions. It works by applying a higher voltage to a pixel when it needs to change from one color to another. The extra voltage pushes the liquid crystal into its new orientation faster than it would move under normal driving voltage, shortening the response time and reducing the chance of leaving a trail.
Every monitor that has an overdrive setting gives you a few levels to choose from. The names vary by brand, but the structure is similar. ASUS uses “Trace Free” with values from 0 to 100. BenQ uses “AMA” (Advanced Motion Acceleration) with Off, High, and Premium. LG and Samsung often label levels as Off, Normal, Fast, and Extreme. Acer and AOC use similar tiers. Some premium monitors from 2024 onward include “variable overdrive,” which automatically adjusts the level based on the current refresh rate, eliminating most of the tuning pain.
Here’s what each level typically does, with the caveat that the exact behavior depends on your specific panel:
- Off / 0: No voltage boost. Pixel response is at its native speed. You get the most ghosting and the most accurate colors because no overshoot is applied.
- Normal / Low / 20-40: Mild voltage boost. Slight reduction in ghosting with virtually no overshoot. This is the safe default for most users.
- Fast / Medium / 60-80: Aggressive boost. Ghosting drops noticeably. Mild overshoot may appear on high-contrast transitions, especially on VA panels.
- Extreme / Maximum / 100: Maximum boost. Designed to chase the lowest GtG numbers for marketing. Almost always produces visible inverse ghosting on most panels.
Think of overdrive as a dimmer switch, not an on/off toggle. The goal is to push the slider just high enough to clear the original ghosting, then stop. Going further costs you image quality without buying you clarity.
Why Extreme Overdrive Creates Inverse Ghosting
Inverse ghosting from extreme overdrive happens because voltage is a blunt instrument. The monitor’s controller applies a fixed voltage boost based on the color difference between frames, but liquid crystals don’t respond linearly. A small color change needs a small boost, a large color change needs a bigger boost, and the boost that works perfectly for one transition overshoots another.
When the boost is too high for a given transition, the pixel arrives at its target color too early and briefly overshoots. On dark-to-bright transitions, the overshoot looks like a white halo. On bright-to-dark transitions, the overshoot looks like a dark fringe or a color shift (often red or green, depending on the panel’s subpixel layout). The artifact is most visible when the object is moving fast and the background is uniform, which is why testers like Blur Busters use specific test patterns.
Refresh rate matters here because the available time for each transition shrinks as the refresh rate goes up. At 60Hz, a pixel has 16.7ms to settle. At 240Hz, it has 4.2ms. The same overdrive setting that produced no overshoot at 60Hz can produce obvious halos at 240Hz, which is why “Extreme” at 240Hz is usually a disaster while “Extreme” at 60Hz might look clean on the same monitor. This is also why variable overdrive exists: it lowers the boost as refresh rate increases to keep transitions in the safe zone.
Frame rate interacts with overdrive in the same way. If your GPU is pushing 200fps on a 240Hz panel, each frame is in the buffer for about 5ms. If your GPU drops to 80fps, frames stay for 12.5ms, and the overdrive that worked at 200fps now has too much time to overshoot. This is why users with VRR enabled (G-Sync or FreeSync) sometimes see inverse ghosting flicker as frame rates move up and down. The fix is to cap your frame rate just below your refresh rate using an in-game limiter or RTSS, which gives the overdrive a consistent window to work with.
How to Fix Monitor Ghosting with Overdrive (Step by Step)
This is the core process. I run this on every new monitor I test. Allow ten minutes the first time, five minutes once you have done it a few times.
- Set the monitor to its native resolution and maximum refresh rate. Use the OSD to confirm both. Many monitors revert to a lower refresh rate after factory reset or after a cable swap, so double check.
- Disable any motion blur reduction, strobe backlight, or black frame insertion feature. These features interact with overdrive and will distort your judgment. You can re-enable them later once you have a baseline overdrive setting.
- Open TestUFO’s ghosting test in a browser. Go to testufo.com/ghosting, then click the “High Speed” button. You will see UFOs moving horizontally across UFOs of varying contrast. This is the standard tool for evaluating pixel response.
- Set overdrive to Off and observe the trails. Watch the darker UFO against the lighter background. You will see a clear trailing shadow, this is your baseline ghosting. Note how thick and how visible it is.
- Move to Normal and re-observe. The trail should thin out. If you see new bright halos or color fringes appearing on the leading edge, overshoot has begun. If the trail is still obvious and there is no halo, you can go higher.
- Move to Fast. The trail should be barely visible or gone. Watch carefully for faint halos on high-contrast transitions. If you see them, drop back to Normal. If you don’t, you have found your setting.
- Only try Extreme if Fast still shows obvious ghosting on specific transitions. Most monitors show inverse ghosting at Extreme. Test on multiple UFOs and multiple speeds.
- Confirm in a real game. Launch something with fast motion and high contrast, like CS2, Valorant, or a racing game. Pan the camera quickly. The image should look crisp with no halos and no noticeable trails. If halos appear in dark scenes that weren’t there in TestUFO, drop one level.
- Re-enable VRR (FreeSync or G-Sync) and re-test. Cap your frame rate a few fps below your maximum refresh rate. Confirm the setting still looks clean across the full VRR range, not just at one fps.
- Lock in the setting. Save the OSD profile if your monitor supports it. Write down the setting level for future reference.
The most common outcome is that “Normal” or the second-lowest level is the right answer. If you are on a high-quality IPS or OLED panel from the last few years, you may find that “Off” already looks good. If you are on a budget VA panel, you may have to accept some compromise between ghosting and inverse ghosting because the underlying response time is poor.
Panel Type Considerations: IPS, VA, and TN
Different panel technologies respond to overdrive differently. Knowing your panel type explains why your neighbor’s setting doesn’t work on your monitor.
IPS panels have the most balanced response behavior. Most IPS transitions are uniform, so overdrive applied at one level produces similar results across most color changes. This is why IPS monitors usually have a wide “no overshoot” zone and a clear “too much overdrive” cliff. Most users land on Normal or Fast and stay there. The downside is that black-to-dark-gray transitions can still be slow on IPS, producing faint smearing in dark scenes that overdrive cannot fully fix.
VA panels are the trickiest. VA panels have excellent contrast and deep blacks, but their pixel response varies wildly depending on the color transition. Black-to-dark-gray is much slower than gray-to-gray, which produces the dreaded “black smear” that haunts VA owners. Overdrive helps with gray transitions but cannot accelerate dark transitions enough to eliminate the smear. Many VA users end up at the second-lowest overdrive setting because the highest setting creates severe inverse ghosting on lighter transitions while doing nothing for the dark transitions that actually cause the visible smearing. This is a hardware limitation, not a tuning failure.
TN panels have the fastest native response times of the three, which is why esports players historically chose them. Most TN panels show very little ghosting even with overdrive off. The tradeoff is color accuracy and viewing angles. If you have a TN panel and are seeing ghosting, the issue is more likely the cable, the GPU driver, or a refresh rate mismatch than the panel itself.
OLED panels technically have nearly instant response times and don’t need overdrive at all. If your OLED has a “response time” setting, leave it at its default or off. The artifacts you see on OLED are usually sample-and-hold motion blur, which overdrive cannot fix, or VRR brightness flicker, which is a separate problem.
Refresh Rate and Frame Rate Impact on Overdrive
Your overdrive setting is tied to the time each frame stays on screen, which means it depends on both refresh rate and frame rate.
At 60Hz, each frame is visible for 16.7ms. Even slow pixel transitions have time to complete. Most overdrive settings from Normal upward produce clean results because there’s enough time to absorb any overshoot. This is why budget 60Hz monitors rarely have inverse ghosting complaints.
At 144Hz, frame time drops to 6.9ms. Pixel transitions must be roughly 2.5x faster to keep up. Overdrive has to work harder, and the margin between “no ghosting” and “inverse ghosting” shrinks. Most users on 144Hz panels land on Normal or the second tier.
At 240Hz and above, frame time is under 5ms. Overdrive must be aggressive to keep up, and inverse ghosting is common at higher settings. This is also where variable overdrive becomes valuable, since the panel needs different boost levels at different refresh rates. If your monitor lacks variable overdrive, you may have to compromise at 240Hz and accept that 60Hz will look slightly less sharp.
Frame rate caps matter. If your GPU pushes 300fps on a 240Hz panel, frames stay for 3.3ms. If it drops to 60fps, frames stay for 16.7ms. The overdrive that worked at 300fps now has too much time and produces inverse ghosting at 60fps. Cap your frame rate to a stable value just below your refresh rate using an in-game limiter, RTSS, or your driver’s frame limiter. This keeps frame times consistent and gives the overdrive a stable target.
Testing Methods: TestUFO, Blur Busters, and In-Game Checks
You cannot tune what you cannot measure. These are the three testing approaches I use in order of speed.
TestUFO (testufo.com/ghosting) is the fastest and most accessible. It runs in any modern browser, full screen, and shows moving objects against varied backgrounds. Click the contrast buttons to switch between high-contrast and low-contrast pairs. Click the speed buttons to change the UFO velocity. The “High Speed” preset is the most demanding test and will reveal any inverse ghosting immediately. The site is maintained by Mark Rejhon of Blur Busters and is the de facto standard for this kind of testing.
Blur Busters UFO Motion Tests (including the “Pursuit” tests) are more advanced and simulate real motion more accurately. They also include an area to test strobe backlights. If you have motion blur reduction enabled, these tests will show you whether it interacts badly with your overdrive setting.
In-game testing is the final verification. Open a fast-paced game, ideally one with dark scenes and high-contrast HUD elements. Pan the camera in 360-degree circles. Look at the edges of the crosshair, the edges of characters, and the borders between dark and light areas. If you see halos in the game that were not in TestUFO, your GPU may be hitting VRR boundaries, or the game’s render is producing transitions the browser test didn’t. Drop one overdrive level and re-test in-game.
Troubleshooting Persistent Inverse Ghosting
If you’ve lowered overdrive to Off and still see halos, or if inverse ghosting appears suddenly on a monitor that was previously clean, the issue is probably not the overdrive setting. Work through this checklist.
Check your cable. A faulty DisplayPort or HDMI cable can produce visual artifacts that look like inverse ghosting. Swap the cable and re-test. Make sure the cable is rated for your monitor’s resolution and refresh rate. A “high-speed HDMI” cable running a 4K 120Hz signal can drop frames and produce ghosting-like artifacts that have nothing to do with pixel response.
Update your GPU driver. Driver bugs occasionally produce motion artifacts. A clean install of the latest stable driver often resolves them. If the artifact appeared right after a driver update, that’s the smoking gun. Roll back or wait for a hotfix.
Check for monitor firmware updates. Manufacturers occasionally push firmware updates that fix overdrive calibration bugs. The Blur Busters forum has multiple threads where users reported that a firmware update eliminated sudden inverse ghosting that had appeared on their displays. Check your manufacturer’s support page for your exact model number.
Factory reset the monitor. Some OSD settings can interact in unexpected ways. A factory reset clears any custom profiles, color calibrations, and adaptive settings that may be influencing motion. Re-run the tuning process from scratch after the reset.
Test on a different input or device. Connect a different PC, a laptop, or a console to the same monitor. If the inverse ghosting disappears, the issue is on the original device. If it persists across devices, the issue is the monitor itself, and you may need to RMA it if the panel is still under warranty.
Disable VRR as a test. VRR can cause inverse ghosting flicker as frame rates move in and out of the VRR range. Disable FreeSync or G-Sync temporarily and re-test. If the halos disappear, the issue is VRR-related, and the fix is a frame rate cap rather than an overdrive change.
FAQs
How to fix overdrive ghosting?
Lower the overdrive setting one level at a time and re-test with TestUFO’s ghosting pattern. Stop at the lowest level that eliminates the original ghosting trail without introducing bright halos or color fringes on the leading edge of moving objects.
How to fix inverse ghosting on a monitor?
Inverse ghosting is caused by overdrive set too high. Reduce the overdrive level until the bright halos or coronas disappear. If halos remain at the lowest setting, the issue may be a faulty cable, outdated GPU driver, or firmware bug, not the overdrive setting itself.
How do I get rid of inverse ghosting?
Cap your frame rate just below your maximum refresh rate to stabilize frame times, then drop one overdrive level at a time until the halos vanish. Test on TestUFO at multiple speeds and confirm in a fast-paced game before locking in the setting.
Does overdrive reduce ghosting?
Yes. Overdrive applies extra voltage to LCD pixels to speed up color transitions, which shortens the trailing shadow behind moving objects. The benefit comes with a tradeoff: too much overdrive creates inverse ghosting (bright halos), so the goal is the lowest setting that clears the original ghosting without introducing new artifacts.
Conclusion
To fix monitor ghosting with the overdrive setting without causing inverse ghosting, treat overdrive as a precision slider, not a strength dial. The right level is the lowest setting that eliminates the trailing shadow, confirmed by TestUFO at multiple speeds and a real-game test, with a frame rate cap in place to keep transitions consistent. If you remember one thing: more overdrive is not better. The best setting is the one just before the halos appear, and the only way to find it is to test and observe rather than assume the highest level gives the cleanest image.