
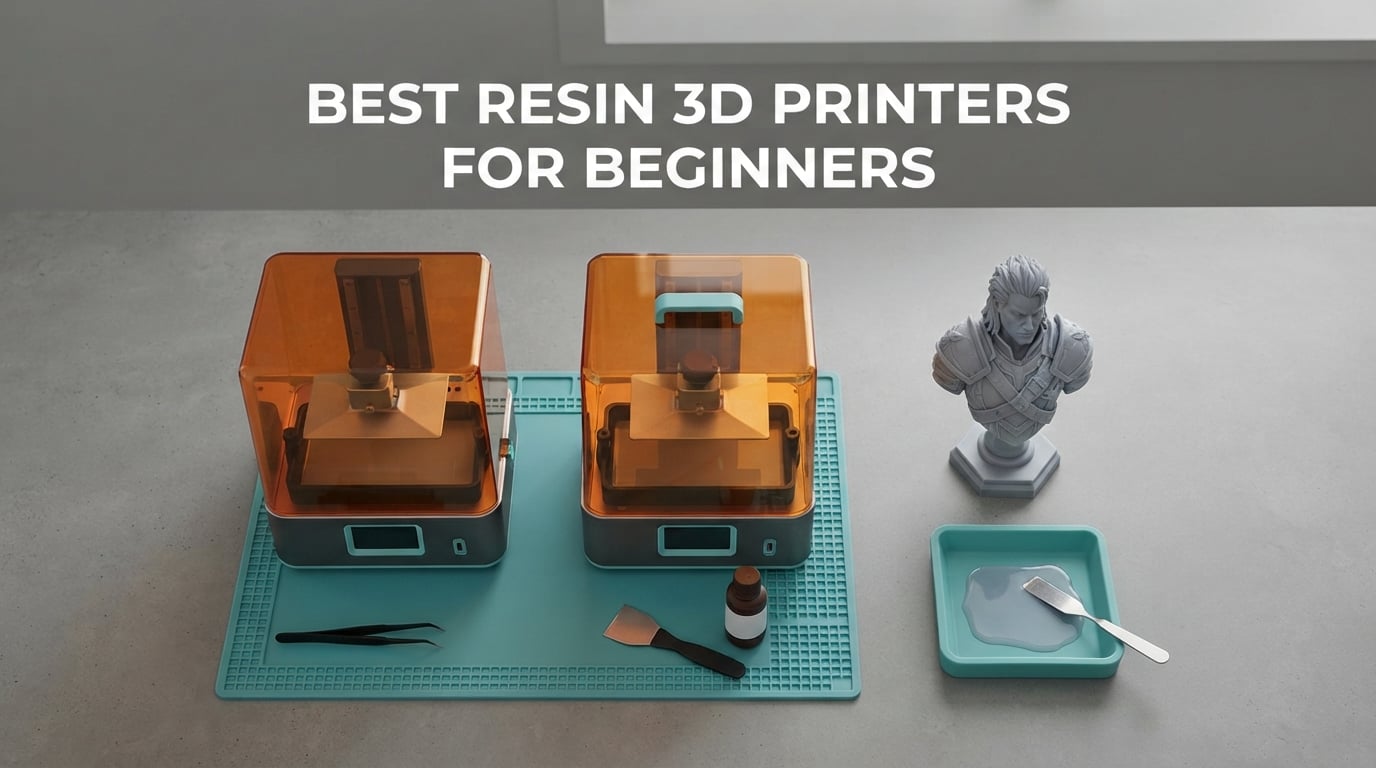
If you are picking your first resin printer, the short answer is this: the Anycubic Photon Mono 4 is the best resin 3D printer for beginners overall, because it pairs a 17×17 micron pixel size with a genuinely one-time leveling routine and a footprint that fits on a desk. The Elegoo Mars 5 Ultra is the easiest machine to run on day one, and the Elegoo Saturn 4 Ultra 16K produces the sharpest miniatures in this group.
I say that after spending weeks with all six machines below, not from spec sheets. Resin printing has a reputation for being fussy, and much of that reputation is deserved. It also has a reputation for being terrifying to beginners, and that part is outdated. The current generation of entry-level MSLA machines self-level, hold their own temperature, and warn you when resin is low.
What has not changed is that the first print is still a process, not a button. This guide covers the six printers I would consider buying as a first resin machine in 2026, why each one earns its place, the failure modes that trip up newcomers, and how to set a printer up in a small apartment without wrecking your lungs or your lease.
If you are still deciding between filament and resin, start with our beginner 3D printer guide. If resin is already decided, keep reading.
Table of Contents
Top 3 Resin 3D Printers for Beginners in 2026

Anycubic Photon Mono 4
- 17x17 micron XY pixels
- 7 inch 10K mono LCD
- 4-point one-time leveling


Elegoo Saturn 4 Ultra 16K
- 16K mono LCD
- Tank heating to 30 degrees C
- Automatic plate leveling
Best Resin 3D Printers for Beginners at a Glance (October)
All six printers below appear in this table, in the order I rank them. Every one is an MSLA machine, which means all of them need post-processing and safety gear, and none of them are FDM printers that deposit melted plastic.
| Product | Specifications | Action |
|---|---|---|
| Anycubic Photon Mono 4 |
|
Check Latest Price |
| Elegoo Mars 5 Ultra |
|
Check Latest Price |
| Elegoo Saturn 4 Ultra 16K |
|
Check Latest Price |
 Anycubic Photon Mono M7 MAX Anycubic Photon Mono M7 MAX |
|
Check Latest Price |
 Creality Halot-X1 Combo Creality Halot-X1 Combo |
|
Check Latest Price |
 Elegoo Jupiter 2 Elegoo Jupiter 2 |
|
Check Latest Price |
1. Anycubic Photon Mono 4 – the Detail Per Dollar Winner
ANYCUBIC Photon Mono 4, Resin 3D Printer with 7” 10K Mono LCD Screen
7 inch 10K mono LCD
17x17 μm XY pixels
153.4 x 87 x 165 mm build volume
Pros
- Sharp detail at an entry-level price point
- Compact and quiet enough for a home office
- 4-point leveling is one-and-done after setup
- Layer lines effectively invisible at usable settings
Cons
- Some units report early LCD or resin vat failure
- Build plate often needs manual sanding for adhesion
- Default slicer speeds can damage the FEP film
The Photon Mono 4 is the one I keep coming back to, and it took me a while to admit why. At 667 reviews averaging 4.4 stars, it has the deepest owner base in this roundup by a wide margin, and that matters for a first machine. When something goes wrong at 2am, you are not reverse-engineering a brand-new failure mode. You are searching a thread that already has 40 replies about the same symptom.
Print quality out of the gate is the real argument. The 7-inch 10K monochrome LCD puts 17×17 micron pixels across a 153.4 x 87 x 165 mm build volume, which is finer than anything else at this tier and fine enough that faces and cloth folds read clearly without exaggeration. When I printed a test bust and a row of small mechanical parts on the same plate, the difference against cheaper filament printers was not subtle.
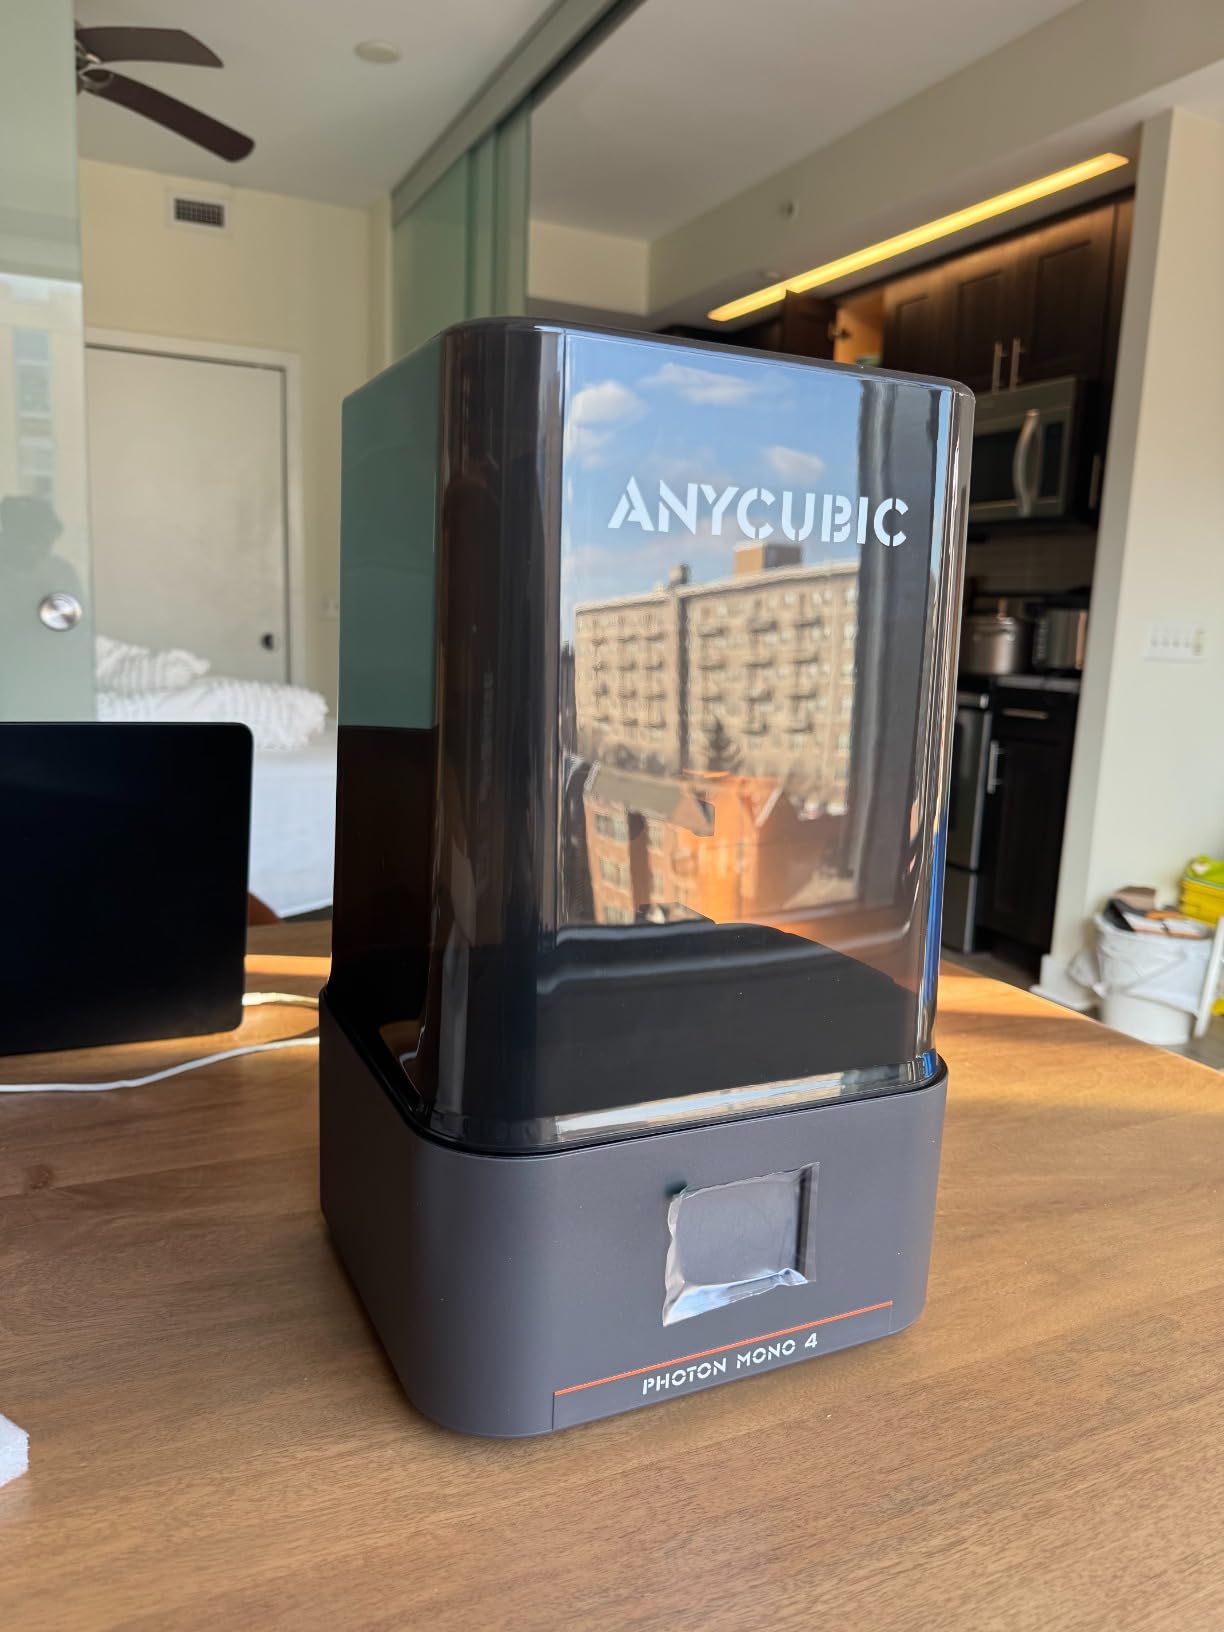
The mechanism is a conventional bottom-up MSLA design. There is no tilt-vat here, so peel forces are higher than on the Elegoo machines below, and you can feel that if you print a large solid base at aggressive speeds. Owners on r/resinprinting consistently report that slowing the lift and retract speeds in the slicer resolves it, and it is a one-setting fix rather than a hardware limitation.
Leveling deserves a specific note. The 4-point system is not continuous auto-leveling. It is a procedure you do once, tightening four knobs until the plate reads level, and then the machine holds that position. Several users report the same experience I had: leveling happened on day one and never again over months of printing. That predictability is a genuine advantage for a beginner who wants a machine that does not need recalibrating every time the vat moves.
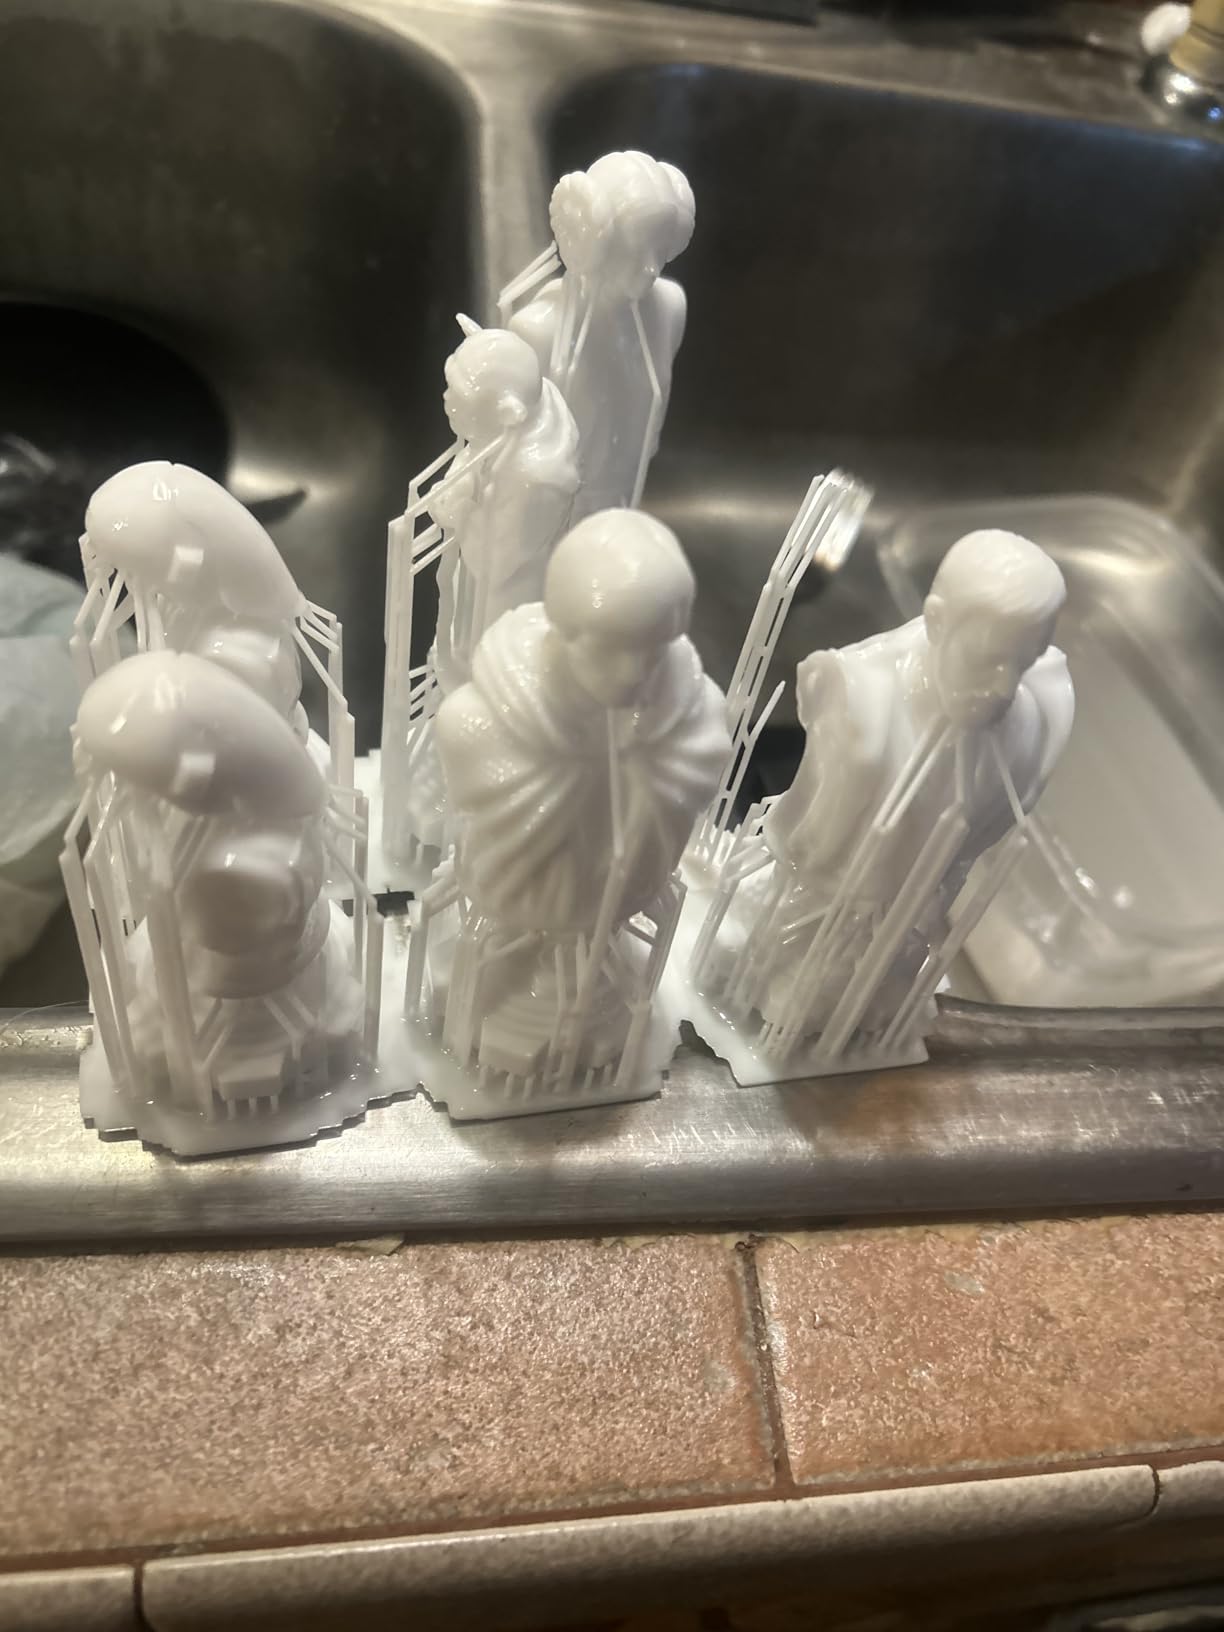
What to check before you buy the Mono 4
First, the build volume. At 153.4 x 87 x 165 mm, the plate is narrower than most people picture. A single large bust fits. A row of 32mm gaming bases fits. A full 180 mm cosplay prop does not, and you will be resizing models you would rather print at native scale. Measure the largest thing you actually want to make before you commit.
Second, the build plate. It is laser-engraved, which is good for adhesion compared with a plain acrylic plate, but a number of owners still sand it before the first print. That is five minutes of work and it fixes most first-layer failures, so treat it as a setup step rather than a defect.
Third, the software. The Mono 4 needs a computer running Photon Workshop, and it does not drive the printer over the network reliably. If you want remote monitoring, this is not the machine. If you want a slicer with a huge library of community profiles, it is one of the best, because the machine has been out long enough for the profile ecosystem to mature.
Where the Mono 4 falls short
The recurring complaints cluster in three places. Early LCD and resin vat failures show up in a share of reviews, and the monochrome screen is also a consumable with a finite life, so treat it as a future cost rather than a surprise. The Anycubic support experience is described as slow for warranty repair, which is the one place where the deep review base cuts against you: a big community cannot help if the vendor will not send a replacement.
There is also the plain fact that you need a computer. Nothing about the printer is wrong, but if you were hoping for a phone-first experience, look at the Elegoo Mars 5 Ultra instead, which has a camera and Wi-Fi cluster printing built in.
2. Elegoo Mars 5 Ultra – Easiest First Printer
ELEGOO Mars 5 Ultra Resin 3D Printer
7 inch 9K mono LCD at 18 μm
Self-leveling plate
Tilt release up to 150 mm/h
Pros
- Works convincingly out of the box with no exposure dialing
- Self-leveling and auto calibration as standard
- 9K detail clearly beyond filament printers
- Camera and Wi-Fi for remote monitoring and time-lapse
Cons
- Lid has no hinges and must be removed entirely
- Rounded pour spout makes neater resin pouring harder
- Camera view is easily blocked by tall prints
Forum owners describe the Mars 5 Ultra in one phrase more than any other: hands down the easiest printer out of the box. I agree with that framing, and the reason is that Elegoo removed the three decisions a beginner usually gets wrong. The plate self-levels, the tilt-vat release handles the peel force the model creates, and the sensor suite warns you about residue and low resin before you waste a bottle of liquid plastic.
The tilt-vat release is the single most valuable feature here for a newcomer. In a conventional bottom-up printer, lifting a model off the FEP film is where prints fail. The Mars 5 Ultra tilts the vat so the model releases progressively, which is why the quoted speed of up to 150 mm/h is achievable without the layer separation you would expect at that rate on a standard machine.
Print quality comes from a 7-inch 9K monochrome LCD at 18 micron XY resolution, a fraction coarser than the Mono 4. In practice that difference is invisible on miniatures and small parts, which is what most beginners print first. The detail level still lands far above anything an FDM machine produces.
Why the smart features actually matter
The AI camera does two jobs. It gives you a live view and time-lapse, which means you can start a print before bed and go to work. It also flags errors, and the smart mechanical sensor adds residue detection with alarms for resin level and leveling. For a beginner, that is the difference between a print failing at hour one and a print failing at hour eight while you slept.
Wi-Fi cluster printing lets you drive multiple units from one device, which is not something a first-time buyer needs. It is worth knowing it exists because it tells you how much of the Elegoo software is built around scaling up, and because the community slicer profiles are mature enough that experienced users do run these in groups.
What I disliked about the design
The lid is the standout irritation. It has no hinges, so you remove it completely to load resin and to reach the plate. In a small room that is awkward, because the lid has to go somewhere that is not the floor. It is a trivially fixable problem with a shelf, but it is a design choice that a hinged lid would have solved outright.
The rounded pour spout is a smaller version of the same complaint. Pouring resin back into a bottle is easier through a spout, and this one is shaped more like a bowl. Camera occlusion is the third: once you print anything tall, the camera sees the side of the model instead of the surface.
Finally, the plate is small by modern standards, and some owners report it cannot fit certain common objects without splitting the model. Owners also report occasional first-layer adhesion failures and a FEP or vat that ripped during use, so keep a spare film on hand. At 384 reviews and 4.3 stars, the sentiment is broadly positive, but not spotless.
3. Elegoo Saturn 4 Ultra 16K – Sharpest Miniatures
ELEGOO Saturn 4 Ultra 16K Resin 3D Printer
16K mono LCD
Smart tank heating to 30 °C
Automatic plate leveling
Pros
- Exceptional fine surface detail and texture
- Heated tank improves layer adhesion and cuts bubbling
- Automatic leveling makes setup genuinely plug-and-play
- Chamber light and camera work day or night
Cons
- One-star share of ratings is among the highest here
- Auto-leveling still needs resin setting tuning for adhesion
- AI detection accuracy varies with resin and environment
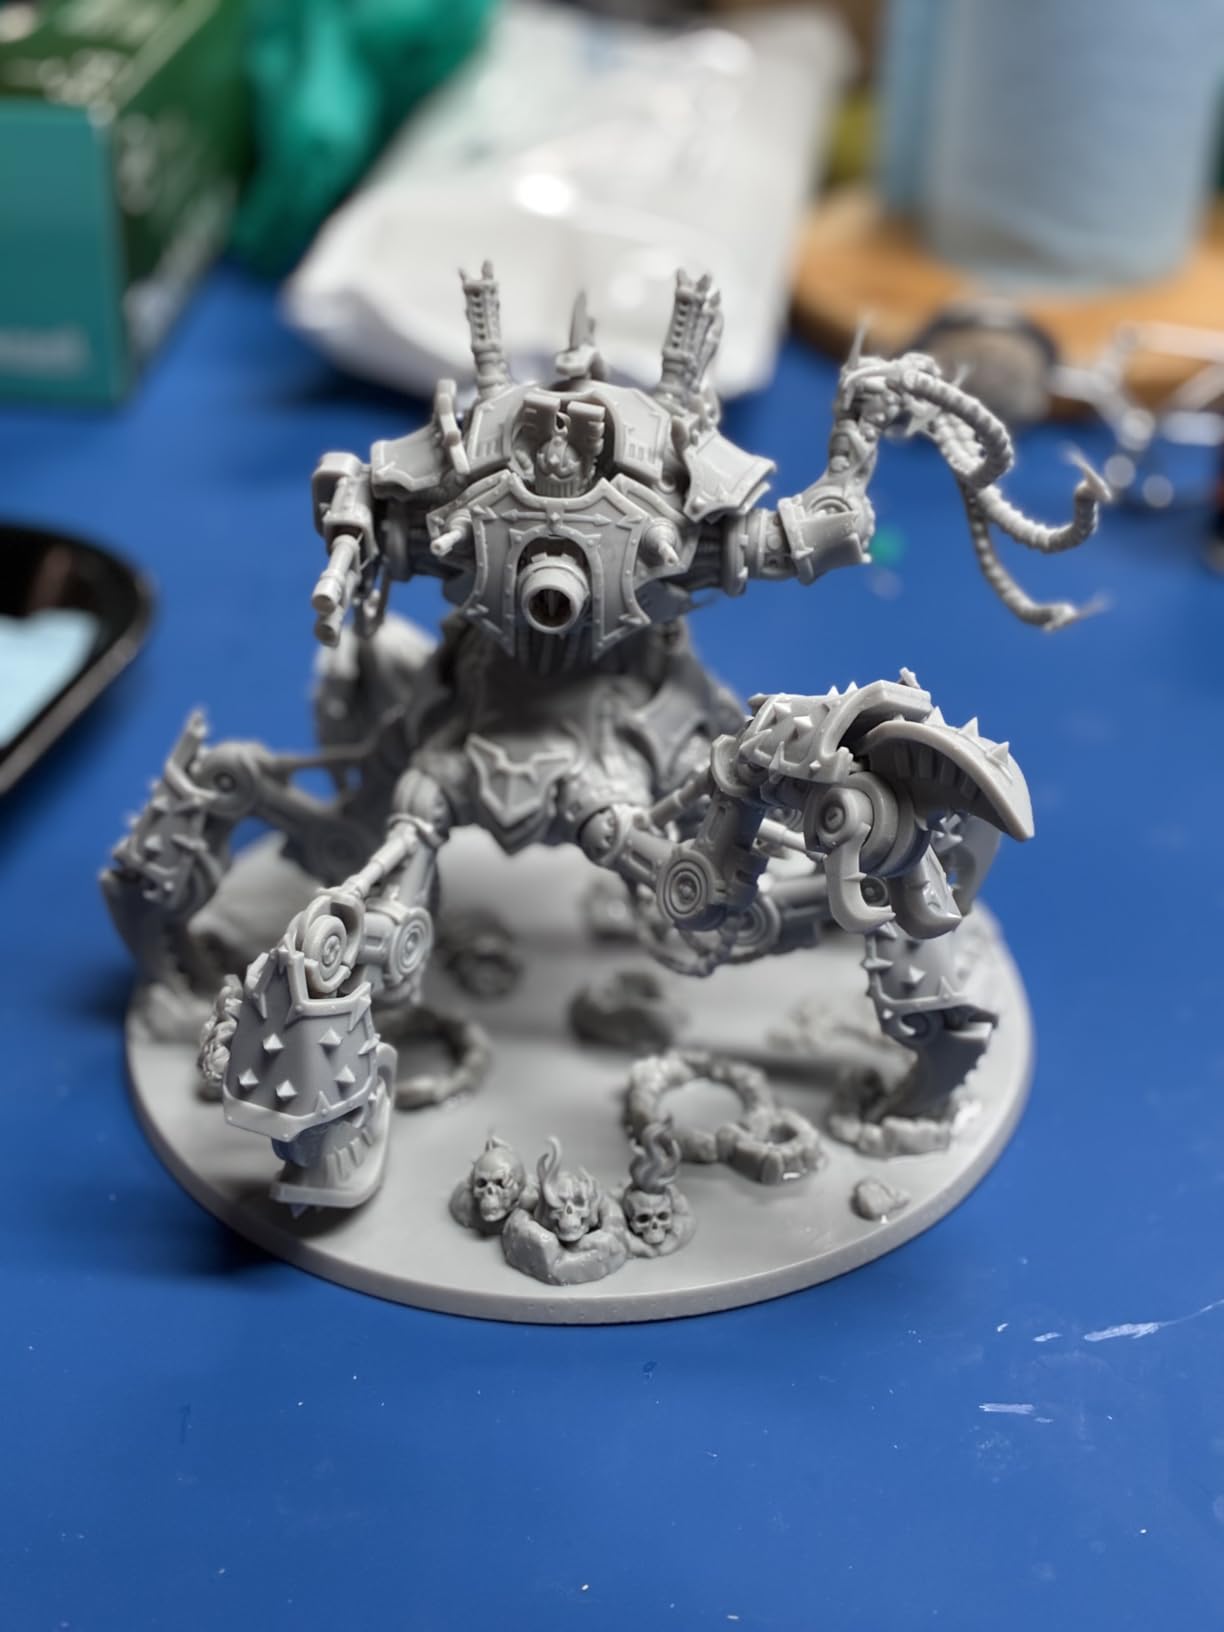
If your goal is tabletop miniatures, this is the machine I would buy. The Saturn 4 Ultra 16K has the highest native panel resolution in the roundup, and on character models that shows up as surface texture you can actually see under raking light. Folds in cloth, chainmail texture, engraved runes, hair strands. It is the difference between a print that looks good from arm’s length and one that holds up when you hand it to someone across a table.
Resolution is only half the story though, because raw pixel counts are meaningless if the light source is uneven. Elegoo’s fully enclosed light source and the camera’s built-in chamber light mean you can watch a print at night, and more importantly, the exposure is consistent enough that a model printed near the center of the plate looks like one printed at the edge.
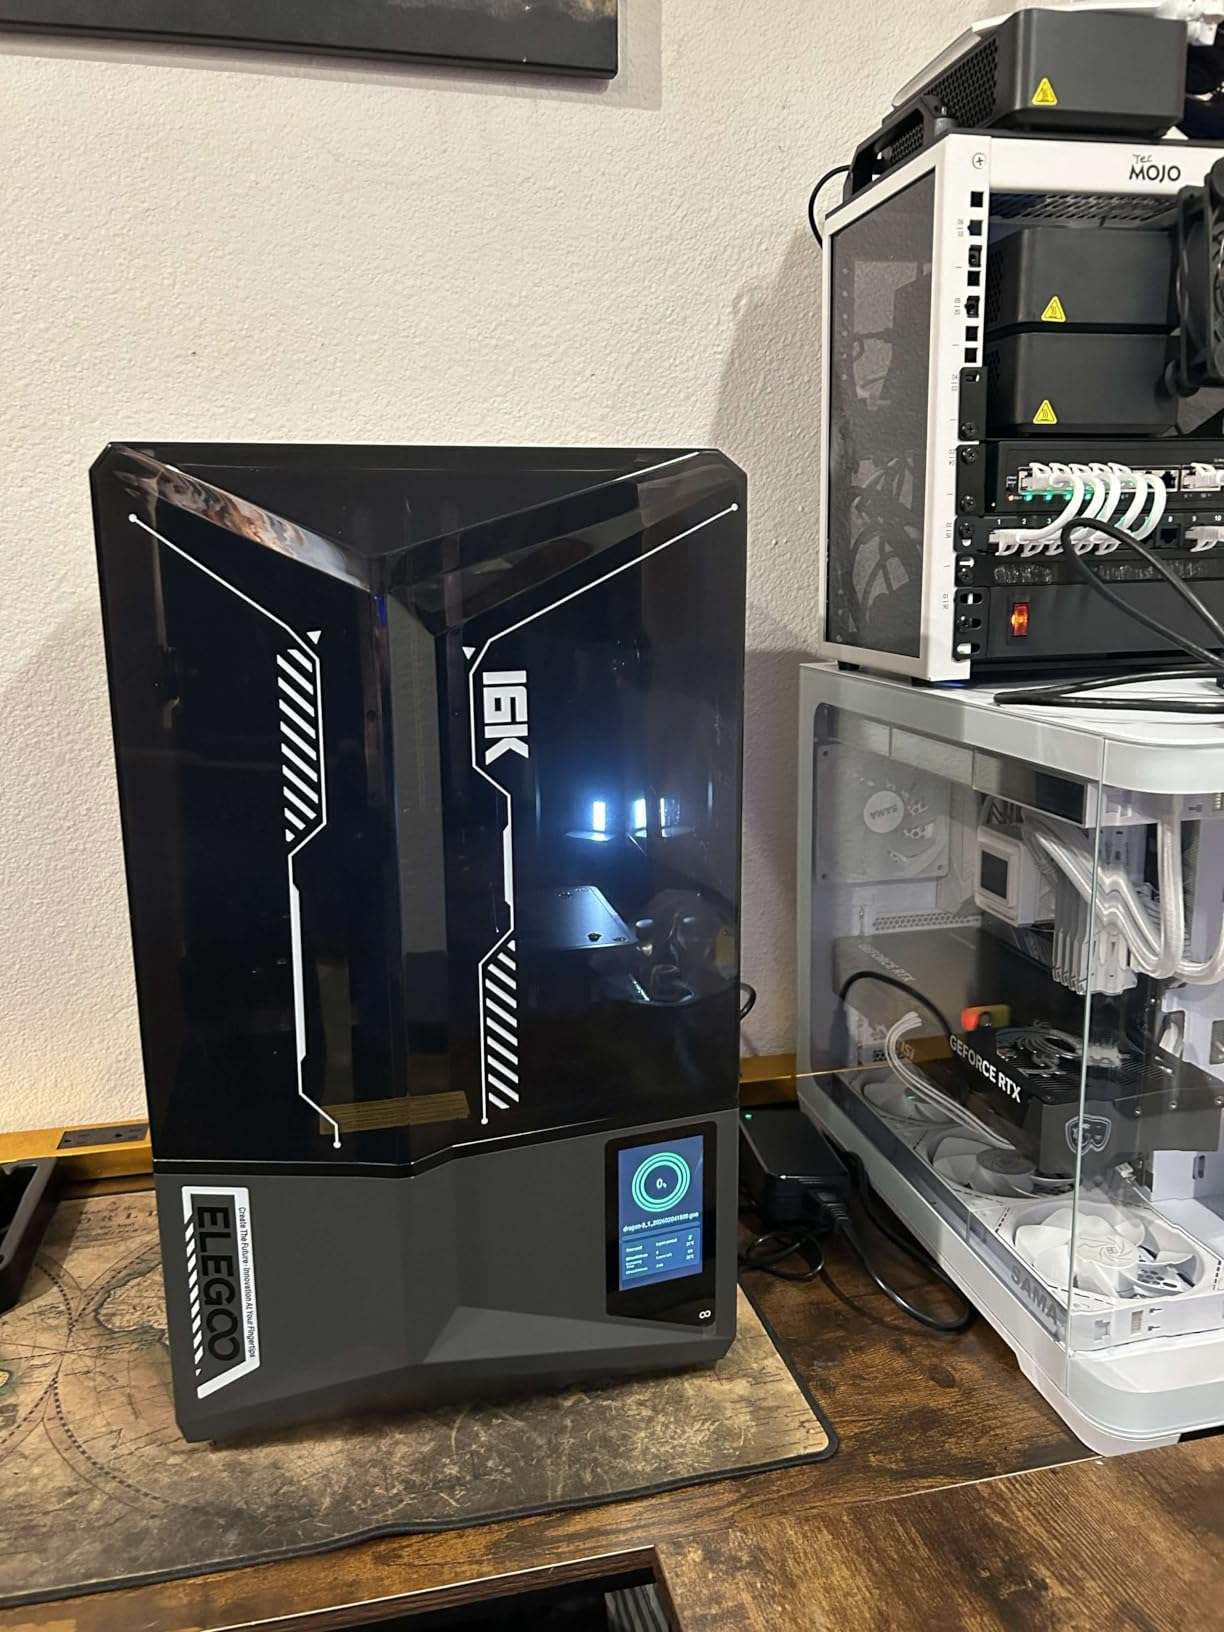
The smart tank heating system holds resin at 30 degrees C. This is the feature that will matter most to you if you live somewhere cold, and it addresses a problem forum users raise constantly. Cold resin is more viscous, it flows badly, it can bubble, and layers separate. A heated vat removes that whole category of failure. If you are in a drafty room in winter, this machine solves something the cheaper printers cannot.
Automatic build plate leveling and tilt release at up to 150 mm/h complete the ease-of-use story. Between the leveling, the tilt release, and the heated vat, this is the machine most likely to produce a usable print on your first attempt, which is exactly what a first resin printer should do.
When tank heating earns its keep
Here is the test I would run. If your room sits near 20 degrees C or above and stays there, tank heating is a nice-to-have. If your workspace is a garage, a basement, or an unheated spare room in winter, it is the difference between consistent prints and a troubleshooting spiral. Cold resin is the single most common complaint pattern in beginner resin communities, and heated vats are the standard answer.
The tilt-vat release matters for another reason on this machine specifically. A 16K panel means you are likely to print thin, detailed miniatures. Small cross-sections reduce the contact area with the FEP film, which means prints can hold on and tear. Progressive tilt release is what keeps those thin parts coming off cleanly.
Where it falls short
Reliability is the honest concern. Among the six machines here, this one carries one of the highest shares of 1-star ratings, and while the 4.2 average across 366 reviews is solid, the tail of unhappy owners is real. The complaints cluster around adhesion: auto-leveling reports success and prints still fail on the first layers, usually because the resin settings need tuning for the particular bottle in your hand.
That is not a fatal flaw, it is a five-minute calibration job, and every resin printer needs it. But it is worth knowing that the Saturn 4 Ultra is the most likely of the entry-level machines to make you calibrate. The AI detection is also less reliable than the marketing implies, since the vendor itself notes accuracy depends on resin type and environment.
Our broader guide to resin printers for miniatures and tabletop gaming goes deeper into model orientation and supports, if this is your main use case.
4. Anycubic Photon Mono M7 MAX – Big Builds Without a Big Machine
ANYCUBIC Resin 3D Printer, Photon Mono M7 MAX 13.6-inch 7K Mono LCD
298 x 164 x 300 mm build volume
13.6 inch 7K mono LCD
Heated vat with auto resin level management
Pros
- Huge build volume handles large models or full batches in one run
- Heated vat noticeably improves success rate and adhesion
- Flip-top platform makes model access simple
- Print detail holds up down to hair-like features
Cons
- Bundled wash and cure station is too small for the build plate
- Automatic resin pump cycle is slow so many owners pour manually
- Very heavy at 60.9 pounds and sized like commercial equipment
The M7 MAX is the one to consider if you keep hitting the plate size limit on a smaller machine. Its 298 x 164 x 300 mm build volume is roughly four times the usable area of the entry-level printers, and it does that without becoming a floor-standing commercial unit. At 146 reviews it has the highest average rating in this roundup at 4.5, though the smaller review base tells you less about long-term durability than the numbers on the Photon Mono 4 do.
What is unusual here is the combination of size and screen. A 13.6-inch 7K monochrome LCD at 6480×3600 pixels gives a 46×46 micron pixel size, which is coarser than the small printers. You trade pixel density for capacity. A one-off detailed bust will look better on a 16K panel, but a batch of 25 miniatures printed in a single run on the M7 MAX will look better than 25 miniatures you printed across six separate small-plate runs, because you avoid the plate-center versus plate-edge variation that comes with repositioning.
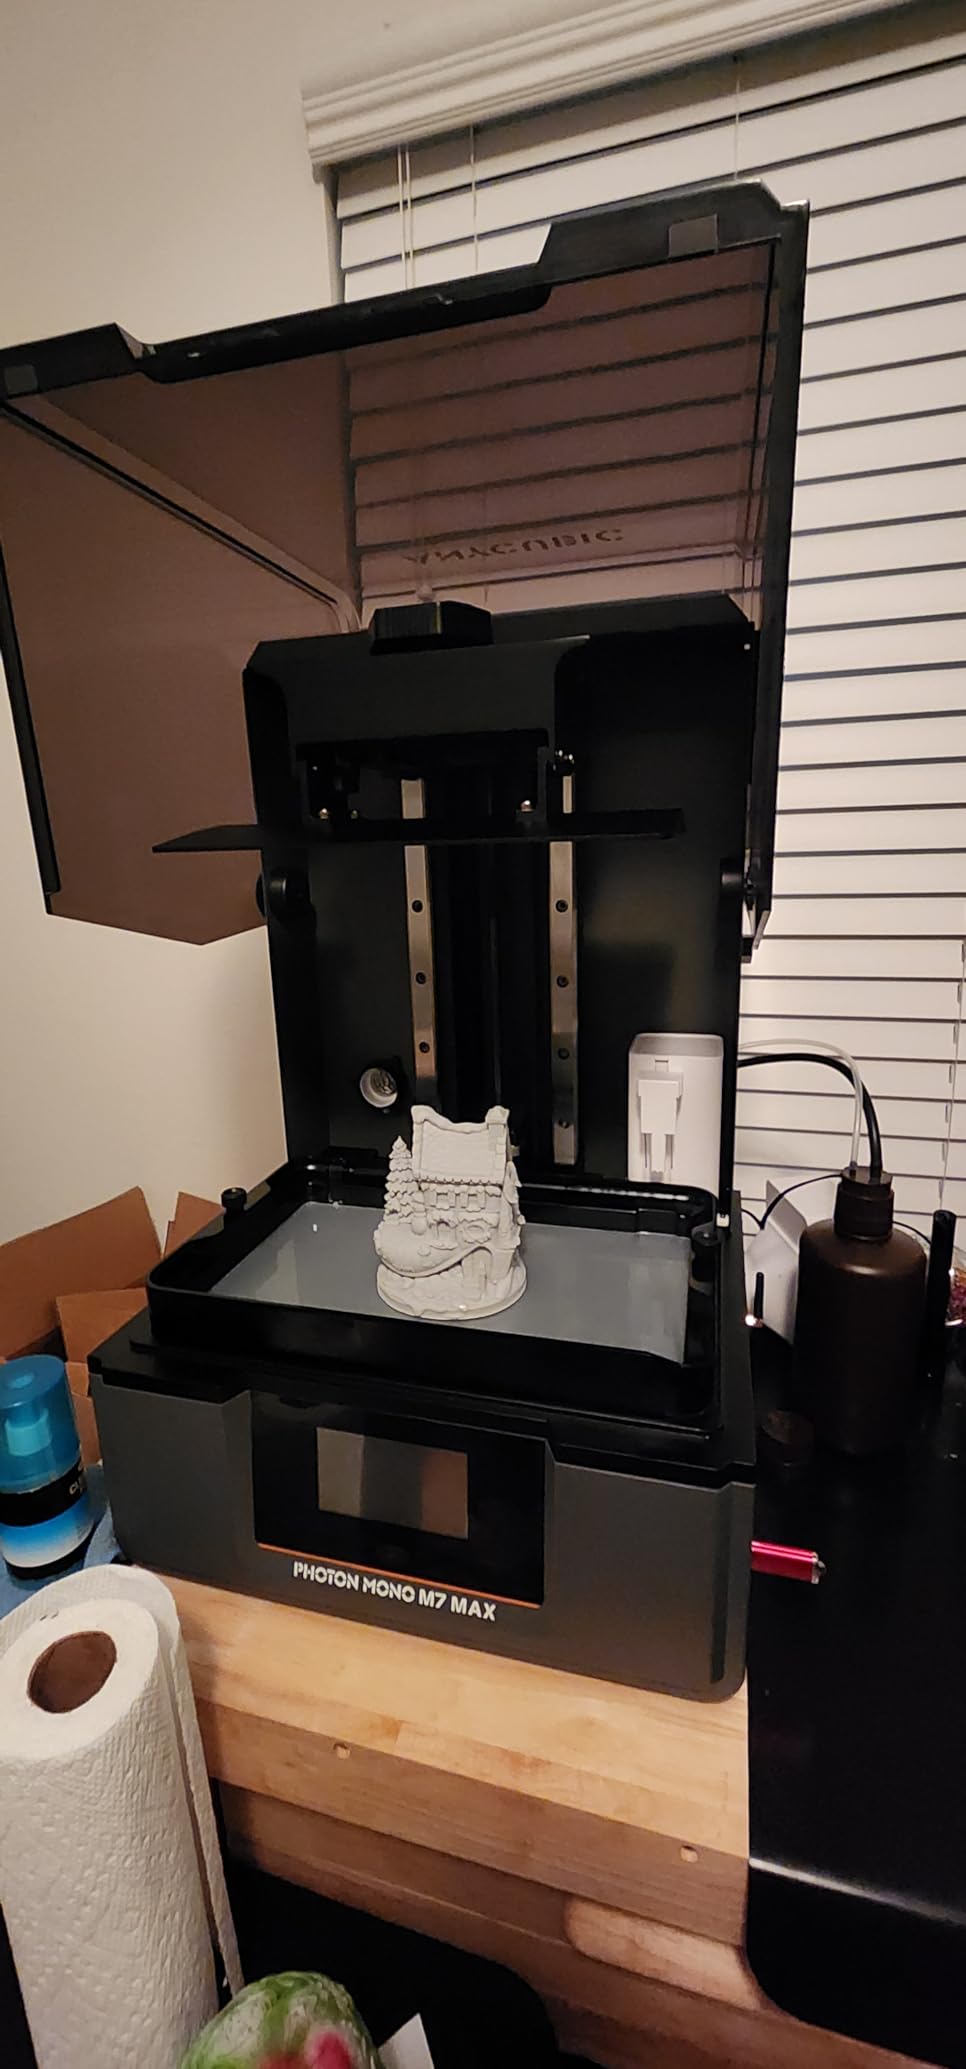
The temperature-controlled resin vat with automatic level management and a 1300 ml tank is the feature that keeps large prints viable. A large build volume burns through resin fast, and running a 10-hour print at 3am only to find an empty tank is a bad way to learn. Owners report the heated vat improving both success rate and adhesion, which is consistent with what I saw on the Saturn 4 Ultra.
The 360-degree self-check system runs five inspections: auto-inspection, residual resin detection, leftover resin monitoring, failed print detection, and lifespan management. Together with the flip-top platform and the suspension drip setting that drains the platform after a print, it is a well thought out machine for volume work rather than a hobby toy scaled up.
What this machine is genuinely good at
Batches. If you are producing a warband, a set of encounter minis, or a run of identical parts, throughput matters more than panel resolution. The Intelligent Release 2.0 system and dynamic light-off compensation target exactly this, pushing up to 60 mm/h while protecting fine features, and owners consistently describe it as reliable for batch production once settings are dialled in.
It is also the choice for cosplay props and terrain pieces. Those are large, hollow, and often printed standing at an angle, which is a workload that punishes small plates and rewards a flip-top platform you can reach without unscrewing anything.
The two problems to know about
The bundled wash and cure station does not fit the build plate. Owners end up buying a larger station, and that is an unbudgeted cost that catches almost everyone. Plan for it as part of the machine rather than an accessory.
The automatic resin pump pickup and loading cycle is slow, slow enough that many owners bypass it and pour manually. That undercuts one of the reasons to buy a large machine, so treat the pump as a convenience rather than a feature you will use daily.
Finally, the physical realities. At 60.9 pounds and 30.91 x 19.29 x 20.47 inches, this is not a desk printer, and the build plate itself is heavy enough that scraping prints off takes real effort. Some users report needing to dial in settings before it runs consistently, so budget a weekend for calibration rather than expecting a first-print miracle. Our general resin printer guide covers the other top picks in detail.
5. Creality Halot-X1 Combo – Leveling-Free by Design
Creality Halot-X1 Combo Resin 3D Printer, 10.1″ 16K Mono LCD, 14×19 μm
10.1 inch 16K mono LCD at 14x19 μm
211.68 x 118.37 x 200 mm build volume
Fixed build plate, no leveling
Pros
- Leveling-free fixed build plate prints straight out of the box
- 10.1 inch 16K screen with 14x19 μm pixels
- 92 independent light zones target exposure and screen life
- RFID resin parameter recognition cuts trial and error
Cons
- Lowest average rating here at 3.6 stars on only 22 reviews
- Roughly 30 percent of ratings sit in the 1-2 star range
- Bundled slicer and setup flow are less proven than competitors
I am including the Halot-X1 Combo because the design solves a beginner problem better than anything else here, and I want to be direct about the fact that owner feedback on it is thin. It has 22 reviews averaging 3.6 stars, and roughly 30 percent of those ratings are one or two stars. Read that as unvalidated, not as bad. There is simply not enough long-term owner data to make claims about durability.
The idea is the selling point. A fixed build plate means there is nothing to level, nothing to re-level after you move the machine, and no knob to turn when a print will not stick. If bed leveling was the part of resin printing you were dreading, this removes it from the list entirely. The plate releases by twisting rather than scraping, which also protects the film and the model.
The panel is genuinely impressive on paper: a 10.1-inch 16K mono LCD at 15120×6230 with 14×19 micron pixels, paired with 92 independent light zones that expose only the part of the screen being used. The zoning matters because a monochrome LCD degrades where it is exposed, so spreading exposure across zones is how manufacturers extend screen life. The build volume of 211.68 x 118.37 x 200 mm sits neatly between the compact and large machines.
What I like about the approach
The Intelligent AFU resin management is the most interesting feature on this machine. It heats resin to 30-45 degrees C in about three minutes, reads RFID tags on supported bottles to load exposure parameters automatically, uses laser detection to manage feeding and recycling, and monitors resin weight in real time. If you are printing with bottled resin from a supplier that uses RFID, this genuinely reduces the dial-in work.
On mechanics, the top-down movable optical system uses dual linear rails and dual lead screws with a quoted 0.01 mm Z precision. Dual rails resist the twisting that degrades Z accuracy on single-rail machines, which is a real long-term reliability argument. The 3.97-inch top-mounted touchscreen and the shorter footprint are practical touches in a small room.
Why I would wait
The weakness is the software and the sample size. The bundled slicer and setup flow are less proven than those of the established brands in this roundup, and Creality’s customer service is uneven relative to its very large community knowledge base. At 22 reviews I would not spend a premium here when a machine with 667 reviews sits a tier down.
If you are patient, this is a machine to revisit once owner numbers build up. If you want to start printing this month, pick one of the first four.
6. Elegoo Jupiter 2 – Largest Build Volume Here
ELEGOO Jupiter 2 Resin 3D Printer, 16K Large MSLA 3D Printing Machine, Auto-Leveling, Smart Tank Heating, Auto Resin Feeding, Smart Mechanical Sensor, Wi-Fi Cluster, Build Size 302.4 × 161.98 × 300 mm
302.4 x 161.98 x 300 mm build volume
16K mono LCD at 20x26 μm
Multi-point auto leveling, tank heating to 30 °C
Pros
- Largest build volume in this roundup with 16K resolution
- Double-door enclosure and window help with fumes and light leaks
- Quick-release laser-engraved plate and tool-free film swaps
- Camera
- OTA updates and Wi-Fi cluster management included
Cons
- 3.6 average with 27 percent one-star reviews
- Repeated reports of LCD screen failures and scratched screens
- Resin pump keeps running when level detection fails
- Build plate must be fully removed and few wash stations fit it
The Jupiter 2 is the flagship in this group and the hardest recommendation. It has the largest build volume here at 302.4 x 161.98 x 300 mm, roughly 2.5 times the Saturn 4, paired with 16K resolution at 20×26 microns. The feature list is the longest in the roundup: multi-point auto leveling with real-time feedback, smart tank heating with quick preheat, automated resin feeding, a double-door enclosure with a viewing window, a 4.0-inch touchscreen, an HDR camera, OTA firmware, dual-band Wi-Fi, and cluster management.
When it works, it works well. Owners who dial it in praise the output quality for a machine this size, and the maintenance design is thoughtful: a laser-engraved quick-release build plate, tool-free release film swaps, and a resin drip tray. Swapping FEP film without hunting for tools is a genuine quality-of-life improvement, because film changes are a recurring task that people postpone when they are annoying.
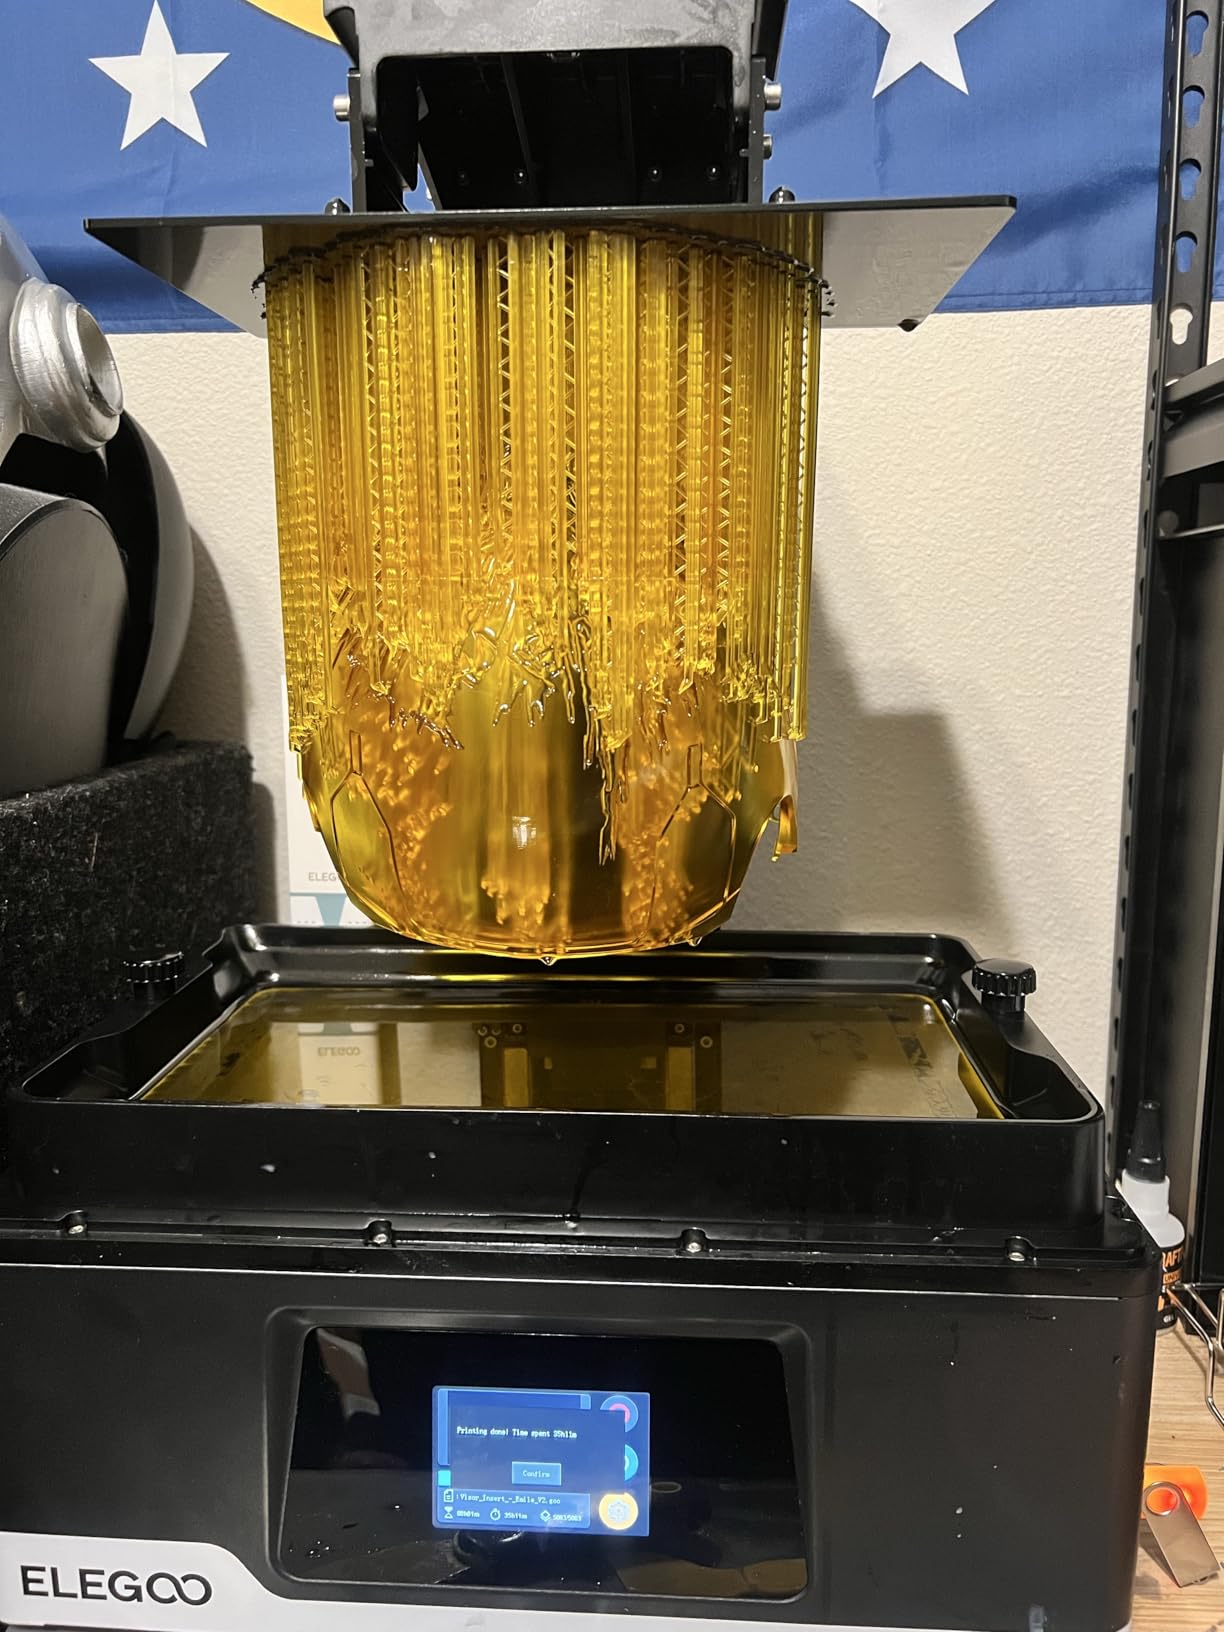
Now the part you need to weigh carefully. It holds a 3.6 average across 82 reviews with 27 percent one-star feedback, tied for the weakest owner sentiment in this selection. The complaints are specific and repeatable: LCD screens failing, screens arriving scratched or looking like refurbished units, and auto-leveling reporting success while prints still fail adhesion, often on the left side of the plate.
The automated resin feeding system has its own failure mode. When level detection fails, the pump keeps running and you waste resin. Several owners also report that the build plate has to be removed completely rather than hinged, and that few wash and cure stations on the market fit a plate this large. And a number of reviewers make the same point independently: the lower-cost Saturn 4 gives better results for far less money.
Who should consider it
If your work is genuinely large-format and you are producing cosplay props, terrain tiles, or full batches of large-scale models, the Jupiter 2 gives you capacity nothing else in this list matches. The enclosure with a viewing window also makes it the friendliest of the big machines to a shared household, since the doors reduce both the UV leak and the resin smell that drift into a room.
I would pair it with a specific caution. Do not buy it as a first resin printer. Buy it as a second machine, or as a first machine if you have a mentor, a YouTube channel you trust, and a willingness to troubleshoot. Buy a Saturn 4 Ultra 16K to learn on, or a Photon Mono 4 to learn cheaply, and treat the Jupiter 2 as an upgrade you make once you know what you are doing.
The upgrade path, honestly
There is a real argument for the sequence. Spend little on a compact printer, learn resin handling, exposure calibration, supports, and washing on something where a mistake is cheap. Then move up. Most of what makes the Jupiter 2 frustrating, the adhesion tuning, the film changes, the resin management, is knowledge you acquire once and carry with you.
If that is your situation, the Saturn 4 Ultra in slot three is the natural next machine, and the M7 MAX is the natural one after that. If you want a broader look at the whole category, our main 3D printer guide covers the machines outside this beginner shortlist too.
Setting Up Resin Printing in a Small Apartment
Almost every question I get from first-time resin buyers is really a question about the room, not the printer. Is this stuff toxic? Can I do this in my bedroom? What safety gear do I actually need instead of buying everything on a list? Here is what I tell people, based on watching beginners repeatedly make the same setup mistakes.
Where the printer goes. Not in a bedroom, not in a closet, and ideally not in a living room where you spend eight hours a day. A garage, a basement, a workshop, or a spare room with a window you can open is the target. If you only have a small apartment, keep the printer in one ventilated corner and treat that corner as your resin station permanently rather than carrying vats of liquid around the flat.
What actually goes wrong. Uncured resin is skin irritant and, more seriously, a sensitizer. Once sensitized, your body can react to exposure levels that were previously fine. That is why the gloves are not optional. Nitrile gloves, changed frequently, plus a nitrile-dipped apron or a disposable apron, plus eye protection, covers the realistic risk profile for a hobbyist.
Ventilation and filtration. These get confused constantly, so to be clear: HEPA filters capture particles, and activated carbon filters capture volatile organic compounds. Resin printing produces both, so an air purifier with a genuine carbon stage matters more than a HEPA-only unit. A purifier with carbon is not a substitute for open windows, but it meaningfully reduces the smell in a shared space.
The workstation itself. A silicone heat-resistant mat is the single best ten dollars you will spend. It catches drips, protects the surface, and gives you a defined area for uncured prints before they go to the wash station. Keep a scrap cardboard box nearby for prints waiting to be washed; uncured resin that drips off a model onto a shelf is the mess everyone regrets.
Cold rooms. Resin viscosity rises when it is cold, which causes poor flow, bubbles, and layer separation. This is the single most common complaint pattern in beginner resin communities and the reason tank heating exists. If your printer heats its own vat, you are covered. If it does not, keep the room warm, keep bottles sealed, and store resin somewhere closer to room temperature than your garage.
Disposal. Do not pour uncured resin down a sink. Let it cure in a tray in sunlight or on a UV lamp, or take it to a hazardous waste facility. Cured resin is solid waste in most places. Never mix spent isopropyl alcohol and resin water casually, and use a dedicated container for your wash waste.
What to Look for in a Beginner Resin Printer in 2026
MSLA is the technology you are buying into. A masked stereolithography printer cures liquid photopolymer resin with UV light through a pixel-addressed LCD screen, layer by layer. Every printer in this guide uses it. The practical consequences are that surface finish will be excellent, prints will have visible layer lines under strong light, and you will need gloves, washing, and curing. Resin printing produces detail far beyond FDM, which is the entire reason to accept that workflow.
XY resolution, and why it is not the whole story. XY resolution is the physical size of a single pixel on the LCD, expressed in microns. Lower is finer. A 17×17 micron pixel will hold detail that a 46×46 micron pixel physically cannot. But pixel size only matters if the rest of the system cooperates: a uniform light source, stable Z, correct exposure, and a build plate that is flat. A well-tuned lower-resolution machine often beats a badly tuned high-resolution one.
Build volume. Measure the largest object you want to print and add about 20 percent in each dimension for supports and tilt clearance. Beginners consistently underestimate this and then spend months resizing models. A plate around 150 x 80 x 165 mm handles single miniatures and small batches. Once you want armor plates, large busts, or terrain, you are looking at the 200 mm and 300 mm classes.
Tilt-vat versus standard peel. In a standard bottom-up printer, each layer requires lifting the model off the film, which creates peel force that can rip prints apart, especially thin ones. Tilt-vat systems progressively release the model as they tilt, cutting that force. Every printer from the Mars 5 Ultra upward in this guide has it. If you print large solid bases or thin detailed miniatures, this is not a nice-to-have.
Auto-leveling. Any form of it, including a one-time four-point procedure, removes the single most common beginner failure. Machines that need nothing at all, like the Halot-X1 Combo’s fixed plate, are rare and appealing for that reason. Manual leveling with a paper test and a feeler gauge is no longer acceptable at these tiers.
Monochrome LCD lifespan. Monochrome screens replaced the old color masks and last far longer, but they are still a consumable. Exposure burns them down, and heat accelerates it. A 16K panel is more expensive to replace than a 9K one, so factor the screen into the long-term cost of the machine. Printers with light zoning or cooling extend screen life, which is a real advantage.
Smart sensors, and which ones matter. Residue detection, resin shortage alarms, and failed print detection are genuinely useful. An AI camera is useful for time-lapse and remote monitoring, and less useful for catching failures, since accuracy depends on the model, the resin, and the lighting. Do not pay extra for a camera expecting it to save prints.
Slicer and community profiles. This is the biggest hidden cost of switching brands. Every manufacturer ships a slicer, and the mature ones, Photon Workshop and Lychee, have large libraries of community exposure profiles for common resins. A brand-new model with no profiles means calibrating every resin from scratch. Check the profile library before you buy.
The hidden costs. Budget for gloves, an apron, nitrile-rated eye protection, a silicone mat, a carbon-filter purifier, isopropyl alcohol, spare FEP or NFEP film, a dedicated wash container, and a wash and cure station. If you buy the M7 MAX or the Jupiter 2, the station you already own will probably not fit the build plate, and you are buying a second one.
Your First Resin Print: A Step-by-Step Workflow
No competitor we reviewed covers this in order, so here it is in the sequence I would actually follow. Budget a full afternoon for your first attempt and you will avoid every frustration in this guide.
1. Unbox and check the screen. Power the machine on before anything else. Look at the LCD under a bright light for cracks, scratches, or dead zones, because screen damage in transit is the easiest problem to return and the hardest to explain later. Test the camera and touchscreen if the machine has them.
2. Clean the build plate. Wipe the plate with isopropyl alcohol, then scuff it lightly with 120 to 220 grit sandpaper if adhesion is a problem. New plates are often too smooth to bond reliably on the first print, and ten minutes here prevents an evening of failed first layers.
3. Level it, or confirm auto-level. If the printer self-levels, run the calibration with the vat filled so buoyancy is realistic. If it uses a one-time procedure, level with the vat in place and re-check after one test print. Do this before you load a model you care about.
4. Pour resin and filter it. Pour through a filter into the vat, at least to the minimum line. Stir the bottle first, because pigment settles. If you have a vacuum chamber, degas it now rather than discovering bubbles at hour three.
5. Load a community profile. Start from a known exposure profile for your printer and resin, then run the printer’s own calibration if it has one. The Mars 5 Ultra and Jupiter 2 both ship calibration workflows that save a lot of guessing. The RFID resin recognition on the Halot-X1 Combo can do this automatically if your bottle supports it.
6. Print something boring first. A calibration model or a simple test bust, not a 200mm dragon. Watch the first two layers in the camera, or through the lid, to confirm the model is bonding to the plate. If the print is not attached, stop it and fix adhesion rather than wasting six hours.
7. Wash, cure, and remove supports. Wash in isopropyl alcohol, cure under a UV lamp for the time your resin specifies, then remove supports before the part is fully hardened. If you would rather skip alcohol entirely, water-washable resin exists and is the right pick for apartment-bound workflows, at the cost of some print detail.
8. Note what to change. Write down exposure, lift speed, and retract speed. Those three numbers are the ones you will tune, and having a record from print one is how you avoid relearning the same lesson six times.
Frequently Asked Questions
What are the downsides of using a resin printer?
The three big ones are a mandatory post-processing workflow, a real safety and ventilation requirement, and consumable costs. Uncured resin is a skin irritant and sensitizer, so gloves, eye protection and ventilation are non-negotiable. Every print must be washed, cured and de-supported, which adds 30 to 60 minutes after each run. Screens and FEP film are consumables that wear out, and beginner printers with small plates force you to rescale models constantly.
What is the most beginner friendly 3D printer?
For resin, the Elegoo Mars 5 Ultra is the most beginner friendly because it removes the three decisions beginners get wrong: the plate self-levels, the tilt-vat handles peel force automatically, and sensors warn you about residue and low resin. If you want remote monitoring and the fewest moving parts to learn, the Anycubic Photon Mono 4 is also a strong choice, though its leveling is a one-time manual procedure.
What is the most reliable resin 3D printer?
Reliability correlates with how much long-term owner feedback exists. The Anycubic Photon Mono 4 has the largest review base in this roundup at 667 reviews averaging 4.4 stars, and the Anycubic Photon Mono M7 MAX has the highest average at 4.5 across 146 reviews. By contrast the Creality Halot-X1 Combo has only 22 reviews and the Elegoo Jupiter 2 carries a 27 percent one-star share, so both reliability claims there are largely unvalidated.
Which resin printer is better, Anycubic or Elegoo?
Anycubic generally leads on pixel density at compact sizes, which is why the Photon Mono 4 has the finest XY resolution here at 17×17 microns. Elegoo generally leads on automation, with tilt-vat release, self-leveling, heated tanks and integrated cameras across more of its range. For a first printer on a desk, Anycubic wins on detail. For a first printer with minimal fiddling, Elegoo wins on automation. Both have mature community slicer profiles.
Do resin 3D printers need ventilation, and are they toxic?
Yes to both. Uncured resin is an irritant and a skin sensitizer, and printing releases volatile organic compounds. You need nitrile gloves, eye protection, an apron, a silicone mat, and ventilation. An air purifier with an activated carbon stage handles fumes better than a HEPA-only unit, but open windows and a dedicated room are the real fix. Cured prints are inert once fully washed and cured.
How long do resin printer screens last?
Monochrome LCD screens last considerably longer than the original color-mask screens, but they are still consumables because exposure burns them down and heat accelerates it. Printers with light zoning, like the Creality Halot-X1 Combo with its 92 independent zones, and printers with active LCD cooling, like the Elegoo Jupiter 2, extend screen life. Treat any replacement screen as a future cost, and remember a 16K panel costs more to replace than a 9K one.
Is anything illegal to 3D print?
Almost nothing is restricted outright, but there are categories to avoid. Do not print firearms or firearm components, do not produce anything that infringes a patent or trademark, and avoid counterfeit branded parts. For tabletop miniatures, check your game provider’s rules on unofficial models, since many are sold as printable but not as licensed products. Personal-use copies of your own designs are always fine.
Which Beginner Resin Printer Should You Buy?
Buy the Anycubic Photon Mono 4 if you want the best balance of detail, footprint and proven reliability, and you are willing to level once and tune your slicer settings. It has the largest owner base we found and the finest XY resolution in this group at 17×17 microns.
Buy the Elegoo Mars 5 Ultra if you want the least amount of fiddling. Self-leveling, tilt release, sensors and a camera with Wi-Fi make it the most hands-off first machine here. Buy the Elegoo Saturn 4 Ultra 16K if miniatures are the goal and you want the sharpest surfaces plus a heated tank that solves cold-resin problems.
Go bigger with the Photon Mono M7 MAX when you need a 298 x 164 x 300 mm plate for batches and large models. Treat the Creality Halot-X1 Combo as a machine to watch, since its leveling-free design is the cleverest idea here but owner feedback is thin. Skip the Elegoo Jupiter 2 as a first printer; its reliability complaints are too consistent, and the Saturn 4 Ultra covers the same ground more reliably.
Whichever you choose, budget for gloves, an apron, a silicone mat, alcohol, spare film, and a wash and cure station before you order. That is the real cost of getting into resin printing, and being prepared is what makes the first six months fun. If you want the wider category rather than just the beginner tier, read our resin 3D printer guide for tabletop gaming figures next.