
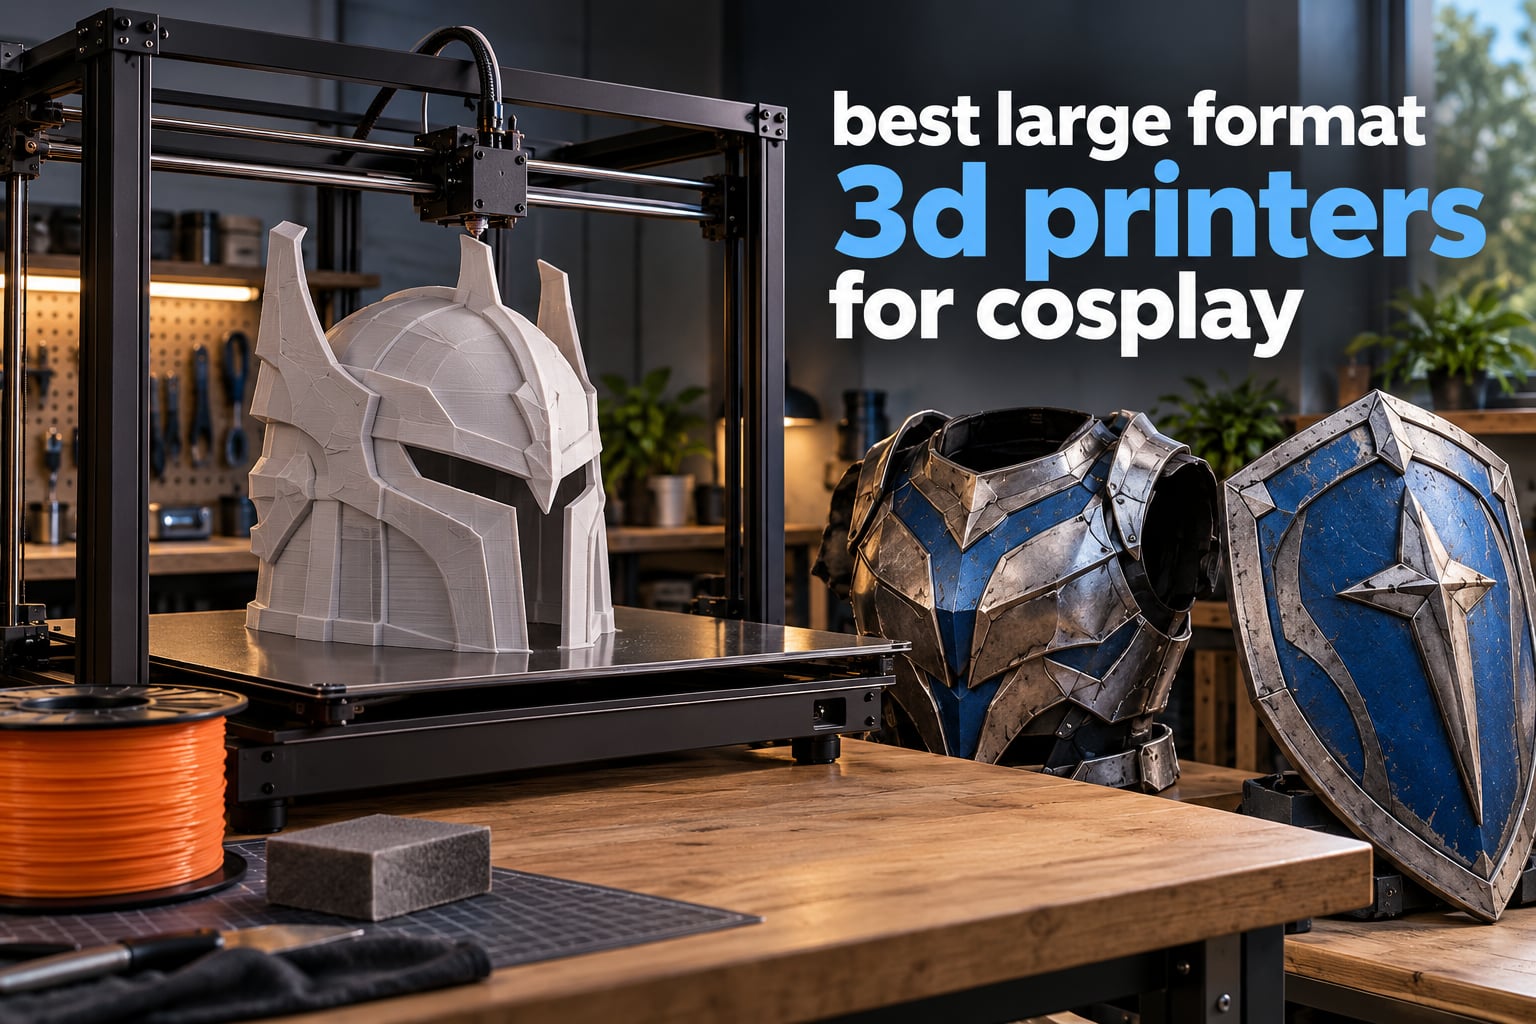
The best large format 3D printer for cosplay is the Creality K2 Pro Combo. Its 350 x 350 x 350mm cube holds most helmets and chest plates in a single piece, it prints at up to 600mm/s, and the bundled CFS unit handles multi-colour insignias and emblems without a manual filament swap. If you need a 500mm cube instead, the Sovol SV08 MAX is the alternative to shortlist.
I have spent the last year printing armour almost exclusively on large-format machines, and the single biggest lesson is that build volume is not a nice-to-have spec for cosplay. It is the whole game. Every seam you remove saves real hours of sanding, filler and paint, and a helmet that prints as one shell is both stronger and far better looking than one glued together from six segments.
That is why the best large format 3D printers for cosplay rank very differently from general 3D printer roundups. A 220mm printer produces a beautiful miniature. For wearable armour it produces a puzzle. My first full chest plate took nine separate prints, nine seam-filling sessions, and a genuinely unhappy relationship with filler primer before the panels sat flush.
This roundup covers eleven machines with build volumes from 300mm up to a 500mm cube, so there is something sensible whether you are printing a single pauldron or a full suit. I have weighted the criteria the way cosplayers actually talk about them on forums: real build volume, whether the chamber can hold heat for ASA and ABS, how the machine behaves with a heavily loaded bed, and what happens when a 30-hour print fails at hour 26.
I deliberately avoided spec-sheet maximum speeds as a ranking criterion. Nearly every machine in this list advertises 500 to 800mm/s, and almost none of them print a full chest plate at those speeds. Forum regulars raised this point constantly on r/3Dprinting: quoted peak speed tells you very little about a heavy, tall, wall-heavy cosplay part. What matters is acceleration, motion system quality, and whether the first layer holds when there is 2kg of plastic moving on a cantilevered bed.
If you are still working out how big a machine you actually need, the general 3D printer guide on the site covers smaller formats in more detail. For enclosed-chamber specifics, our enclosed 3D printer guide is worth a read before you commit to ABS or ASA.
Table of Contents
Top 3 Picks for Best Large-Format Cosplay Printing in 2026
The three machines below cover the realistic range of cosplay work: a balanced all-rounder, a 500mm-cube specialist, and the multi-colour chamber model. Each one earns its place for a different project type rather than because of a single headline number.

All 11 Large-Format 3D Printers Compared in October
This table lists every machine in the roundup with its build volume, headline speed and the cosplay job it suits best. Build volume is given as W x D x H where the manufacturer states it, because the axis that matters changes depending on whether you are printing a helmet or a chest plate.
| Product | Specifications | Action |
|---|---|---|
| Creality K2 Pro Combo |
|
Check Latest Price |
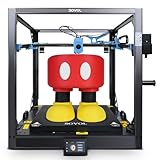 Sovol SV08 MAX Sovol SV08 MAX |
|
Check Latest Price |
 Creality K2 Plus Combo Creality K2 Plus Combo |
|
Check Latest Price |
 QIDI PLUS4 QIDI PLUS4 |
|
Check Latest Price |
 LONGER LK5 Pro LONGER LK5 Pro |
|
Check Latest Price |
 QIDI Q2 QIDI Q2 |
|
Check Latest Price |
 QIDI Max4 Combo QIDI Max4 Combo |
|
Check Latest Price |
 Anycubic Kobra 3 Max Combo Anycubic Kobra 3 Max Combo |
|
Check Latest Price |
 Bambu Lab P2S Combo Bambu Lab P2S Combo |
|
Check Latest Price |
 Flashforge Creator 5 Pro Flashforge Creator 5 Pro |
|
Check Latest Price |
 Creality Ender 3 V3 Plus Creality Ender 3 V3 Plus |
|
Check Latest Price |
1. Creality K2 Pro Combo: The Best Large Format 3D Printer for Cosplay Overall
Creality K2 Pro Combo 3D Printer with CFS, 600mm/s, 300mm Build
Build: 350 x 350 x 350mm
Speed: up to 600mm/s
CFS multi-colour
Dual AI cameras
Pros
- 600mm/s with clean top layers
- 350mm cube fits most helmets whole
- CFS colour switching works reliably
- Sturdy frame keeps motion quiet and precise
- Good adhesion on the stock textured plate
Cons
- Early units hit firmware and hardware errors
- Creality slicer is the only supported option
- Strong off-gassing smell needs a ventilated room
- 37.4 lb box needs two people to move it
My first full-size helmet on this machine came out as a single shell with zero visible seams, which is exactly the outcome that makes a large bed worth having. The 350 x 350 x 350mm cube is the sweet spot for cosplay: it swallows a Mandalorian or Stormtrooper dome, most pauldron pairs side by side, and a chest plate at a push without the machine becoming physically impossible to move around a flat.
Print speed claims get oversold everywhere, but here the frame is a genuine aerospace-grade aluminium alloy Matrix structure with step-servo motors rated at 32,768 microsteps per revolution, and that combination is what lets the machine actually hold speed on a curved surface rather than just on a bench test. The spec sheet lists 45dB at 300mm/s, which is measured and not marketing fluff.
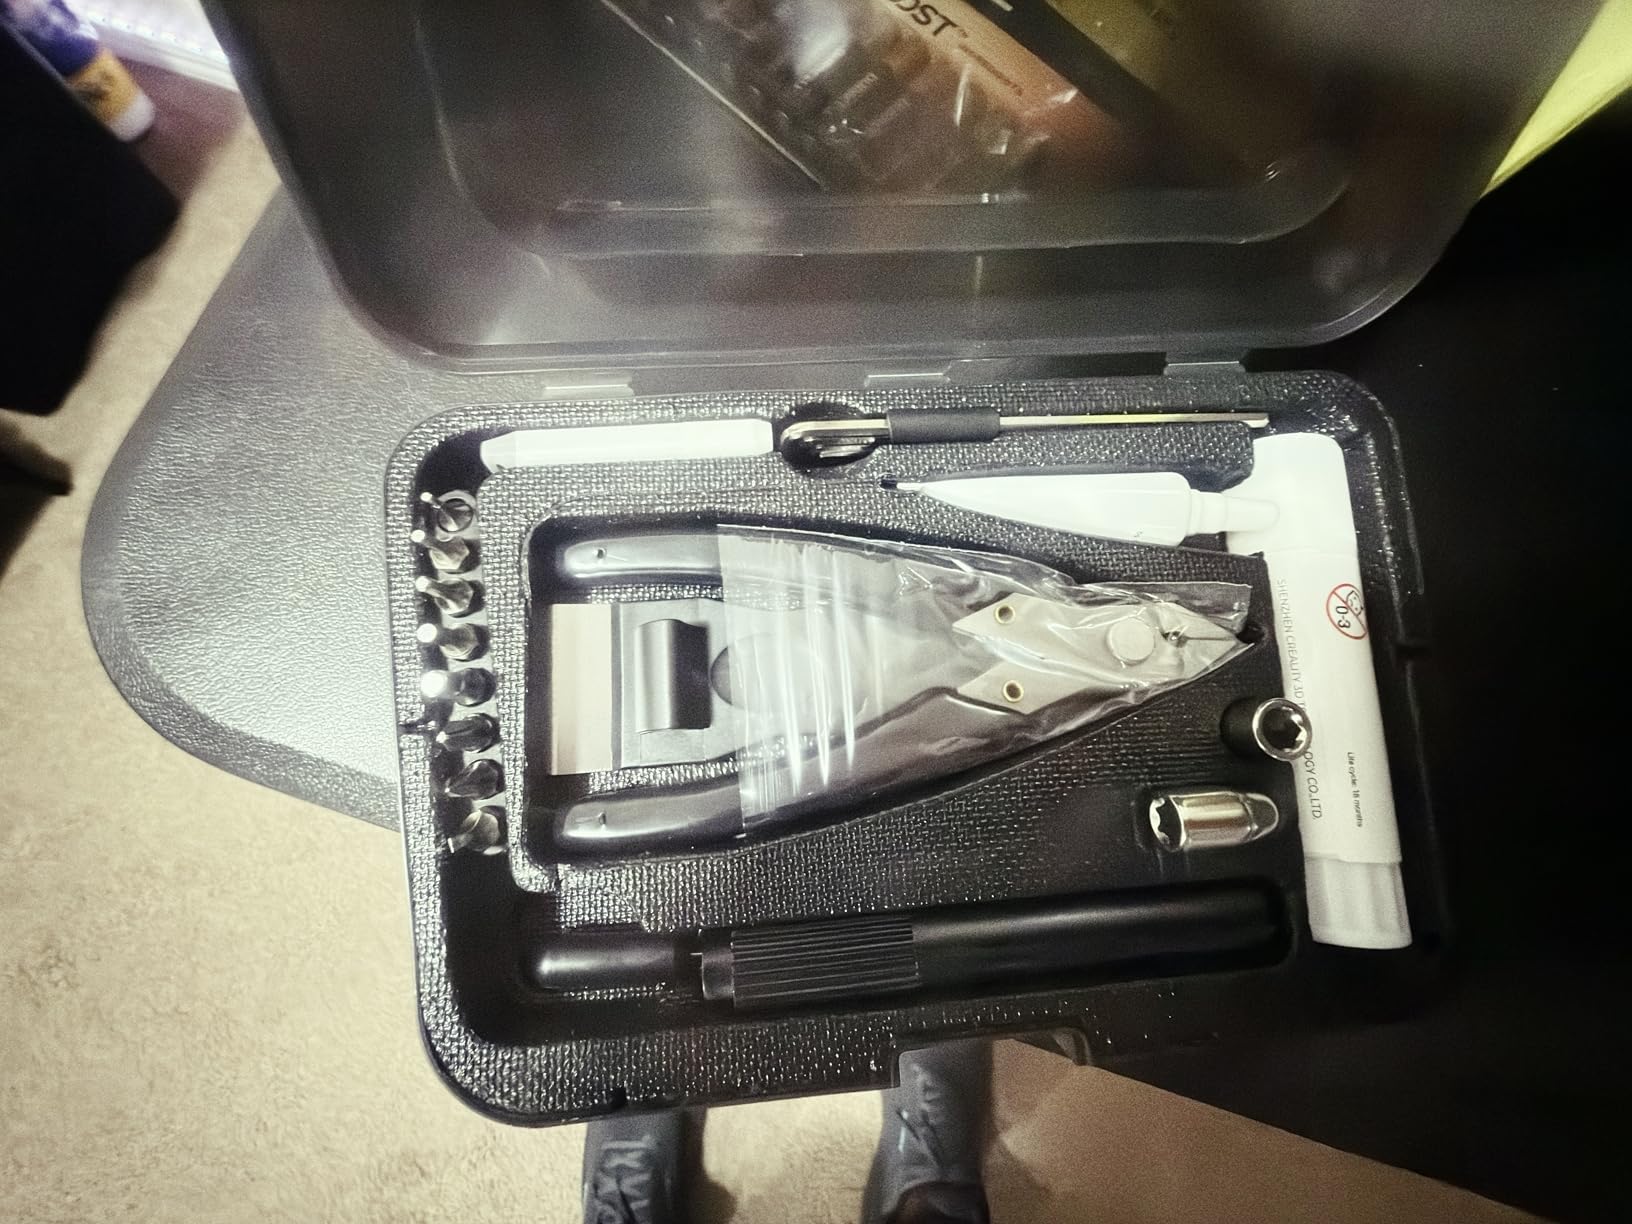
The bundled CFS is the feature I did not expect to care about and now rely on constantly. For cosplay, a two-colour insignia, an emblem, or a numbered armour plate takes minutes rather than an entire separate print and a glue-up. Reviewers report the unit switching colour and material reliably, and the auto bed adhesion on the stock textured plate needs nothing more than an IPA wipe before a print.
I will not pretend it is flawless. A recurring minority of early-adopter reviews describe a cluster of first-week problems: cutter faults, Z homing errors, extrusion hiccups and a clogged nozzle that support had to sort out. The ratings reflect this honestly, with 71% of reviews at five stars and 12% at one star. If you are risk-averse about a big purchase, ask yourself whether you can absorb a support case in week one.
Two operational notes before you commit. The Creality slicer is the only supported option out of the box, and some users raise privacy concerns about its online app, so check the local/offline workflow before you start uploading models. Also plan ventilation. Owners mention a strong off-gassing odour, which is normal for ABS, ASA and PA on any enclosed machine but is worth handling in a room you do not sleep in.
At 37.4 lb the machine is heavy and wide in its box, so budget for two people to position it. Once it is on the table, the combination of volume, speed, CFS and dual toolhead and chamber cameras is the most complete cosplay package in this roundup.
Who this suits for one-piece helmets and first builds
Buy this if your primary targets are helmets, chest plates and gauntlets, and you want multi-colour without buying a second machine. It is also the safest recommendation for a first large-format purchase, because the review base is by far the largest here and long-term owners describe reliable behaviour after the first month.
It also makes sense if you want a single machine to handle PLA, PETG, TPU, ABS and ASA on stock hardware, which is what most cosplayers end up needing across a build.
Who should skip it
Skip it if you are printing ASA or PPA as your main material and you need the chamber actively held at temperature, because the K2 Pro does not list active chamber heating. Go for the K2 Plus Combo instead. If you are deeply allergic to vendor slicers, or you want an open-source firmware stack you control, this is not the machine.
It is also the wrong choice if you need a true 500mm cube. Nothing in a 350mm box will fit a full-size chest plate laid flat with generous clearance, and forcing a part diagonally is how you get supports you did not plan for.
2. Sovol SV08 MAX: Best for 500mm One-Piece Builds
Sovol SV08 MAX CoreXY 3D Printer, Voron 2.4 700mm/s High Speed 3D Printers
Build: 500 x 500 x 500mm
Speed: up to 700mm/s
CoreXY
50mm3/s hotend
Pros
- 500mm cube in a compact CoreXY footprint
- 700mm/s with 40000 mm/s2 acceleration
- Eddy current levelling needs no probe
- HD camera with Obico monitoring
- 300C hotend takes filled filament
Cons
- 86.8 lb machine needs a sturdy dedicated table
- Heated chamber is a separate optional module
- 0.6mm and 0.8mm nozzles sold separately
This is the machine I would use for a full chest plate laid out in one piece, a two-handed prop weapon, or a helmet and visor printed together on the same bed. A 500 x 500 x 500mm cube is the only build volume in this list that removes the argument about splitting a torso, and for cosplay that argument eats weeks.
It is also the fastest accelerating machine here. The spec sheet lists 40,000 mm/s2 acceleration with CoreXY kinematics and minimal moving mass, and CoreXY is the right call at this scale because a bed that swings under a heavy load introduces ringing and layer shift that you cannot calibrate away. The 1280×720 HD camera with Obico integration gives you remote monitoring and failure detection, which matters when a print runs 30 hours unattended.
Levelling is the sleeper feature. Eddy current scanning plus pressure-sensing touch points means contactless, hands-free bed levelling, so you are not doing a paper test with a 2kg cosplay plate already sliced. The 50mm3/s high-flow nozzle handles filled and challenging filament, and the hotend reaches 300C.
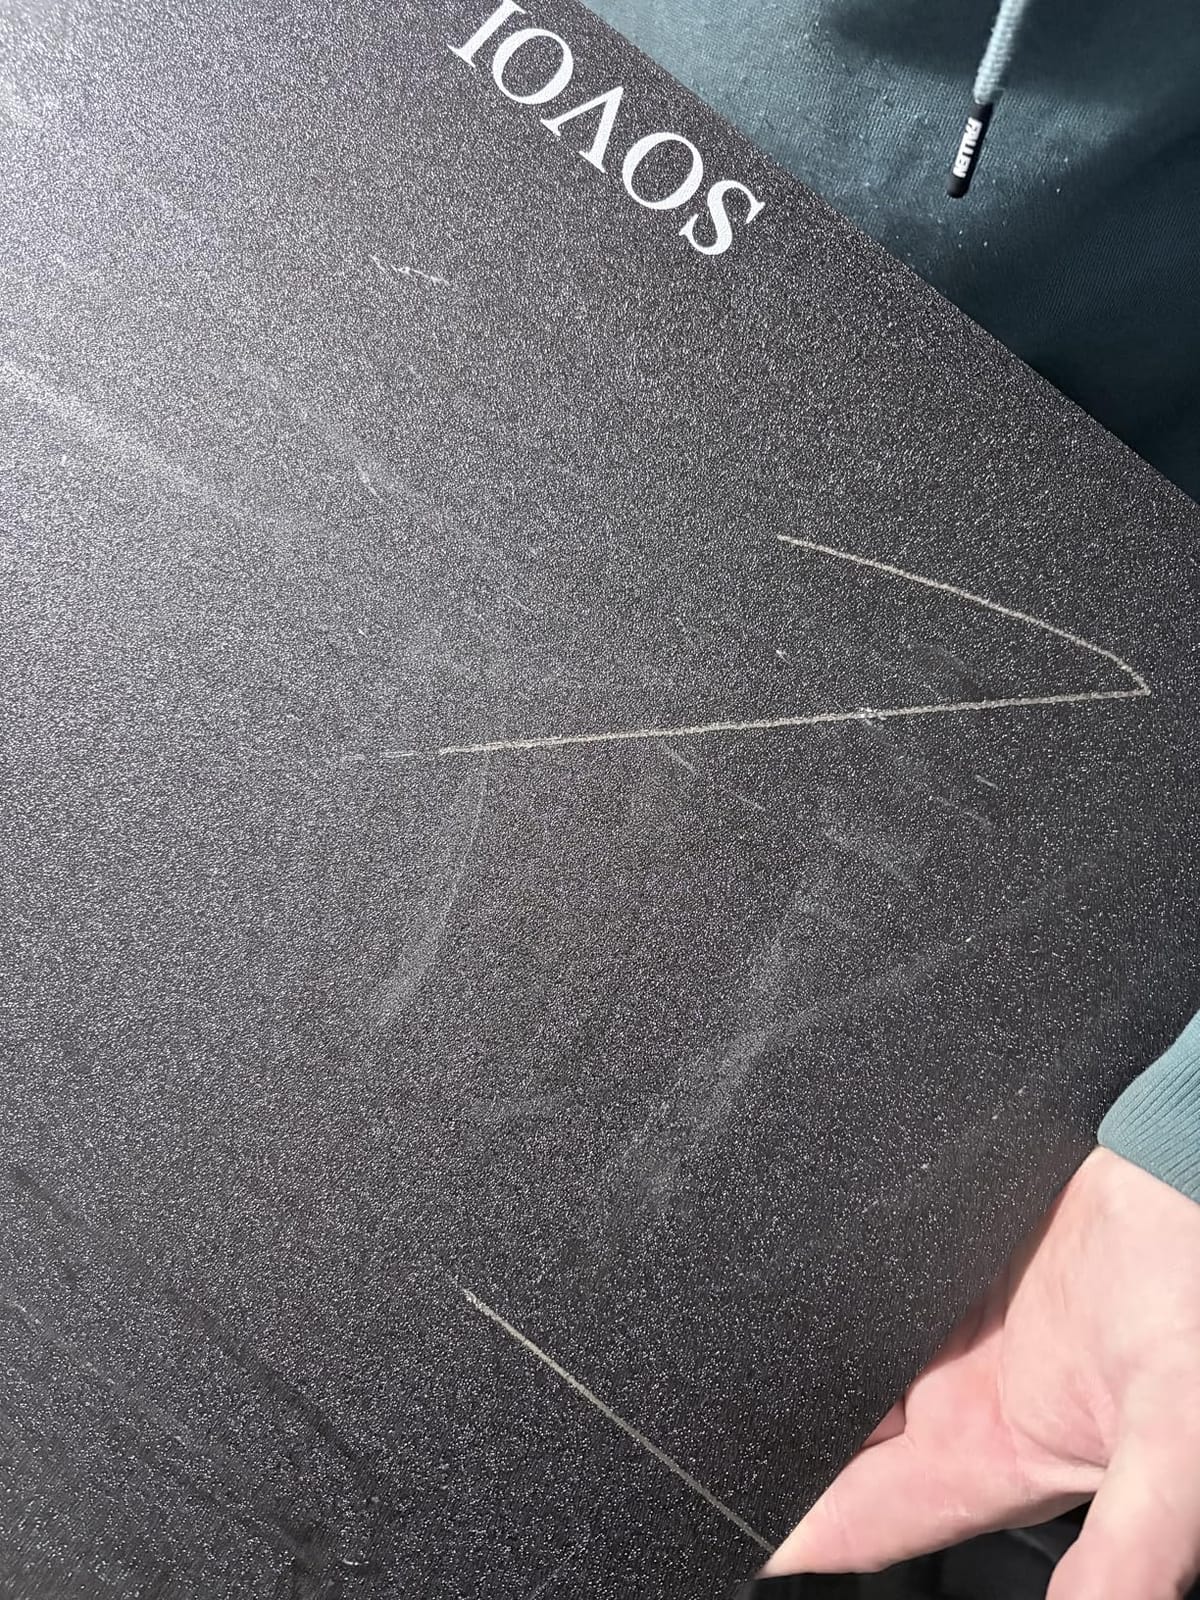
Two practical warnings. The first is weight: at 86.8 lb this needs a genuinely sturdy dedicated table and two people to position it, so measure the space before you order, not after. The second is the heated chamber. There is a reserved interface for an optional heated chamber module, but it is not included, which shows up directly in the rating distribution as a visible 13% one-star slice alongside shipping and assembly weight complaints.
Also note that two standard 0.4mm nozzles are included and 0.6mm and 0.8mm are sold separately. For big armour I almost always want a 0.6mm nozzle anyway, because wall count drives print time far more than layer height does, so budget for that accessory up front.
Who this suits for chest plates and oversized props
Buy this if you are building a full suit, a large shield, a staff, or any prop that currently forces you to split into four or more segments. It is also the right pick if you run prints overnight and want the machine to pause itself when something goes wrong.
For a cosplayer whose main frustration is seams, the jump from a 350mm cube to 500mm changes the post-processing workload more than any other single upgrade in this list.
Who should skip it
Skip it if your work is mostly under 300mm, because you will be paying to move a lot of air around a part that would print on a smaller machine. Skip it if you intend to print ASA or PPA straight out of the box and do not want to add the chamber module, since plastic armour warps badly without a stable hot chamber.
And skip it if your workspace is a normal desk. At 28 x 27.6 x 29.5 inches with an 86.8 lb mass, this is a floor-standing commitment, not a bedroom machine. Our guide to large-format hardware footprints covers the clearance maths for machines at this scale.
3. Creality K2 Plus Combo: Best for Multi-Colour ASA Armour
Creality K2 Plus Combo 3D Printer, Multi Color Printing with New CFS 600mm/s High-Speed Full Auto-Leveling Dual Al Camera Next-Gen Direct Drive Extruder Large Build Volume 13.78×13.78×13.78inch
Build: 350 x 350 x 350mm
Chamber: up to 60C
Colours: up to 16
Pros
- CFS scales to four units and 16 colours
- 350mm cube handles large models unsplit
- 600mm/s with 30000 mm/s2 acceleration
- 60C chamber and 350C nozzle take ASA and PPA
- 18 sensors and dual cameras automate levelling
Cons
- 17 percent one-star share from early adopters
- 70.4 lb chassis needs planned placement
- Creality slicer and app needed for full features
Where the K2 Pro is the balanced all-rounder, the K2 Plus is the machine for people who print hot materials in multiple colours. The active chamber holds up to 60C for ASA and PPA, and the hardened steel nozzle reaches 350C, which is the combination you need for armour that has to survive a convention hall, a car display, or an outdoor shoot.
Multi-colour scales properly here. Up to 16 colours across four linked CFS units with RFID filament detection, and the automatic filament relay means you are not babysitting swaps across a 20-hour print. Dual independently motorized Z axes handle auto bed tilt then levelling, which on a heavy cosplay part is the difference between a clean first layer and a failed plate.
Speed comes from step-servo motors with FOC giving 600mm/s and 30,000 mm/s2 acceleration, plus a 40mm3/s high-flow extruder for thick wall loops. The die-cast aluminium Matrix frame is rigid enough that I did not see meaningful ringing on tall curved armour sections.
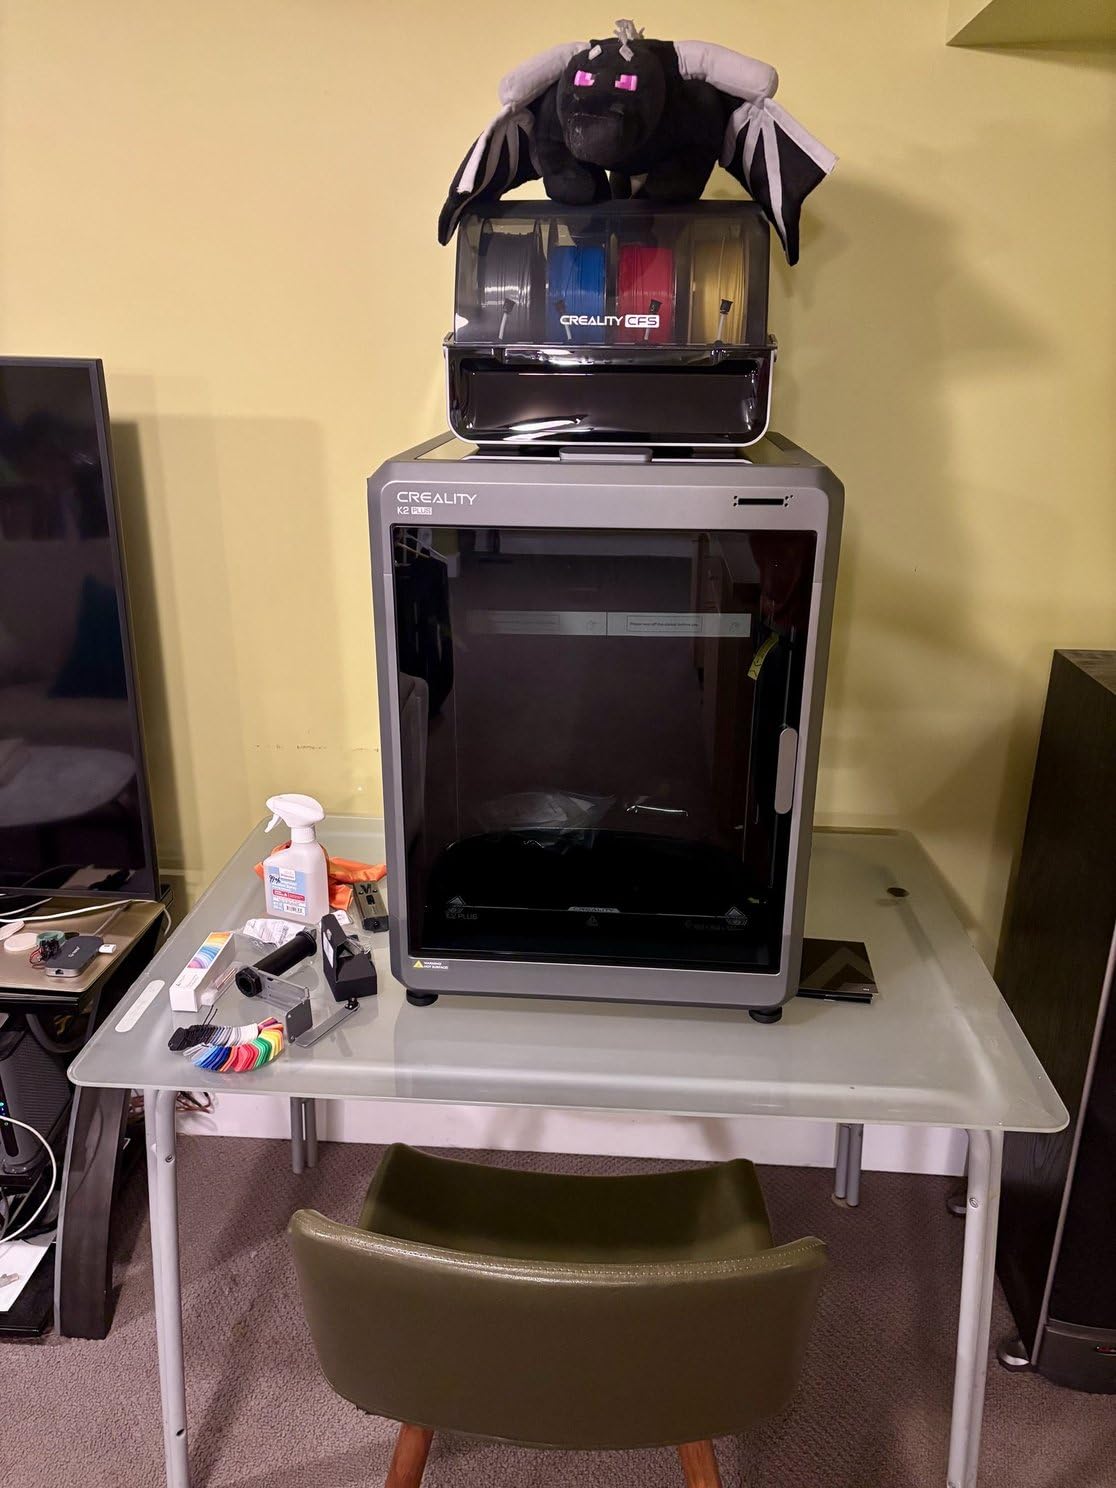
The honest caveat is the rating spread. This one carries 66% five-star and 17% one-star, which tells you a meaningful group of buyers hit early firmware and assembly friction. That is a real signal, not noise, and I would factor it in if this is your first machine and you have no local support network.
It is also a 70.4 lb chassis, so placement and table strength need planning before it arrives. And like its Creality sibling, the full feature set assumes the Creality slicer and app.
One workflow tip for cosplay specifically: pair the chamber heating with a dry filament box for ASA, because the print can be 30 hours long and moisture pickup will show up as bubbling at the nozzle rather than as an obvious failure. Long prints fail from wet filament far more often than from a bad bed.
Who this suits for heat-resistant armour and emblems
Buy this if ASA, PPA or similar engineering-grade materials are your default, or if you want a printed emblem, chest symbol or visor detail in two or more colours in a single job. The 60C chamber is the single reason to choose it over the K2 Pro for these projects.
It is also a good match if you are building pieces for a vehicle display or an outdoor event, where PLA will not survive the heat and ABS or ASA will.
Who should skip it
Skip it if you only ever print PLA and PETG, because you would be paying for chamber heating you never use. Skip it if you are on a tight budget and want the biggest bed possible instead, since a 500mm cube machine will serve a bigger torso than this one can.
And if early-unit reliability worries you, the Creality K2 Pro has a much larger and more settled review base with a lower one-star share.
4. QIDI PLUS4: Best for 305mm Armour on a Mature Platform
QIDI PLUS4 3D Printer, 65℃ Chamber Heating, 370°C Integrated Nozzle
Build: 12 x 12 x 11 inch
Chamber: 400W active heating
Nozzle: 370C
Pros
- 400W chamber heating cuts warping on ASA and PC
- 370C throat nozzle takes PPS-CF and PPA-CF
- Dual motor Z and 6mm bed hold good flatness
- Printing within about 10 minutes of unboxing
- HD camera and filament break detection
Cons
- 16 percent one-star share on early units
- Multi-colour needs the separately sold QIDI BOX
- First-time owners hit a levelling learning curve
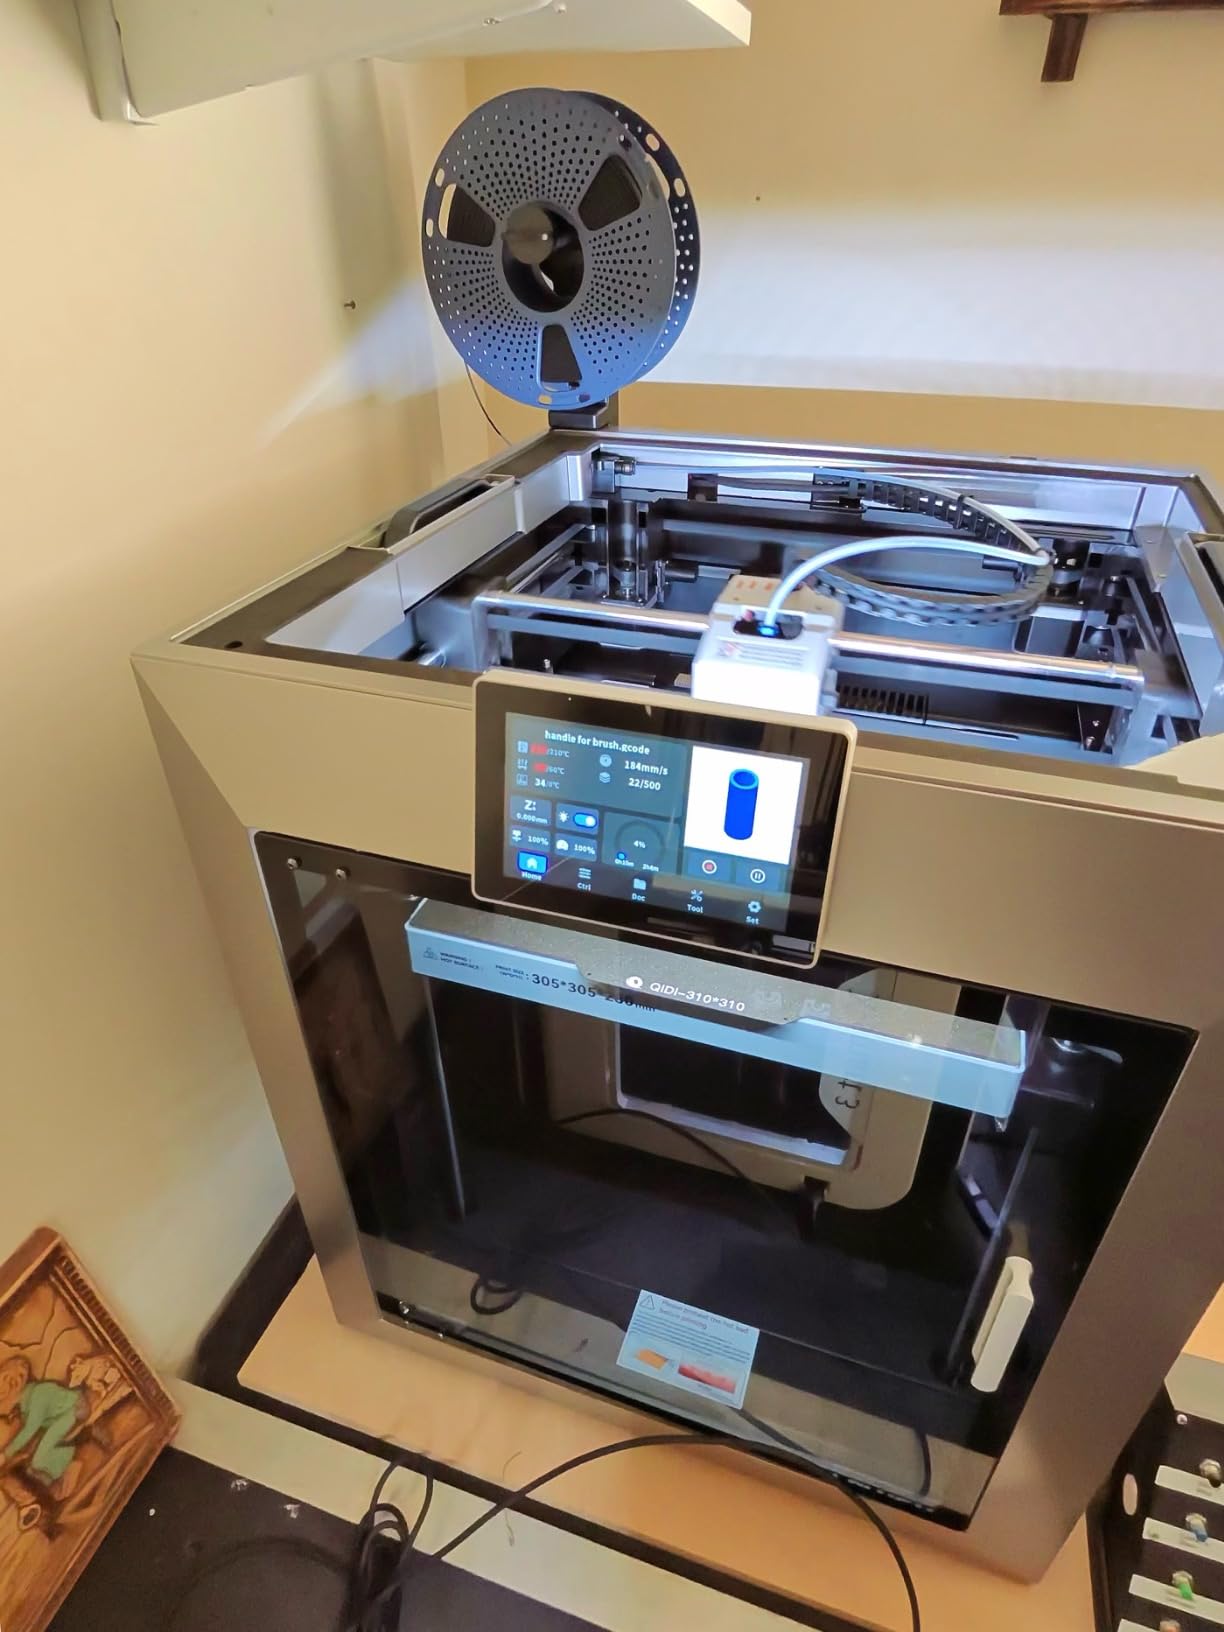
The QIDI PLUS4 is a 12 x 12 x 11 inch build volume, which in millimetres is a shade over 300mm square, and that footprint is genuinely useful for cosplay because you can batch several pauldron or greave parts in one job. Owners consistently praise that it is printing within roughly ten minutes of unboxing, using QIDI Studio and mobile remote printing.
The reason to choose it over a similarly sized machine is thermal. Second-generation active chamber heating at 400W with air circulation and dual-layer insulation reduces warping and cracking on high-temperature materials, and the 80W high-temperature hotend with a multi-metal integrated throat nozzle reaches 370C and supports PPS-CF, PPA-CF, ABS, ASA, PC, PA and PET. For a cosplayer who wants carbon-fibre-filled nylon armour, that headroom matters.
Mechanical rigidity is handled by an independent dual motor-driven Z-axis, a 6mm thickened aluminium bed platform, and 10mm linear shafts with lead screws. The CoreXY high-speed structure is inherited from the X-PLUS3, so the motion system is a known quantity rather than a new design.
There are three honest drawbacks. The rating breakdown shows 65% five-star against 16% one-star, with the negatives clustering on early units needing nozzle, Z-axis and filament-sensor troubleshooting. Multi-colour requires the separately sold QIDI BOX, which is an extra cost if your build has emblems. And first-time QIDI owners report a learning curve for bed levelling and adhesion setup.
That last point is manageable if you have printed before. It is worth it if you have not, because an adhesion problem on a large plate wastes hours. The integrated filament cutter and break detection are genuinely useful on long unattended jobs.
For what it is worth, QIDI support is frequently praised, and that matters more than it sounds when a 20-hour print is on the bed.
Who this suits for cosplayers printing filled nylon
Buy this if you want to experiment with carbon-fibre and glass-fibre filled filaments that need a 370C nozzle and a genuinely hot chamber, and you are working in the 300mm class. It is also a good choice if batching many medium parts matters more than printing one huge piece.
If you only plan PLA and PETG, you are paying for capability you will not use, and a 350mm cube machine will serve you better.
Who should skip it
Skip it if you need multi-colour out of the box, because that means buying the QIDI BOX separately. Skip it if you want the largest bed available, since a 300mm square volume will not take a full torso. And skip it if first-run friction is a dealbreaker for you, given the one-star share on early units.
5. LONGER LK5 Pro: Budget Pick for a First Large Bed
LONGER LK5 Pro 3 3D Printer, 11.8×11.8×15.7in Large Printing Size with Resume Printing FDM 3D Printer Fully Open Source Motherboard Upgrade TMC 2209 3D Printers 95% Pre-Assembled Ideal for Beginners
Build: 300 x 300 x 400mm
95 percent pre-assembled
4.3 inch touch screen
Pros
- 300 x 300 x 400mm volume at a budget price
- 20 to 30 minutes to assemble and level
- TMC2208 drivers keep motion quiet
- Coated lattice glass bed grips and releases well
- Large levelling knobs suit beginners
Cons
- Long warm-up and slow filament loading
- Notably more vibration than comparable machines
- Rear-mounted power switch is awkward
- Some units had weak quality control
The LK5 Pro answers a question a lot of cosplayers ask: can I get a real 300 x 300 x 400mm build volume without spending serious money? Owners broadly say yes. It is 90% pre-assembled with a reinforced diagonal rod triangular structure, and users report 20 to 30 minutes to assemble and level, which is about as painless as a first printer gets.
For cosplay the extra height matters more than people expect. A 400mm Z means tall pieces like a forearm vambrace, a shin guard, or a helmet dome section can stand upright instead of being laid on its side, which removes a support problem and often a seam. The dual blower kit handles part cooling, and the coated lattice glass bed gives good adhesion and easy print removal.
It is also a quiet machine for what it is. TMC2208 ultra-silent stepper drivers produce smooth, rattle-free motion, and the open-source motherboard means you are not locked into a vendor slicer if you prefer Orca or another tool.
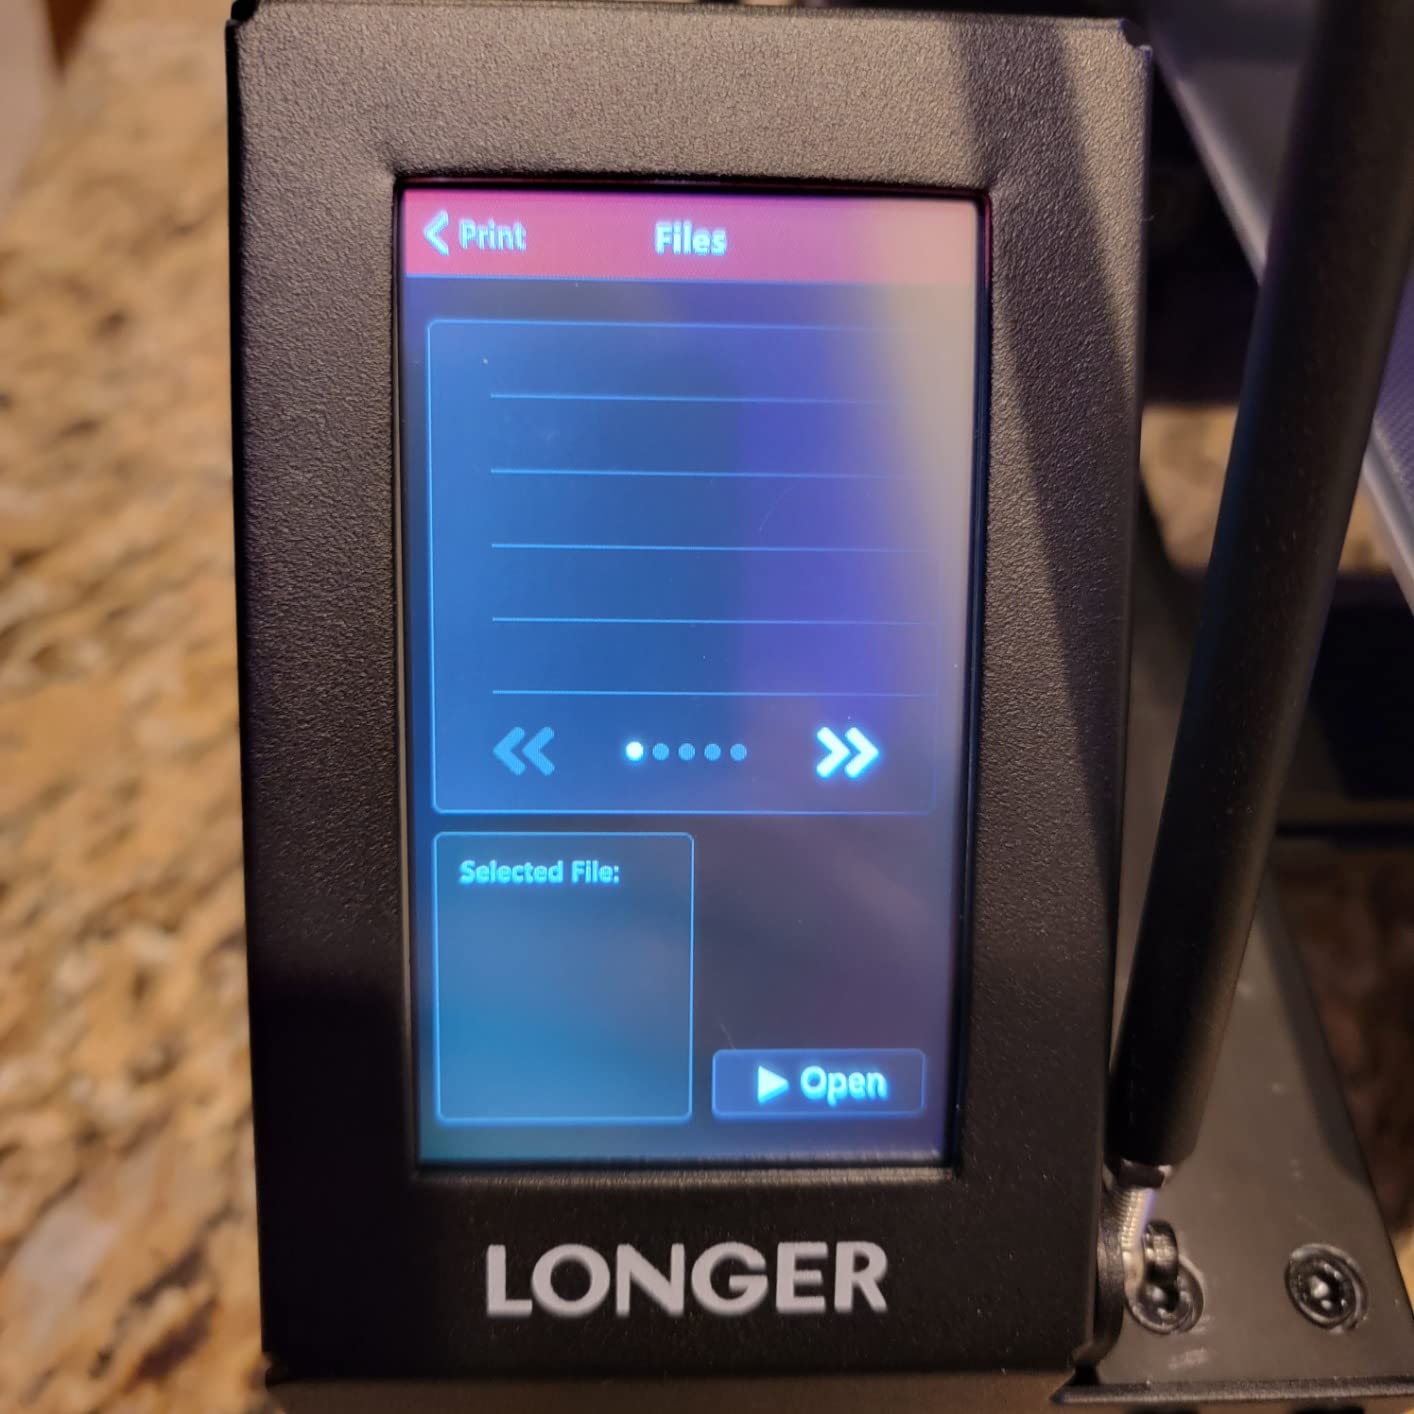
The compromises are real and reviewers do not hide them. Long warm-up times and slow filament loading frustrate some users, and the machine vibrates noticeably more than comparable machines while printing, which is exactly the characteristic that shows up as visible ringing on a curved helmet surface. The power switch is mounted awkwardly at the rear, and the 4.3 inch touch screen suits small fingers only. There is no touchscreen calibration and no USB thumb drive port.
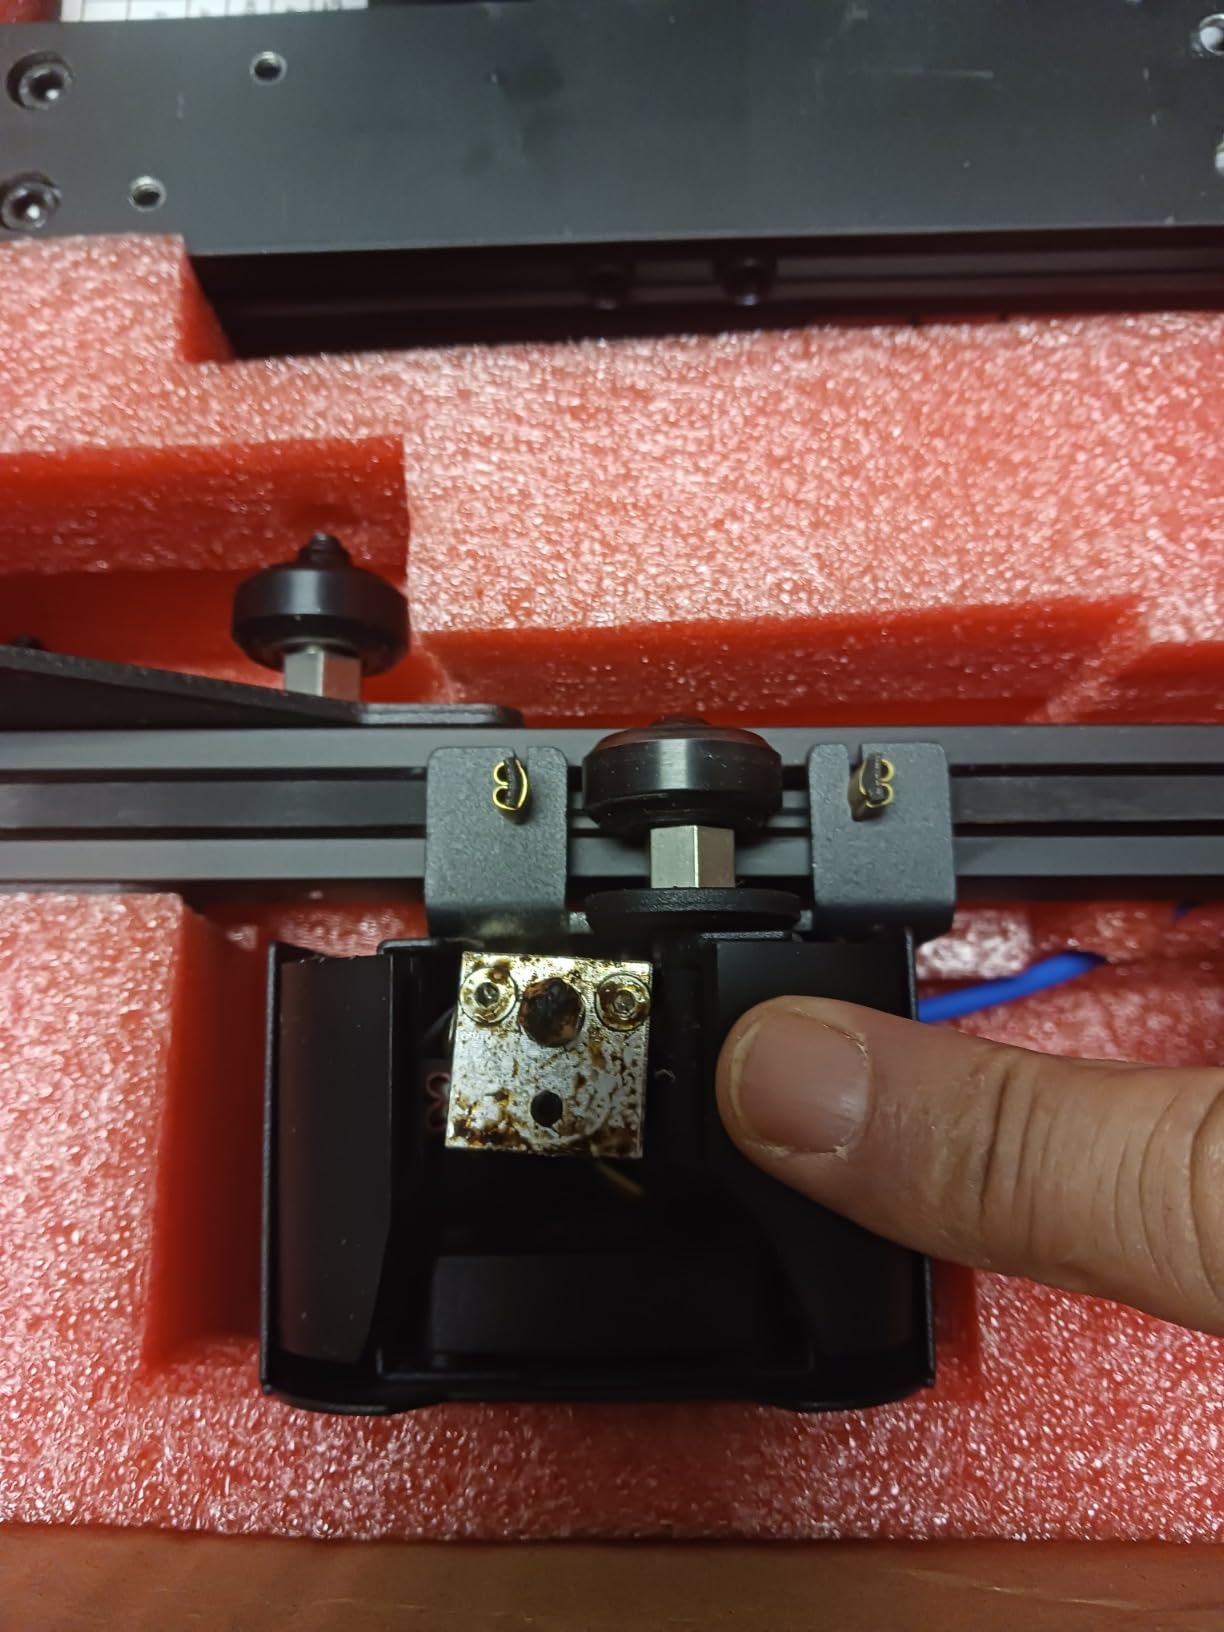
Quality control between units is uneven. Some buyers received machines with a broken filament sensor, damaged wheels, or a used power supply, and replacement parts were slow to arrive. That variance is the main reason the 4.1 average sits well below the machine’s feature list suggests.
My advice if you buy this: run a temperature PID tune early, and budget for a proper enclosure tent if you plan to move to ABS or ASA later. The BLTouch mount is provided but the sensor is not included, so auto-levelling hardware is an add-on.
Who this suits for first-time large-format owners
Buy this if you are moving up from a small printer, you are certain you will use the extra volume, and you want the cheapest path to printing a 300mm-class piece without an assembly project. Power-loss resume printing and filament run-out detection are genuinely useful when a 15-hour job is running overnight.
The 4.3 inch full-colour touch screen and large levelling knobs make it the most approachable machine in this roundup for someone who has never tuned a bed.
Who should skip it
Skip it if print surface quality is the priority, because the vibration translates into a rougher finish that means more sanding before paint. Skip it if you plan to print hot materials as standard, since there is no enclosure or chamber here. And skip it if you need multi-colour or a genuinely fast machine.
6. QIDI Q2: Best for an Enclosed, Filtered Indoor Workspace
QIDI Q2 3D Printer, 65℃ Heated Chamber and 370℃ Nozzle Unlock PPS-CF
Chamber: 65C PTC heated
Nozzle: 370C
Speed: up to 600mm/s
Pros
- Nozzle doubles as the levelling sensor
- 65C chamber and 370C nozzle take tough filaments
- Full-metal CoreXY with linear rails holds 600mm/s
- Triple filtration cuts odour and particles
- QIDI BOX adds dry-while-print multi-colour
Cons
- 9 percent one-star share on early issues
- Multi-colour needs the separately sold QIDI BOX
The highest-rated machine in this batch is the QIDI Q2, and the reason is unusually specific: the nozzle doubles as the bed-levelling sensor. There is no probe to mount, no BLTouch to clip, and no paper test. For a first print on a fresh large-format machine, that removes the single most common failure mode, which is a bad first layer on a plate too large to level by hand.
It is also the cleanest enclosed machine here for indoor use. Triple filtration with a G3 pre-filter, H12 HEPA and activated carbon meaningfully reduces odour and particles, which matters if you are running ASA or PA prints in a shared room. The second-generation PTC heated chamber reaches 65C and the nozzle reaches 370C, unlocking PPS-CF and other tough engineering filaments.
Motion is a full-metal CoreXY structure on precision linear rails with a 1.5GT synchronous belt to reduce vertical fine artifacts, up to 600mm/s. On thin armour trim and visors, that belt choice shows up in the surface finish where a cheaper belt would not.
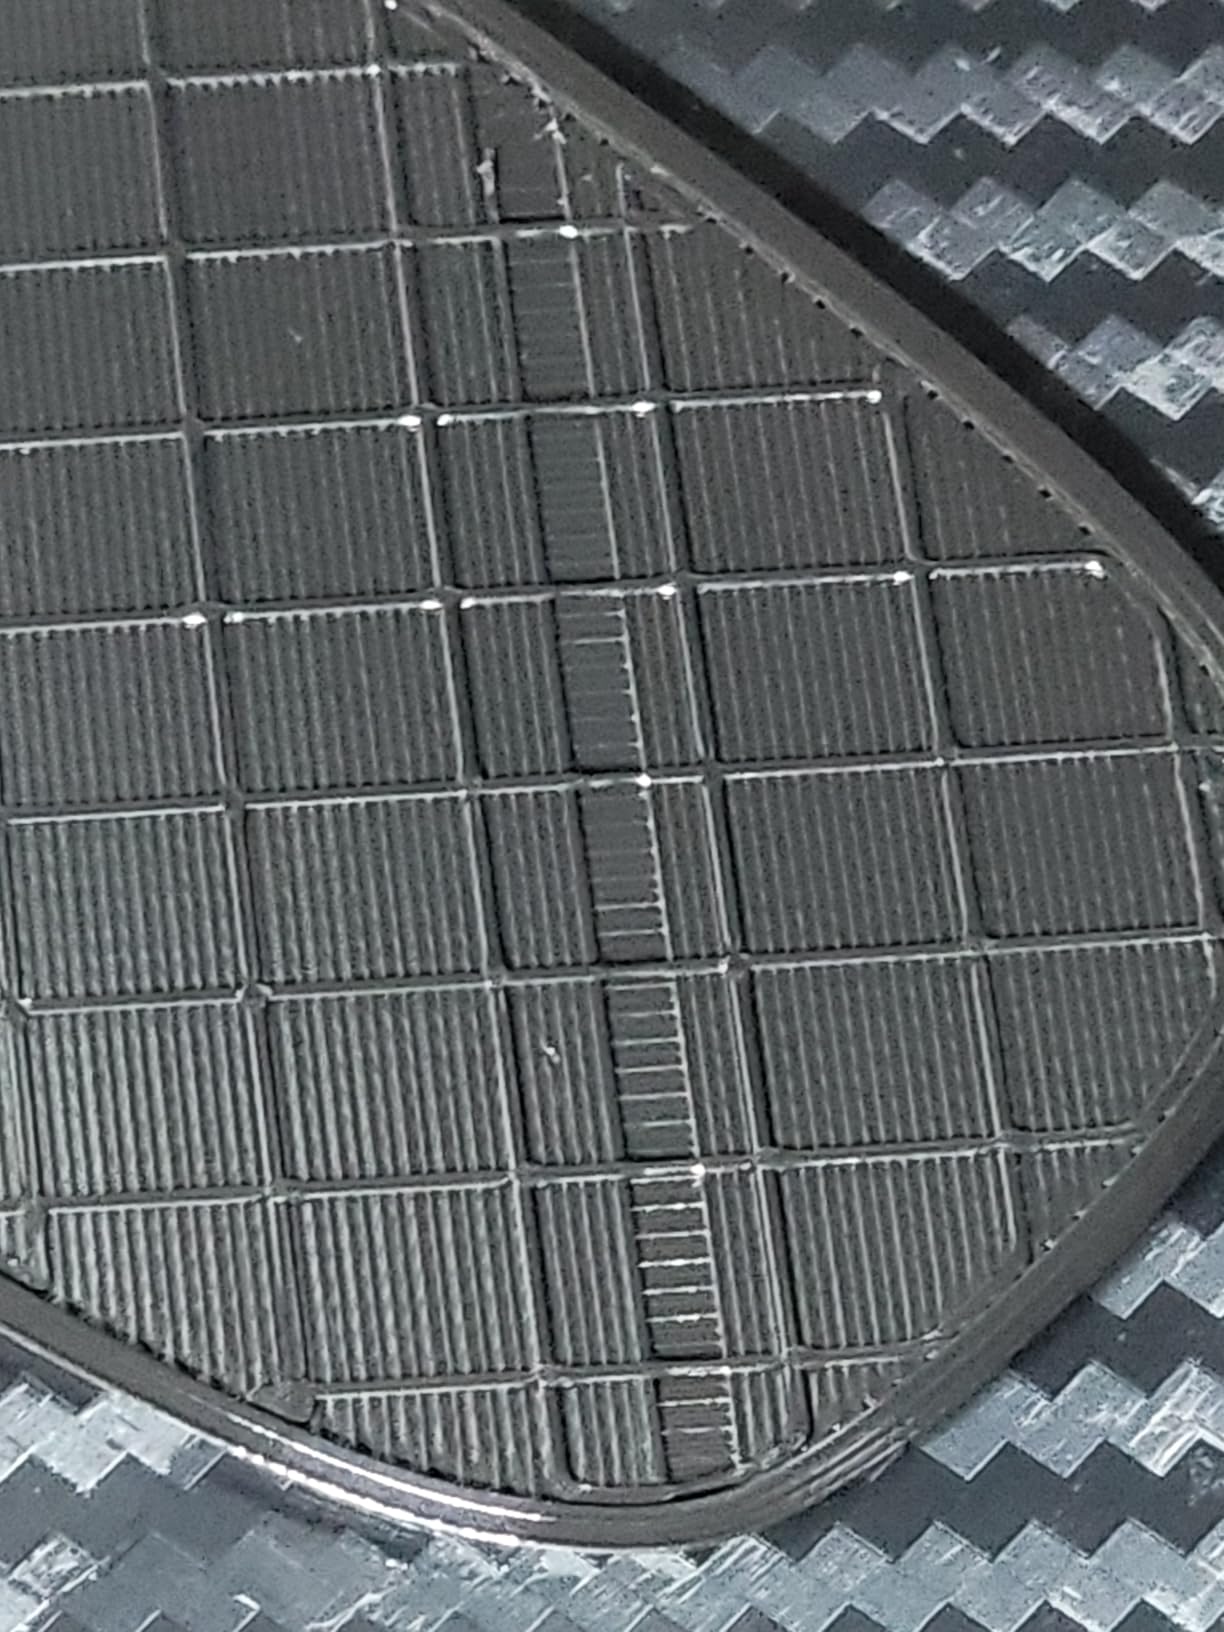
Only two drawbacks are consistently reported. A 9% one-star share flags early reliability or support issues, which is the lowest in this roundup. And multi-colour capability requires buying the QIDI BOX separately, so if you planned on insignia printing out of the box, budget for that accessory.
Beyond that, owners mention AI camera monitoring, power-loss recovery, and automatic levelling with filament run-out and tangle detection, all of which are the sensible defaults for a machine you will leave running while you sand and paint other parts. At 39.8 lb it is also one of the lighter large-format machines in this list to reposition.
This is the one I would put in a small apartment if ABS or ASA is on the menu, because the filtration is a real feature rather than a sticker.
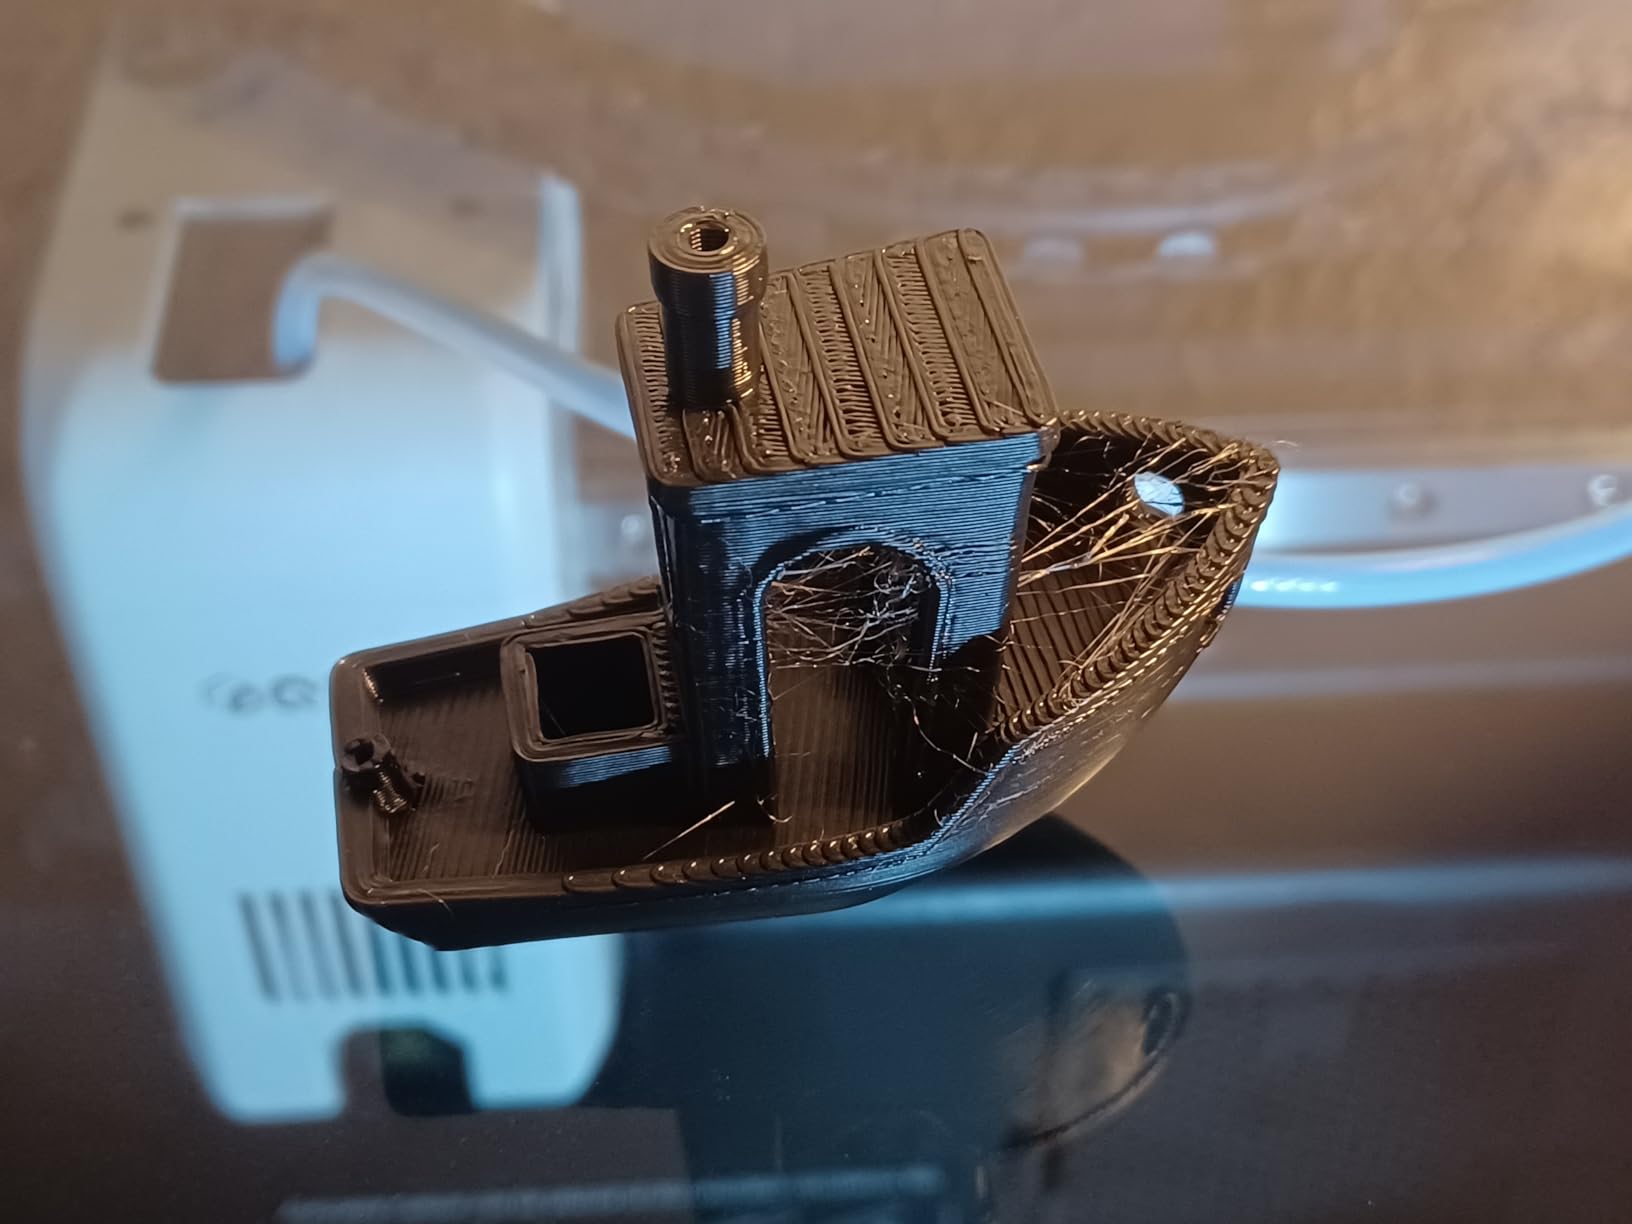
Who this suits for accuracy-first printing
Buy this if you are tired of fighting first layers, if you work in a shared or smaller indoor space, or if you want to print carbon and glass-fibre composites without worrying about nozzle temperature. The nozzle-as-sensor levelling is the reason it tops our rating.
It is a strong choice for someone who plans to grow into harder materials gradually rather than buying a dedicated engineering machine on day one.
Who should skip it
Skip it if your build volume needs are above the standard large-format class, since this is not a 400mm-plus machine for oversized props. Skip it if you need multi-colour immediately without an extra purchase. And if you print very large one-piece armour, look at a bigger cube instead, because fit is the constraint that matters for a chest plate.
7. QIDI Max4 Combo: Best for 390mm Armour Builds
QIDI Max4 Combo 3D Printer, 390×390×340mm Build Volume, 65℃ Heated Chamber
Build: 390 x 390 x 340mm
Speed: up to 800mm/s
Chamber: 65C
Pros
- 390 x 390 x 340mm handles full-size helmets in one pass
- No manual levelling or paper test needed
- 800mm/s with closed-loop X and Y motors
- 65C chamber runs ABS-CF and PC reliably
- Support praised for fast parts turnaround
Cons
- 120 lb machine needs a very heavy table
- QIDI BOX magazine tangles and syncs inconsistently
- Sparse instructions and awkward nozzle wiper access
The Max4 has the largest build volume per unit of desk space in this roundup, at 390 x 390 x 340mm, listed as 55% larger than the MAX3. In cosplay terms that is the point where a full-size helmet stops being a compromise and starts being a one-piece print with a visor and trim printed alongside it on the same plate.
Setup is essentially automatic. No manual levelling, no paper tests, which on a 390mm plate is a significant advantage. The full-surface silicone heated bed gives even temperature and adhesion across a surface that size, and the 2mm lead screw with anti-backlash nut on the Z axis protects vertical accuracy over long builds.
Speed is rated at 800mm/s with 30,000 mm/s2 acceleration and closed-loop motors on the X and Y axes, and the 40mm3/s high-flow hotend with hardened steel nozzle runs ABS-CF, PC and PPS-CF reliably inside a 65C active chamber. The AI camera handles automatic failure detection and pause. One owner reported pushing over 5 km of filament in a month without a clog.
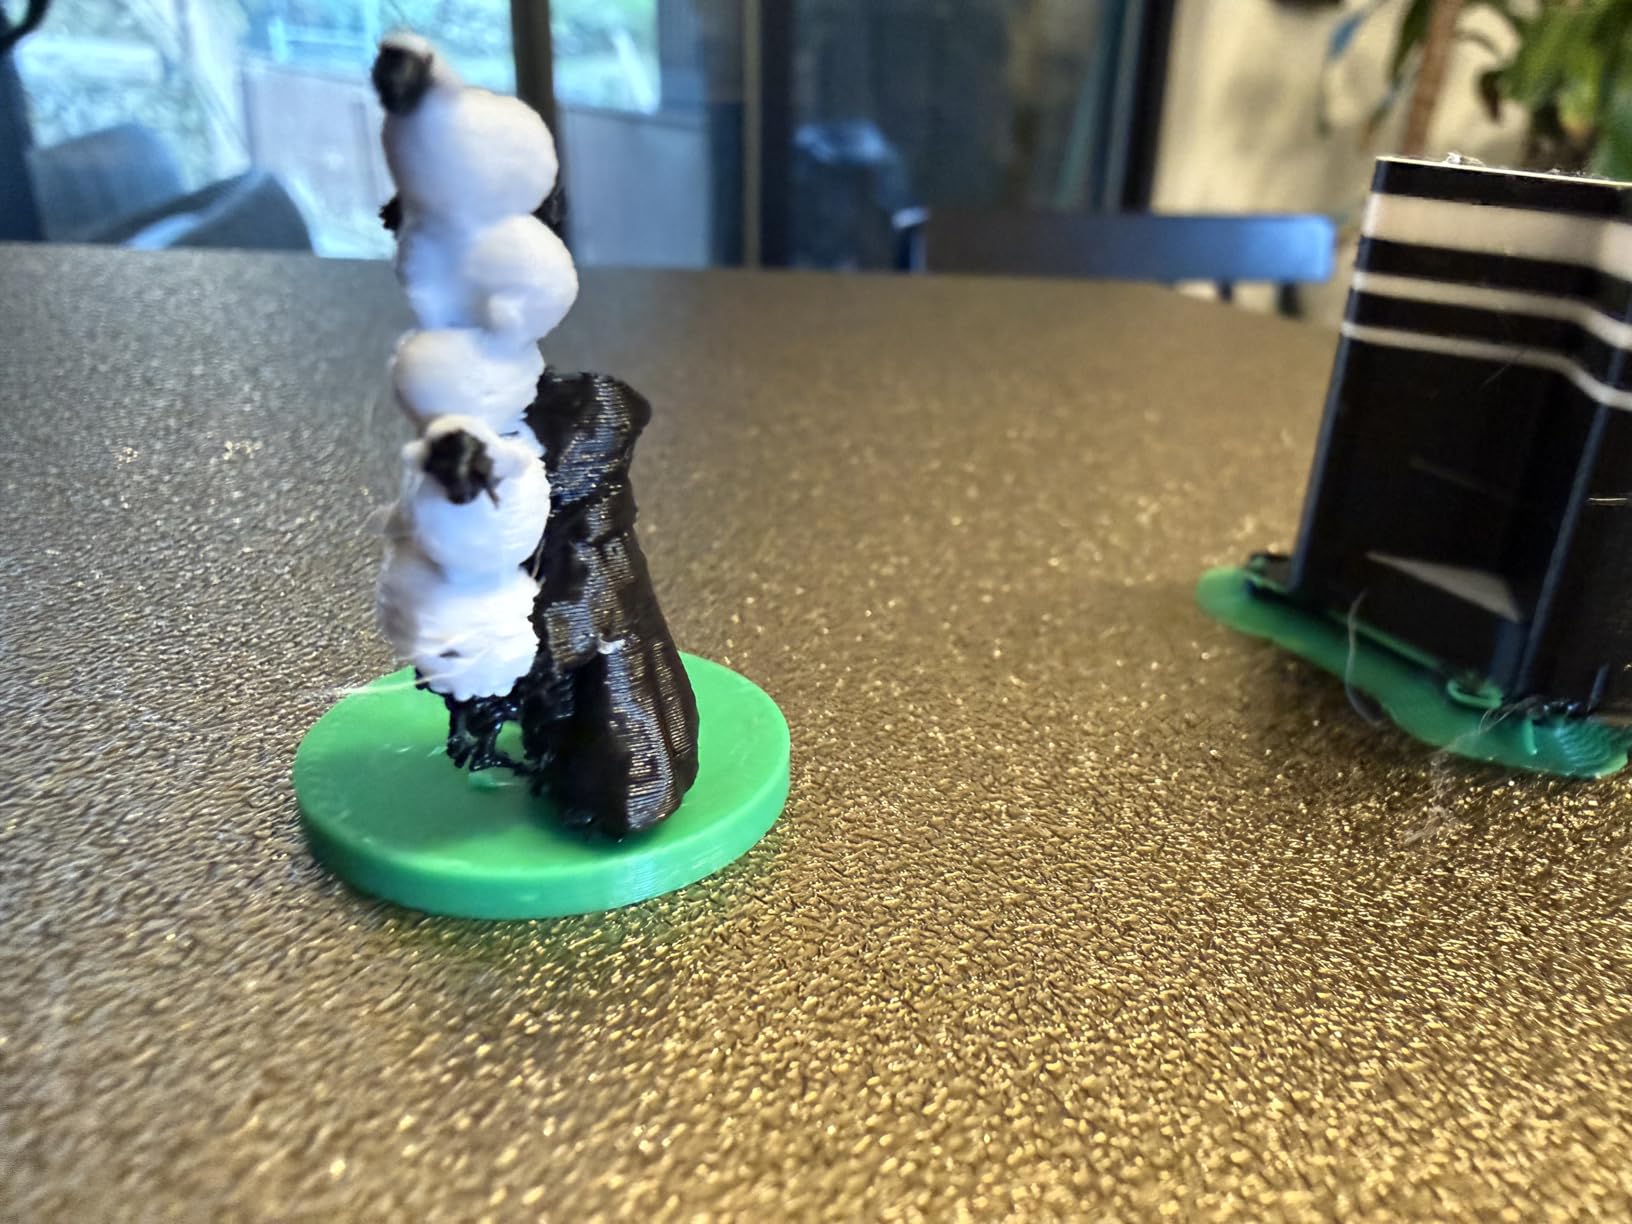
Be careful with the QIDI BOX multi-filament magazine, though. Owners report it tangling and not always auto-switching spools, and its syncing with QIDI Studio is inconsistent enough to sometimes start the wrong filament. That is a real problem on a 30-hour print, so test colour changes on a short job before you rely on it. The Polar Cooler system is also sold separately.
At 120 lb this needs a very heavy dedicated table and careful handling, and some parts can stick very hard to the bed, so keep a release agent on hand. Instructions are sparse with little maintenance guidance, and nozzle wiper access is awkward. The review base is small at 30 reviews, and one buyer returned the machine over a factory toolhead defect, which is the single one-star outlier at 77% five star.
Who this suits for full-size helmets and torso pieces
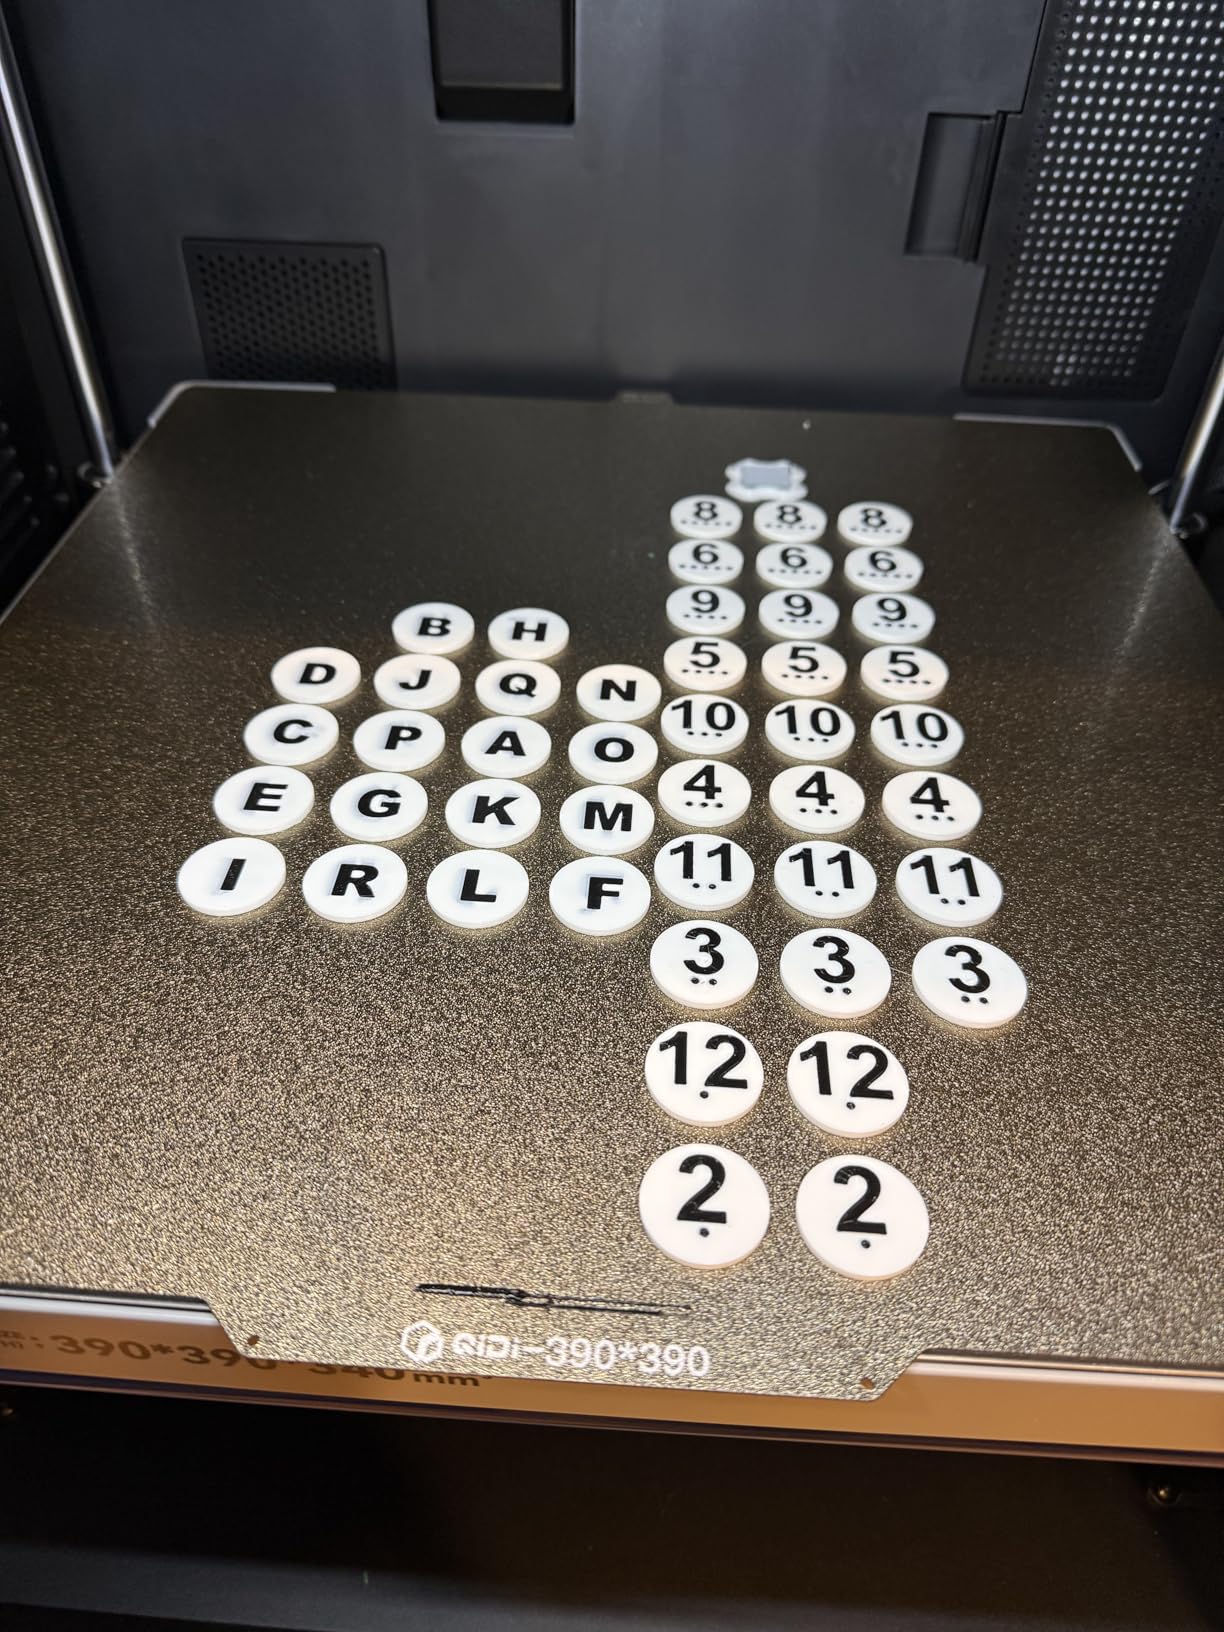
Buy this if your target list includes full-size helmets that must print in one piece, or torso sections that nearly fit a 350mm cube but not quite. The 65C chamber plus hardened hotend also makes it a strong choice for filled ABS and PC armour.
It suits people who want near-zero setup effort and who value support. QIDI customer support is repeatedly praised for next-day parts and honest replies, which on a machine this heavy is not a minor detail.
Who should skip it
Skip it if multi-colour is central to your plan, because the QIDI BOX is the weak point of this package. Skip it if your space cannot take a 120 lb machine on a properly reinforced table. And be cautious if you need a proven long-term reliability record, because 30 reviews is a thin data set and one unit was returned for a factory defect.
8. Anycubic Kobra 3 Max Combo: Best Build Volume for the Money
Bundle Anycubic Kobra 3 Max Combo 3D Printer, Support Multi Color Printing 600mm/s High-Speed Printing, Large Build Volume 420x420x500mm, Auto Leveling & Smart Vibration Compensation PEI Plate
Build: 420 x 420 x 500mm
Speed: up to 600mm/s
G-sensor compensation
Pros
- 420 x 420 x 500mm volume at a mid-range price
- 600mm/s with 20000 mm/s2 acceleration
- G-sensor blocks layer shifts on heavy plates
- Dual-sided PEI spring steel plate releases easily
- Runout sensor and power-loss resume for long prints
Cons
- Only 38 reviews so long-term data is thin
- 17 percent one-star share on early units
- 300C hotend sits below the 350 to 370C machines
On pure geometry, nothing else in this roundup gives you this much bed for this little money. A 420 x 420 x 500mm build volume is enough for a chest plate, a pair of pauldrons and a helmet laid out together, and it is the size class most cosplay threads on r/3Dprinting actually converge on when they ask about large beds.
The reason I am comfortable recommending it despite a thin review base is the anti-failure hardware. A G-sensor handles vibration compensation to prevent layer shifts, which is precisely the failure mode that bed-slinger style machines hit when a heavy cosplay part moves. The dual-sided PEI spring steel build plate gives reliable adhesion and easy print removal, and power-loss resume plus a filament runout sensor with automatic pause are the two features that matter most for unattended 24/7 printing.
The all-metal hotend is rated to 300C, which is plenty for PLA, PETG and TPU. The 0.4mm standard nozzle is swappable for quick changes when you want to move to a larger nozzle for armour walls.
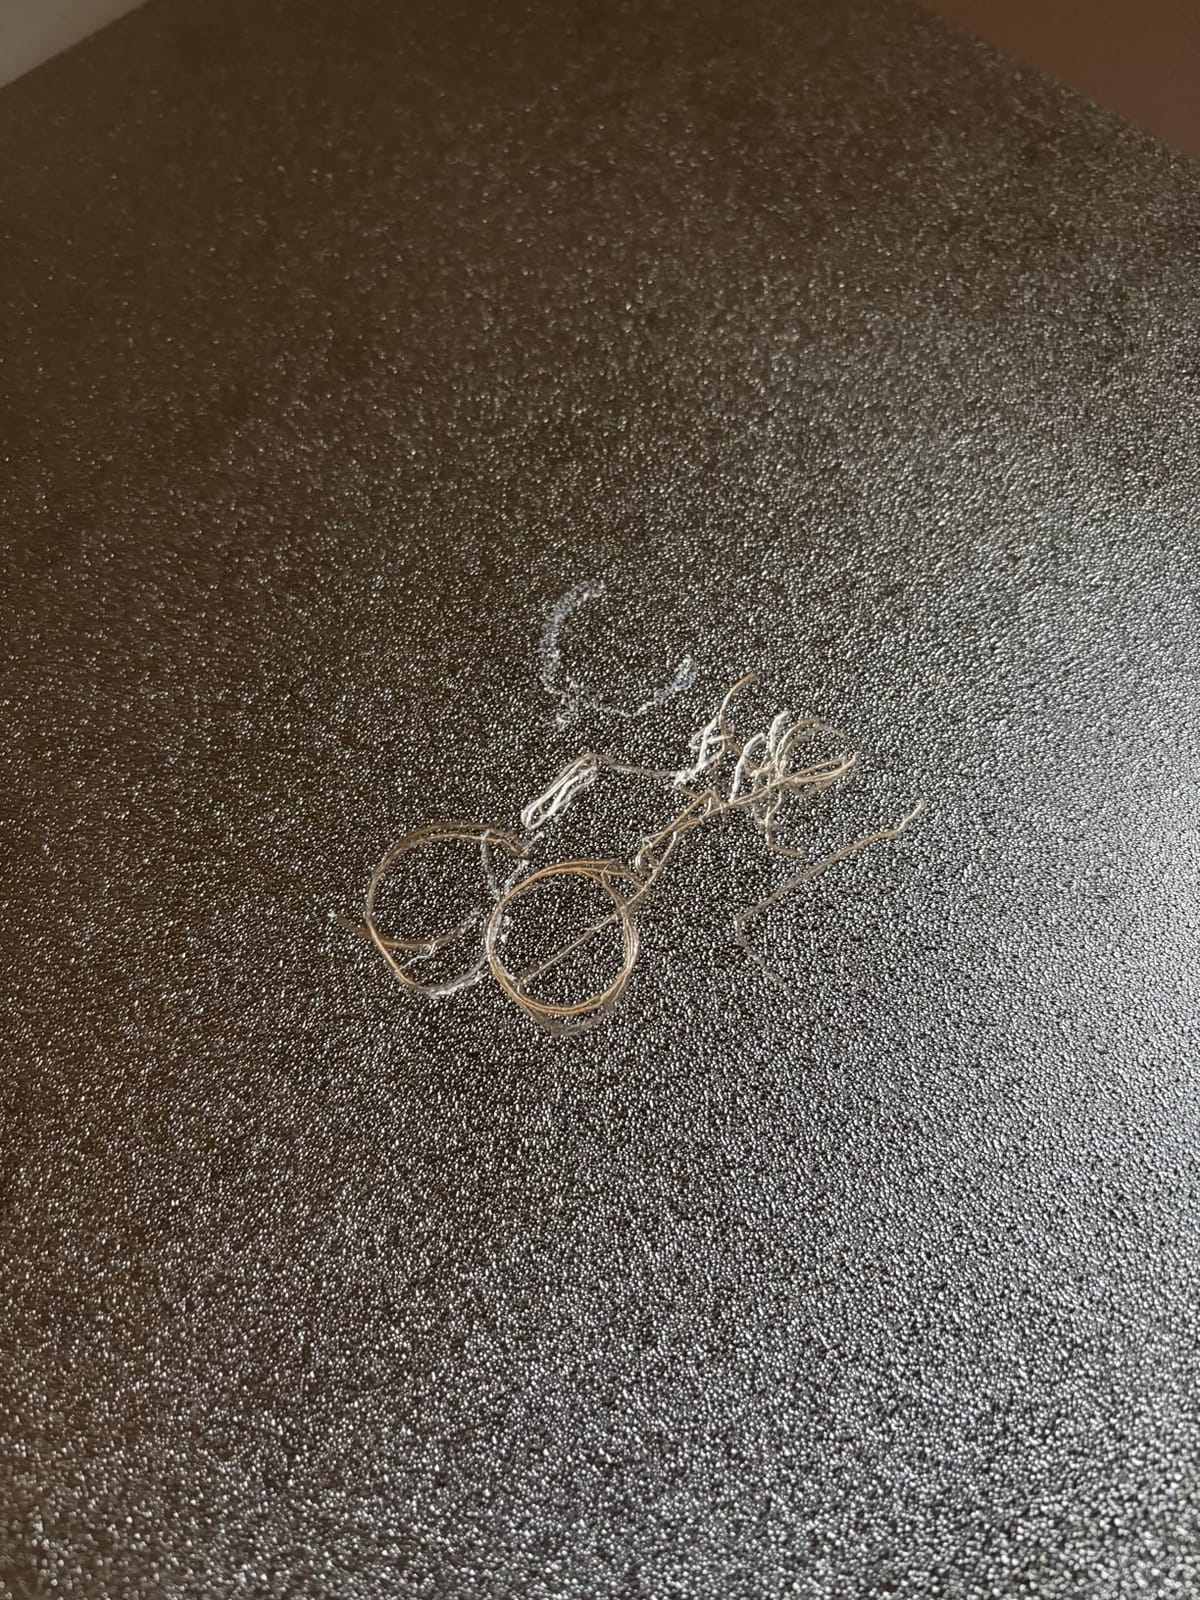
The honest drawback is data. With only 38 reviews, long-term reliability information is thin, and 17% of them are one-star, indicating some early units did not meet expectations. I would factor that uncertainty into your decision rather than pretend the sample size is reassuring.
The 300C hotend ceiling is the other limitation. It sits below the 350 to 370C machines in this roundup, which limits some engineering filaments. For cosplay in PLA, PETG, ABS and ASA that is a non-issue, but it does mean the machine is not a future-proof materials platform.
Multi-colour printing is supported through the combo bundle, so check what the bundle includes before you buy, because the base machine is single-colour.
Who this suits for volume-first cosplayers
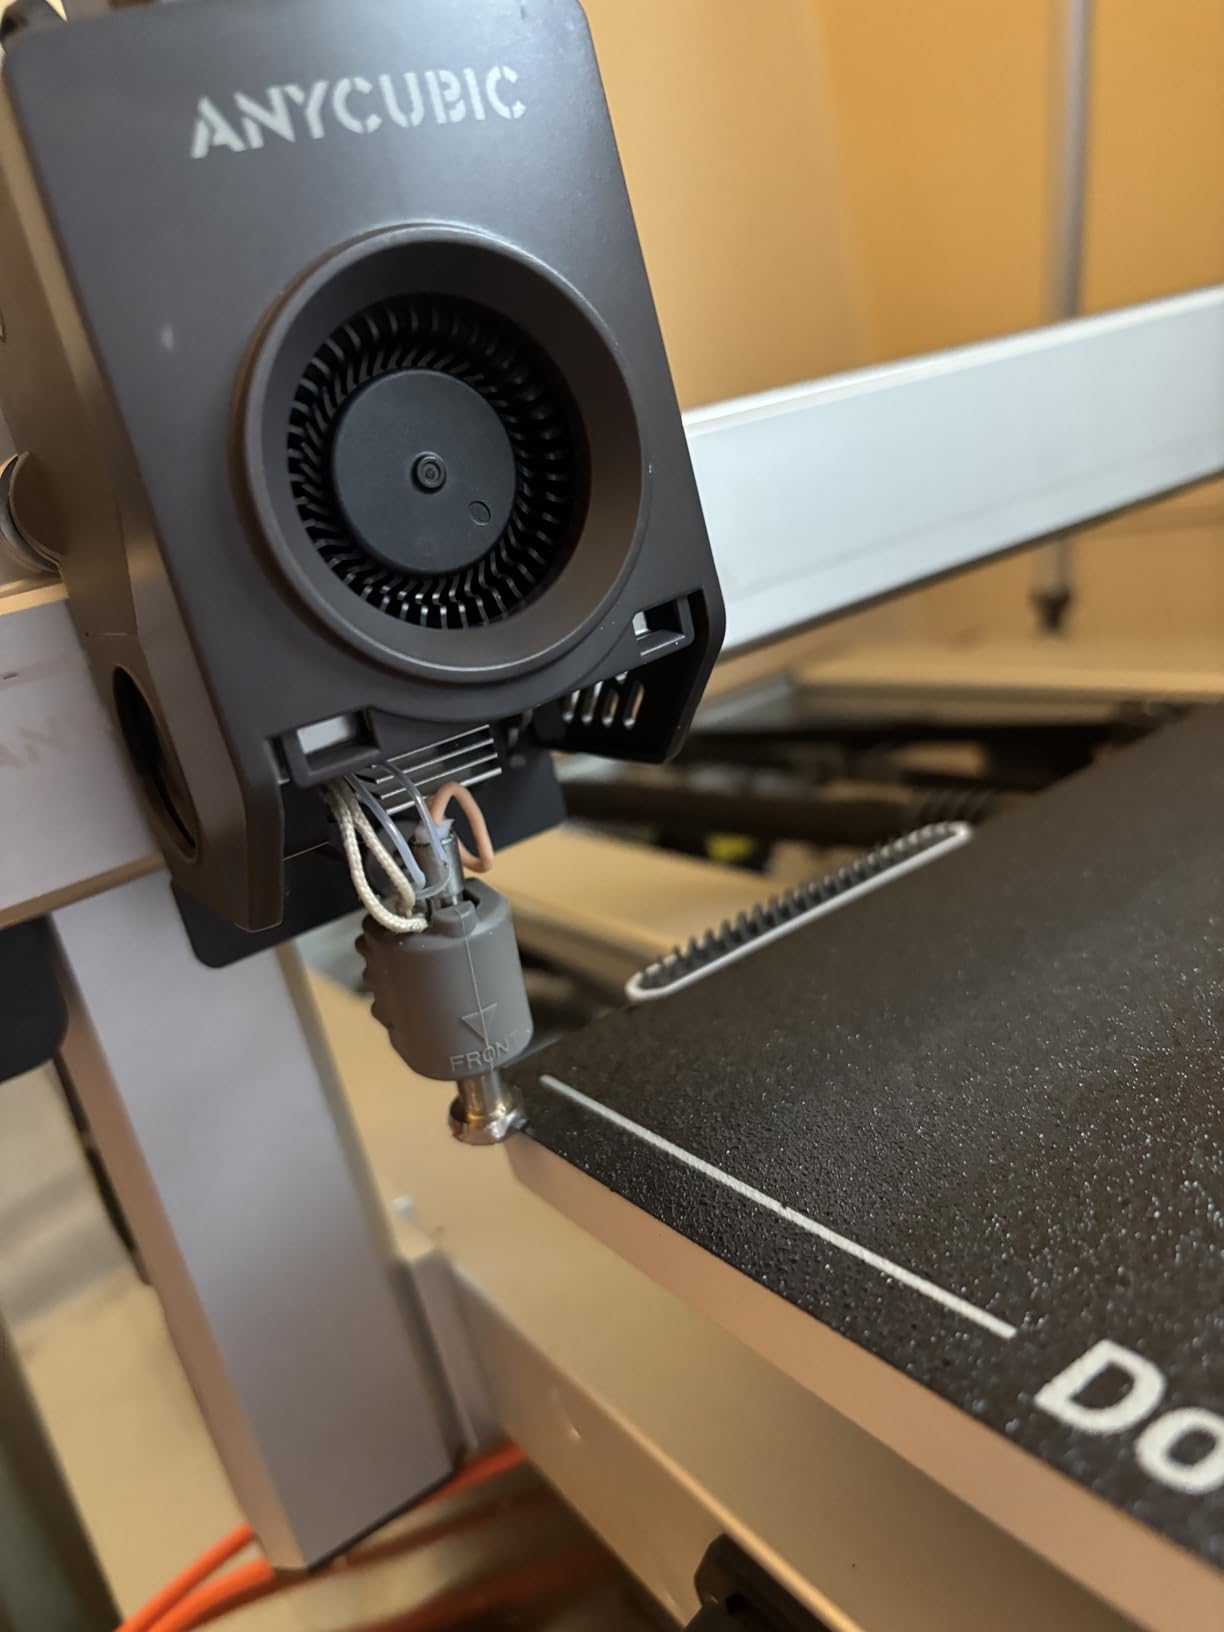
Buy this if your binding constraint is fitting parts onto the bed rather than printing exotic materials. It is the pragmatic choice for someone who wants a genuine 420mm-class volume and does not want to spend enthusiast money to get it.
It is also a good fit if you run long unattended prints, because runout detection and power-loss resume are both present from the factory.
Who should skip it
Skip it if you need a genuinely hot chamber for ASA and PPA, since the hotend ceiling limits headroom. Skip it if you need a 500mm cube, because 420mm will still force you to split the largest props. And if you are risk-averse, the small review base is the reason to look at a more established machine instead.
9. Bambu Lab P2S Combo: Best for Fast Setup and Multi-Colour Detail
Bambu Lab P2S Combo, P2S 3D Printer & AMS 2 Pro, Multi-Color 3D Printing
Speed: up to 600mm/s
AMS 2 Pro: 65C drying
Chamber: up to 50C
Pros
- Printing within 15 to 20 minutes of unboxing
- Automatic calibration cuts the learning curve
- AMS 2 Pro dries filament to 65C while printing
- Adaptive airflow holds a 50C chamber
- Sharp accurate results at high speeds
Cons
- One buyer had a filament sensor fail in week one
- Operating noise is noticeable
- Multi-colour needs the Combo version
If the idea of a 20-minute print failure makes you nervous, this is the machine to buy. Owners overwhelmingly report being printing within 15 to 20 minutes of unboxing, with automatic calibration, quick-swap nozzles and AI failure detection handling the setup work that normally eats a first weekend.
The AMS 2 Pro is the reason this is a Combo rather than a bare printer, and it is a significant one for cosplay. It has built-in filament drying up to 65C, which is a direct answer to the most common cause of failed long prints: wet filament that bubbles, then clogs, 20 hours into a chest plate. It also handles multi-colour and multi-material printing, so emblems, visors and trim pieces can go in the same job as the armour.
Speed comes from the PMSM Servo Extruder with Active Flowrate Compensation at up to 600mm/s, and the Adaptive Airflow System balances cooling against heat retention while holding up to a 50C chamber with carbon filtration. The MakerWorld model library and Bambu Studio workflow are also the most beginner-friendly in this roundup.
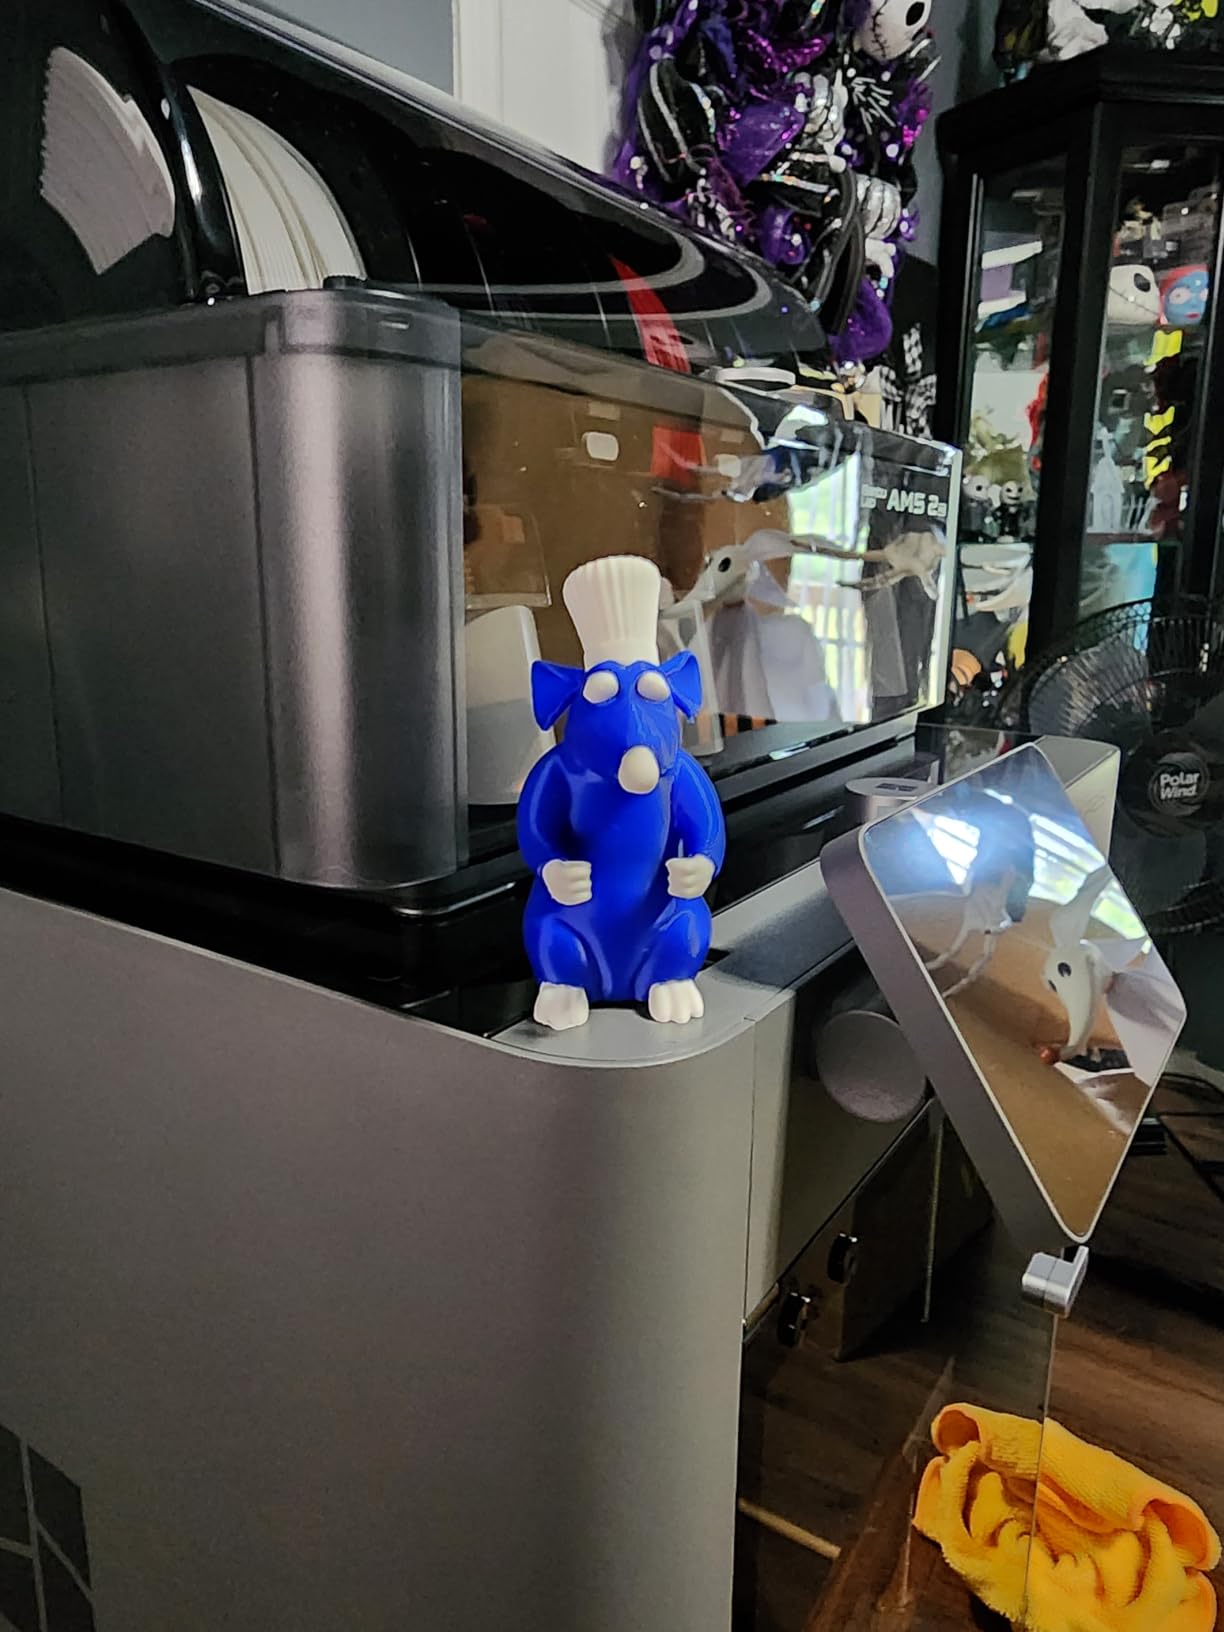
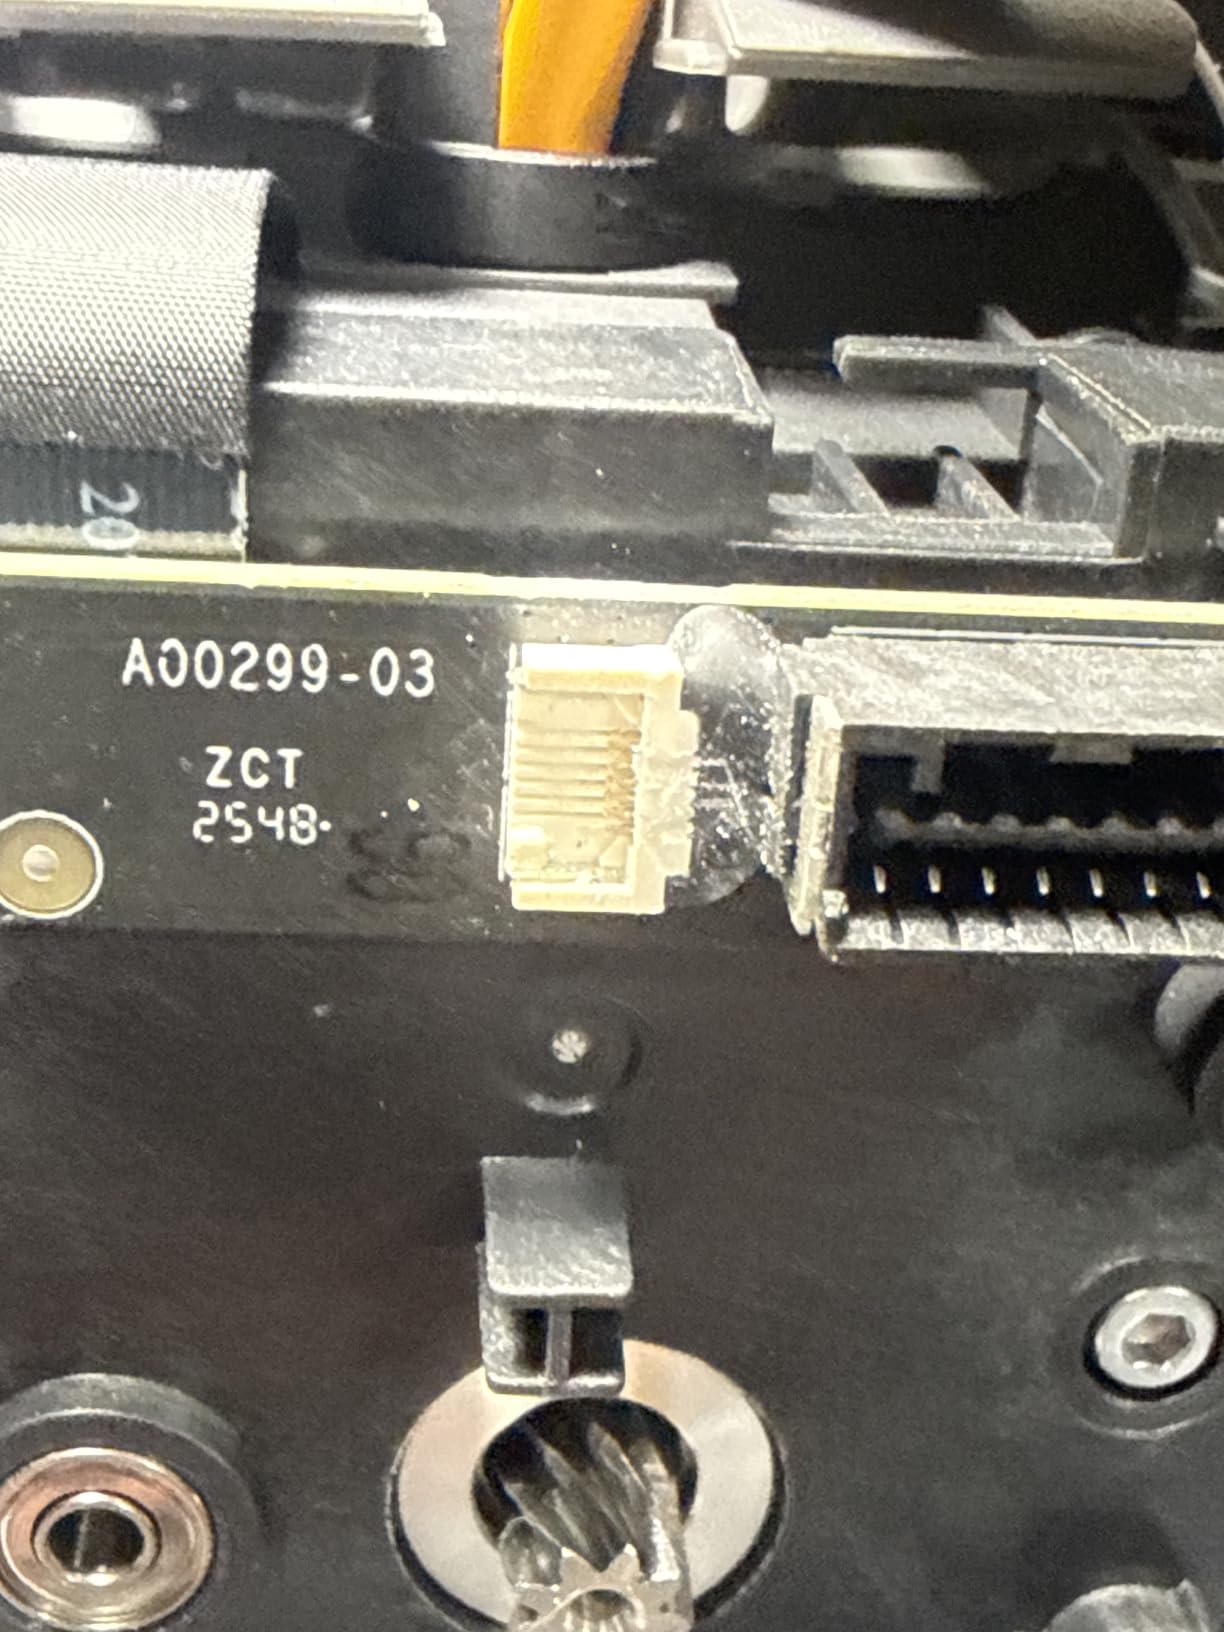
There are real caveats. One buyer had the filament sensor fail within the first week, and the replacement ribbon-connector door on the replacement unit disintegrated, though support was praised when the faulty unit was swapped. Operating noise is noticeable, and a vibration mat reduces it. The bare P2S does not support multi-colour at all, so if you want colour you must take the Combo version.
It also sits at a premium price point, and 46.3 lb is heavy for a machine in this class. The software ecosystem is closed in the Bambu sense, which matters if you like tuning firmware yourself, though Klipper-style open workflows are not the point of this machine.
Who this suits for people printing for the first time
Buy this if you have never printed a large part before, if you want multi-colour and filament drying in the box, or if your schedule does not allow a long calibration and troubleshooting phase. The 15-minute setup claim is the actual product here, not a slogan.
It is also a strong match for anyone printing cosplay pieces in short bursts, because the automated failure detection reduces the number of times you have to check on it.
Who should skip it
Skip it if you need the largest build volume available, since this is not a 420 to 500mm cube machine. Skip it if noise is a dealbreaker in a shared space. And skip it if you dislike vendor-locked software or want to run your own firmware stack.
10. Flashforge Creator 5 Pro: Best for Waste-Free Multi-Colour Printing
FLASHFORGE Creator 5 Pro 4-Toolhead 3D Printer, Industrial Multi-Material & Color Printing, 65°C Active Heated Chamber, Near-Zero Waste System, CoreXY 600mm/s Printing
Toolheads: 4 independent
Chamber: up to 65C
CoreXY up to 600mm/s
Pros
- Toolhead switching without purging cuts waste
- 65C chamber takes ABS and PC
- Rigid CoreXY frame with linear rails at 600mm/s
- Dual HEPA 13 and carbon filtration
- Automatic toolhead offset and flow calibration
Cons
- Mixed ratings on quality control
- Industrial feature set raises the learning curve
- Bulky enclosed footprint and heavy unit weight
This machine solves a problem nobody else here addresses: purge waste on multi-colour prints. Four independent toolheads with a 7-second FlashSwap changer means no filament flushing between colours, which is described as near-zero purge waste and up to 5X faster multi-colour printing. If your cosplay work involves a lot of two and three-colour armour, that saves real material and real time across a whole build.
The fully enclosed frame has an active heated chamber up to 65C for ABS, PC and PA, so heat-sensitive materials are fine. Motion is CoreXY with precision linear rails and 1.5GT high-torque timing belts up to 600mm/s, and dual HEPA 13 plus activated carbon filtration with continuous airflow keeps ultrafine particles under control. That filtration matters if you are printing engineering-grade polymers indoors.
Automation is thorough: toolhead offset calibration, vibration compensation, dynamic flow calibration, and an HD chamber camera with time-lapse and remote control through Flash Studio.
The 4.1 average is doing real work here. Buyers value the waste-free toolhead system and the heated, filtered chamber, but there is a meaningful share of critical reviews around consistency and complexity, and the industrial feature set genuinely raises the learning curve. This is not a beginner machine dressed up as a simple one.
It is also a bulky enclosed unit at 16 x 14 x 18 inches and 39 lb, so the enclosure is not free in desk space. Colour change planning takes thought too, because each toolhead holds one material at a time and the slicer has to sequence the job around that.
Where it wins for me is on multi-material work: printing a TPU strap layer directly onto a rigid armour piece in the same job is something none of the other machines here does as cleanly.
Who this suits for multi-material armour projects
Buy this if you print a lot of two, three or four-colour pieces, if you mix rigid and flexible materials in one job, or if purge waste has been quietly eating your filament budget. The 65C chamber also makes it a safe choice for PC and PA props.
It is a strong pick for prop makers producing items for sale or for repeated commissions, where material cost per job is a real line item.
Who should skip it
Skip it if you are new to 3D printing, because the four-toolhead complexity and calibration options will slow you down. Skip it if your parts are all single-colour PLA, since you would be paying for a system you never use. And skip it if workspace is tight.
11. Creality Ender 3 V3 Plus: Best 300mm Class on a Budget
Creality Ender 3 V3 Plus 3D Printer, CoreXZ 600mm/s High-Speed Auto Leveling Direct Drive Extruder Stable Metal Build Tri-Metal Nozzle Ender 3D Printer Large Print Size 11.8×11.8×13.0in
Build: 300 x 300 x 330mm
CoreXZ motion
up to 600mm/s
one-tap levelling
Pros
- 300 x 300 x 330mm suits helmets and big single-piece parts
- Pre-assembled modules print in 20 to 30 minutes
- Direct drive and 300C hotend take many filaments
- One-tap auto calibration with input-shaping test
- Large maker community and modding potential
Cons
- Some units arrived with a gantry out of square
- Repairs are handled as self-service
- Advertised acceleration not matched in testing
The V3 Plus is a 300 x 300 x 330mm build volume, which is the smallest class in this roundup but still genuinely large-format. Owners praise it for exactly the reason cosplayers care about: that volume suits helmets and big single-piece parts without the splitting that a small printer forces on you. At this price it is one of the few ways to get past the 220mm wall.
Motion is CoreXZ with dual Y-axis motors, rated up to 600mm/s and 20,000 mm/s2 acceleration, with upgraded XZ belt tensioning, a precision optical Z shaft and a synchronous belt for stability at speed. The direct-drive extruder uses a bolster spring, ball plunger and powder-metallurgy lever, and the tri-metal all-metal integrated nozzle and throat have a hardened steel tip. One-tap auto calibration handles auto Z offset, levelling and an input-shaping test, and the machine arrives in pre-assembled modules.
That setup speed matters. Users report printing in about 20 to 30 minutes, which is competitive with the far more expensive machines in this list.
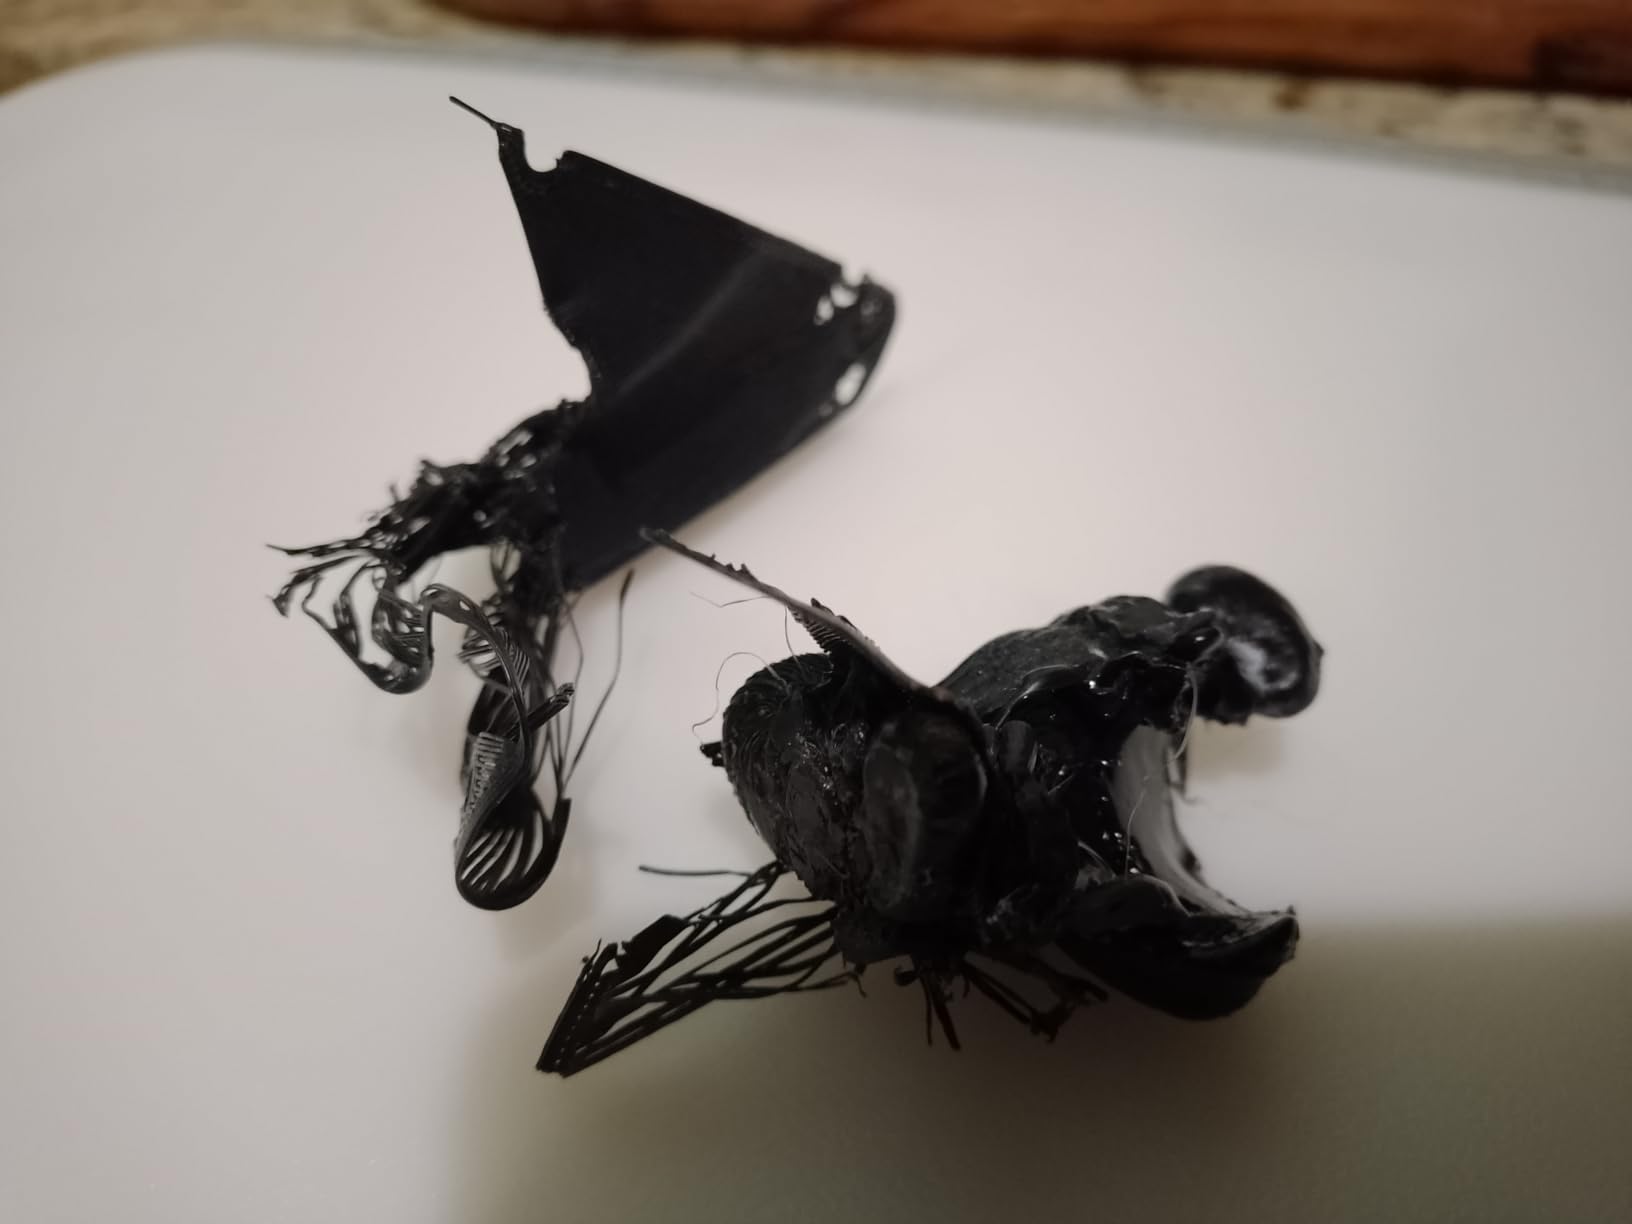
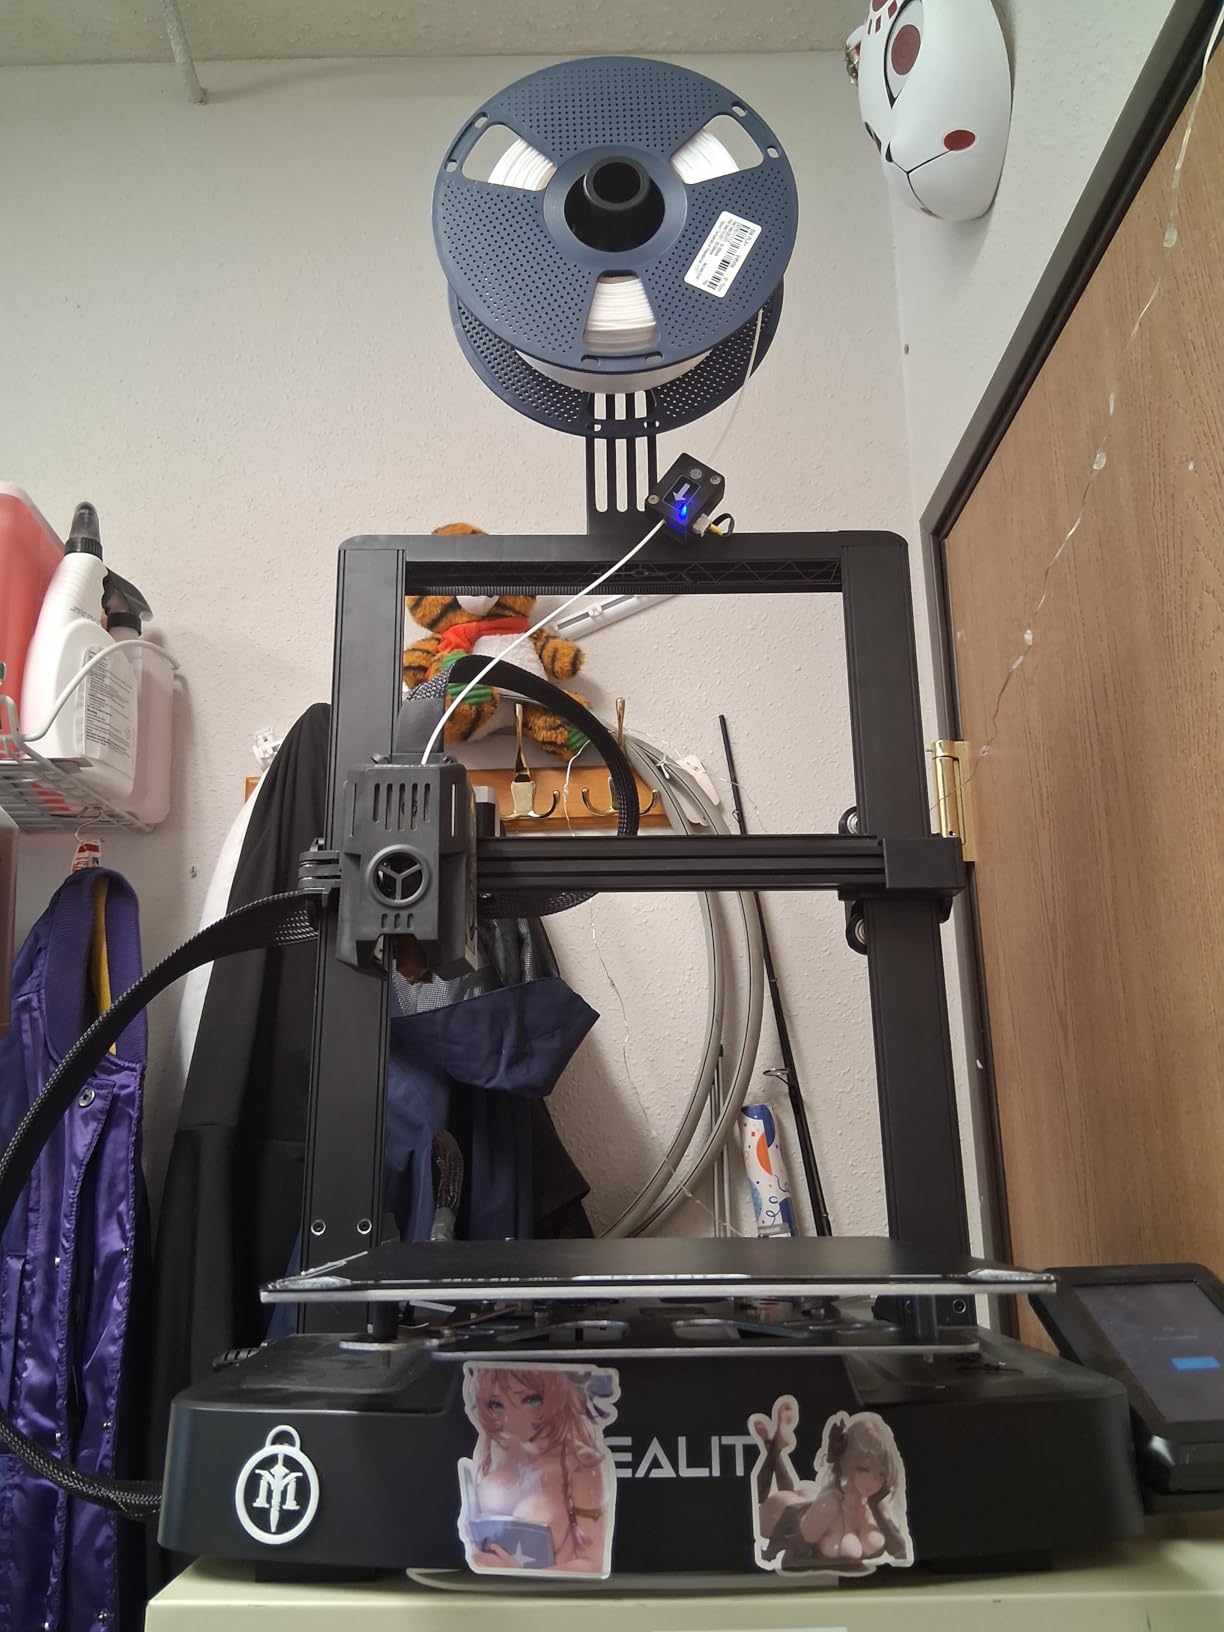
Now the part I would not skip. The 3.8 average is the lowest here, and the reason is assembly quality rather than design. There are reports of units arriving with a gantry not square to the bed, which limits accuracy until you do heavy modification, and that is a serious problem when the whole point of the machine is accurate large parts.
Customer service handles repairs by having the buyer disassemble the machine, some buyers needed extruder or hot-end cleaning or replacement shortly after purchase, factory fan bearings and general noise quality are criticised, and independent input-shaping tests did not match the advertised acceleration figures. With 23% of reviews at one star, this is a machine with a real quality-control spread.
Test the gantry squareness on arrival, before you commit a weekend to a print. If it is out, the modding community is large and active, but that is your Saturday gone.
Who this suits for budget-conscious first cosplay prints
Buy this if you need a 300mm-class bed at a modest outlay and you already know how to tune a machine, or you enjoy the modding community. The direct-drive extruder, 300C hotend and one-tap levelling cover the fundamentals well for PLA, PETG and TPU.
It is a sensible second or backup large-format machine for a workshop that already has a fast enclosed printer for the small detailed parts.
Who should skip it
Skip it if you are not comfortable with self-assembly and self-service repairs, because the support model assumes you can take the machine apart. Skip it if you want a large flat bed you can rely on immediately out of the box, and skip it if surface finish matters more than getting a big bed cheaply. For most first-time cosplay buyers, the money is better spent one tier up.
What Build Volume Do You Actually Need for Cosplay?
Most of the confusion in this market comes from people comparing machines by diagonal size instead of by the pieces they want to print. The useful question is simpler: how many segments will your helmet be split into, and how many pieces will a chest plate need?
Here is the mapping I work from, based on the sizes typical cosplay armour files use.
Full-size helmet, one piece: you need roughly 300mm of width and 300 to 350mm of depth. Most adult head circumferences produce domes in the 280 to 330mm range once you allow for wall thickness and a brim. This is why the 300mm cube class is the entry point rather than the sweet spot.
Full-size helmet with integrated visor or trim: budget 350 to 390mm in the depth direction, because the visor bracket and neck ring add to the footprint. The QIDI Max4 at 390 x 390 x 340mm sits in exactly this range.
Chest plate, one piece: this is the reason people upgrade. A full adult torso plate is typically 400 to 450mm across the chest and 300 to 350mm tall. A 420 x 420 x 500mm machine such as the Kobra 3 Max handles it; a 500mm cube such as the Sovol SV08 MAX handles it with clearance to spare and lets you print pauldrons at the same time.
Pauldron or shoulder plate: usually 220 to 300mm across. A pair side by side needs about 500mm of bed width, so batching two pauldrons is one of the strongest reasons to own a 500mm-class machine.
Gauntlet or vambrace: typically 180 to 250mm, but tall ones benefit from Z height. The 400mm Z on the LONGER LK5 Pro lets a vambrace stand upright rather than lying on its side.
Shield or large prop weapon: 500mm and up. If your shield is larger than your build volume, you will be splitting it anyway, and at that point a larger machine does not help.
The seam maths is what justifies the upgrade. Each seam in a helmet or chest plate adds roughly 15 to 30 minutes of sanding, filling, priming and painting, plus a visible line that no amount of filler fully hides. A helmet that takes six segments can easily add two hours of finishing per helmet and a much worse final surface. On a full suit with a helmet, chest, two pauldrons, two thigh guards and two gauntlets, cutting the segment count from six to two per piece saves days of post-processing.
Choosing a Large-Format Printer: Six Factors That Matter
Build volume is the headline, but it is only the first filter. These are the six factors that actually changed my mind between machines, in the order I weight them for cosplay work.
1. Build volume and axis orientation. Ask for W x D x H in millimetres and check which axis is which. Bed size decides whether parts fit side by side, and height decides whether tall pieces can print upright. Note that one machine in this list states its volume in inches, so convert before you compare.
2. Enclosed and actively heated chamber. This is the factor cosplayers most often ignore and regret. ABS and ASA are the standard materials for wearable armour because they resist heat and take paint and solvent weld well, and both will warp badly on an open frame regardless of how good your bed adhesion is. An enclosure is the minimum. Active chamber heating to 50 to 65C is what makes filled materials workable. Several machines here include a chamber; several reserve an interface for one, which is not the same thing.
3. Bed slinger versus CoreXY. A bed slinger swings the entire plate on one or two Y rails. Once the bed is 400mm plus and carrying a tall, wall-heavy cosplay part, that mass accelerates, rings, and shifts layers. CoreXY moves only the toolhead, so the moving mass stays small. Every large machine in this roundup uses CoreXY or CoreXZ for that reason, and it is not a marketing preference.
4. Extruder type and hotend temperature. Direct drive keeps the filament path short and gives you far better control over TPU, which you will want for straps, seals and flexible visor mounts. Hotend ceiling matters less for cosplay than for engineering work, but anything below 300C limits you, and 350 to 370C opens filled nylon and composites. High-flow hotends around 40 to 50mm3/s cut print time significantly on thick armour walls.
5. Levelling, monitoring and unattended reliability. Auto bed levelling is close to mandatory at this size. Contactless methods like eddy current scanning, or a nozzle that doubles as the sensor, are better than a cheap probe because a probe can be knocked out of alignment. Pair that with a camera, filament run-out detection and power-loss recovery, because a 30-hour print will be unattended at some point.
6. Multi-colour and multi-material. If you print emblems, insignias, numbered plates or visor tints, a bundled AMS or CFS unit saves entire separate jobs. Check what is in the box, because several machines here support multi-colour only with a separately sold magazine. The four-toolhead design on the Flashforge Creator 5 Pro goes further and eliminates purge waste, which matters if colour changes are frequent.
Space, weight and noise. Do not skip this. The heaviest machines in this roundup run from 70 lb to 120 lb and need a genuinely reinforced table, not a typical desk. Dimensions listed as 28 x 28 x 30 inches mean you need clearance for the machine, the filament path, and your own body when you load a plate. Bed-slinger-style mechanisms also transmit more noise into the room, and while only one machine here publishes a dB figure, 45dB at 300mm/s is a useful reference point for what quiet actually means. If you are planning an enclosure tent for an open frame, factor that footprint in too. Our wide-format hardware guide covers footprint considerations for large machines more generally.
Filament for Cosplay Armour
Material choice changes the finish, the durability and the finishing workflow, so it is worth deciding early. Here is how the common filaments map to cosplay pieces.
PLA and PLA+. The default for helmets, props, visors and anything decorative. Easy to print, sands and paints beautifully, holds detail well, and needs no enclosure. The weakness is heat: PLA softens in a hot car or a sunny convention queue, so avoid it for a costume that will be worn outdoors in summer. PLA+ adds impact resistance and is the better choice for gauntlets and kneeguards that will be knocked around.
PETG. The pragmatic middle ground. It is tougher than PLA, tolerates heat far better, has a low layer height ceiling around 0.24mm, and it sands well with the right technique. PETG is my default for chest plates and helmets that will be worn for hours and handled constantly. Its weakness is stringy bridges and a tendency to be fussier with retraction, and it can be harder to paint smoothly because of its surface finish.
ABS and ASA. The heat-tolerant armour materials, and what you want for anything that will be worn outdoors, in a vehicle, or on a hot convention floor. Both need a heated chamber or a very good enclosure tent, and they carry a real odour, so ventilate. ASA has better UV resistance, which makes it the better pick for outdoor wear and vehicle display props. They solvent-weld cleanly, which is a significant advantage for multi-part armour where you want a strong joint rather than an epoxy bond.
TPU. The flexible filament for straps, seals, visor trim, cable channels and any joint meant to flex. It prints reliably on a direct drive extruder and struggles on Bowden setups, which is a good reason to prefer direct drive generally. TPU does not sand or paint as cleanly as rigid materials, so use it for hidden or secondary parts rather than show pieces.
Whatever you choose, dry your filament before a long print. A filament dryer in the 45 to 65C range is cheap insurance against the most common cause of a failed 30-hour job.
How to Avoid a Failed 30-Hour Print
This is the anxiety that came up most often in every forum thread I read, and it is the one topic no competitor roundup covers properly. A chest plate that dies at hour 26 wastes a full weekend and a spool of filament, and it is the reason some cosplayers stay on a smaller machine despite wanting a bigger one.
Mitigation is mostly boring and mostly effective.
Dry the filament first. Wet filament bubbles at the nozzle, causes inconsistent extrusion, and clogs. Dry every spool before a long print, and dry again if the spool has been open for weeks.
Verify the first layer with a camera. Dual AI cameras with automatic failure detection and pause are the reason they are worth having on a machine running unattended for two days. Several machines here include them; the QIDI Max4 and the K2 series both watch the bed and stop the job rather than wasting the rest of it.
Use adhesion methods that survive a 30-hour static load. Clean the plate with IPA, and for large ASA or ABS plates, consider a glue stick or a dedicated sheet. Heat creep and layer shift from a moving bed are the other common long-print failure, which is why the Kobra 3 Max includes a G-sensor for vibration compensation.
Rely on power-loss recovery. Both the Kobra 3 Max and the QIDI Q2 list power-loss recovery, and it is worth the small risk of a corrupted resume file against losing an entire plate. On a machine that is not in a rush, it can be the difference between a setback and a rewrite.
Run unattended capability. Filament run-out detection with automatic pause, tangle detection, and a heated chamber that holds temperature for 30 hours all reduce the number of ways a long job can die. A 50 to 65C chamber also protects the print as ambient temperature drops overnight.
Print a short sacrificial test first. Before a chest plate, print a 100mm square at the same layer height and infill. It takes 20 minutes and it tells you whether your temperatures and adhesion are right.
Post-Processing: From Printed Shell to Convention-Ready
The printer choice shapes how much work you do afterwards, and this is where build volume pays for itself. The workflow below is the one I use, with time estimates for a mid-sized piece.
1. Remove supports and inspect (10 to 30 minutes). Work from the bed slowly with a plastic scraper. A release agent or a light glue layer on the plate prevents the common failure of a large panel tearing as it comes free.
2. Dry fit and close gaps (5 to 20 minutes). Before any abrasive work, assemble the segments dry. Gaps that are too wide to fill are design problems, and no amount of filler primer will fix a badly scaled file.
3. Sand through a grit progression (40 to 90 minutes for a helmet). Start around 120 grit to knock down layer lines, work through 180 to 400, and finish at 600 to 800 for paint. Every seam you removed with a bigger build volume is a step you skipped here.
4. Fill and prime (30 to 60 minutes). Filler primer on seams and low spots, thin coats, sand back lightly between coats, then a proper primer coat. This is the step that converts a printed object into something that looks moulded.
5. Paint (1 to 3 hours). Airbrushing gives the cleanest result on a curved helmet shell; brush painting works on flat armour panels and is more forgiving if you are new to it. Base coats first, then detail, then highlights.
6. Seal and finish (20 to 40 minutes plus drying). Clear coat in thin layers fixes the print, protects the paint, and gives the sheen that makes a piece read as a finished prop. Let each layer cure fully between coats.
The total for a helmet is commonly a full day of work spread over several evenings. The same helmet printed as four segments adds at least an extra two hours of seam work before you even start sanding. That is the calculation that should drive your purchase decision.
Frequently Asked Questions
What is the best size 3D printer for cosplay?
For most cosplayers a 300 x 300 x 300mm class machine is the practical starting point, because that is enough for a full-size helmet dome in one piece rather than four segments. Go to a 350mm cube for helmets with visors and integrated trim, and to 400mm and above for one-piece chest plates, paired pauldrons and large props. The Creality K2 Pro Combo at 350 x 350 x 350mm is the balance point most people should target.
Which 3D printer is best for printing large figures and large cosplay parts?
For large armour and props, look first at build volume in millimetres, then at whether the chamber is actively heated. The Creality K2 Pro Combo gives a 350mm cube at up to 600mm/s with a bundled CFS for multi-colour, the QIDI Max4 gives 390 x 390 x 340mm with an 800mm/s rated speed and a 65C chamber, and the Sovol SV08 MAX gives a 500mm cube with CoreXY motion and 700mm/s. For one-piece chest plates, the 500mm cube class is the only size that removes the split entirely.
Can you 3D print a full cosplay helmet in one piece?
Yes, on a large-format machine. A full-size helmet dome typically needs around 300mm of width and 300 to 350mm of depth once wall thickness and clearance are allowed for, so any 300mm cube class printer can do it. Printing it in one piece removes several seams, which is worth roughly 15 to 30 minutes of sanding, filling and painting per seam, and makes the shell considerably stronger than an assembled one.
Which 3D printers have a build volume of 400mm or more?
Three machines in this roundup clear 400mm in at least one axis: the Anycubic Kobra 3 Max Combo at 420 x 420 x 500mm, the QIDI Max4 Combo at 390 x 390 x 340mm in the depth-weighted layout, and the Sovol SV08 MAX at a 500 x 500 x 500mm cube. A 400mm-plus volume is what you need for a full one-piece chest plate or for printing a pair of pauldrons side by side in a single job.
What filament is best for cosplay props and armour?
PLA and PLA+ are the easiest to print, sand and paint and suit helmets, visors and decorative props. PETG is the best all-round choice for wearable armour because it is tougher and more heat-tolerant while still sanding well. ABS and ASA are the right answer for outdoor wear, vehicle display props and anything exposed to heat, but they need an enclosed and ideally actively heated chamber. TPU is for straps, seals and flexible joints and works best on a direct drive extruder.
Is there anything illegal to 3D print?
Printing is broadly legal in most countries, including items that resemble trademarked characters, when produced for personal use. The risk changes when you sell. Selling a physical print is generally treated as a trademark concern in some jurisdictions rather than copyright, and courts have not consistently settled it, so commercial sales of character replicas carry real legal risk. Printing your own original designs, game-agnostic props, armour with no recognisable insignia, and anything intended for repair or accessibility carries far less exposure.
The Verdict: What I Would Buy Today in 2026
My pick stays with the Creality K2 Pro Combo. It has the largest settled review base in this roundup, a 350mm cube that removes most helmet splits, 600mm/s on a rigid frame, and a bundled CFS for multi-colour work. For most cosplayers building a first full set, that combination of volume, speed and colour is where the compromises are smallest.
If you print ASA or PPA as your main material and want colour, take the Creality K2 Plus Combo instead, because its 60C chamber and 350C nozzle are the difference between a flat plate and a warped one. If you are building a full suit and the chest plate simply has to be one piece, the Sovol SV08 MAX at 500 x 500 x 500mm is the only machine here that removes the argument, and you should factor in the 86.8 lb weight and the optional chamber module before you commit.
Budget is a different story. The LONGER LK5 Pro gets you a real 300 x 300 x 400mm volume cheaply and quickly, and for someone who has never printed before that is a reasonable place to start. Just do not expect an enclosed chamber, and check the gantry and quality control on arrival if you buy the cheaper Creality V3 Plus instead.
Whichever machine you choose, the things that decide whether a large-format cosplay build succeeds are unglamorous: dry your filament, verify the first layer, use run-out detection and power-loss recovery, and work backwards from your convention date rather than forwards from a print start. The best large format 3D printers for cosplay only save you time if the print survives to the end.