
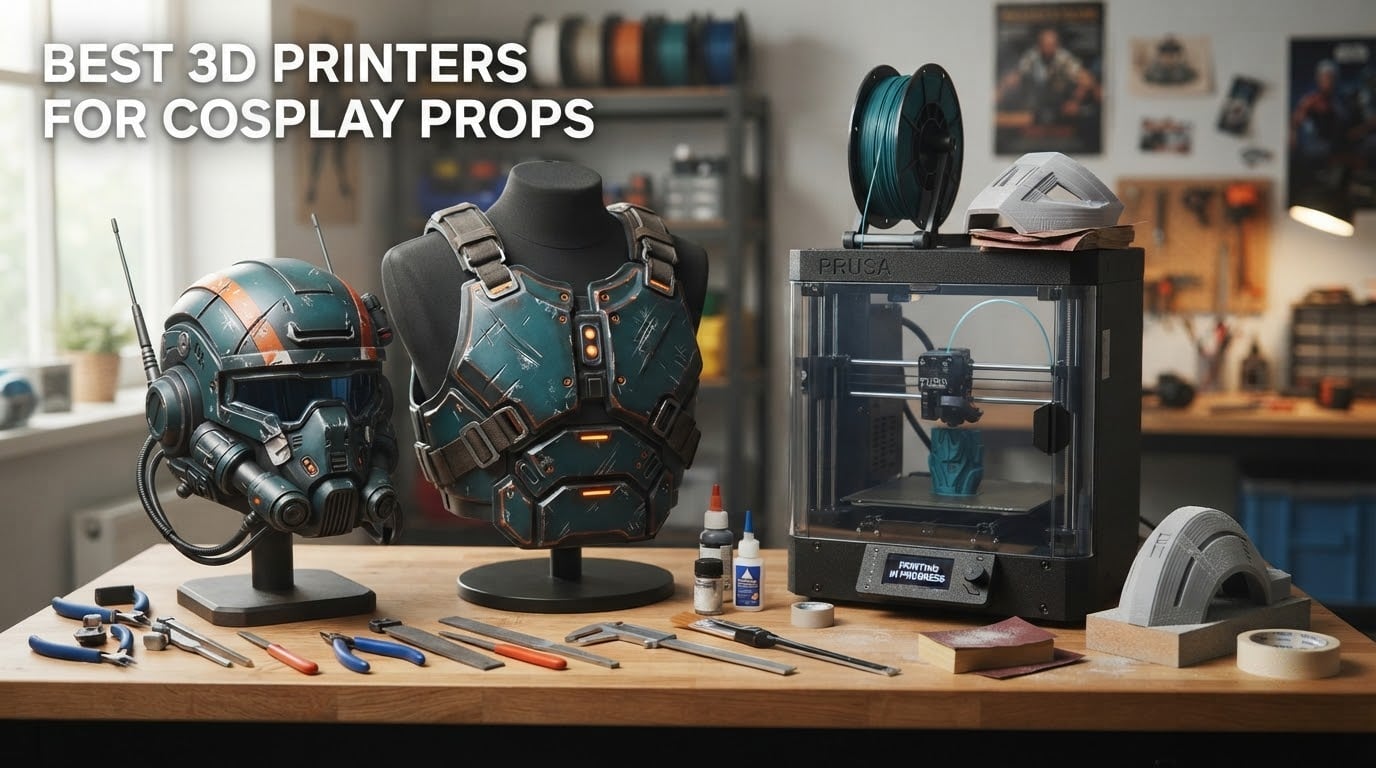
Short answer: the ANYCUBIC Photon Mono M7 MAX is the best 3D printer for cosplay props because its 298 x 164 x 300mm resin build volume fits a full-size mask in one pour and its 7K screen holds the detail armour insignias need. For filament armour, the Bambu Lab P1S Combo is the best all-round buy.
Two of the top results for this query are forum threads, not shop pages, which tells you what cosplayers actually want. They are not asking which machine has the highest resolution. They are asking which one will still be printing correctly at hour 20 of a 30-hour helmet, and how many seams they will have to sand when it finishes.
That is why the printers below are picked for build volume, long-print reliability and post-processing burden rather than headline speed alone. A fast machine that fails on hour 24 costs a weekend and a spool of filament. A slower machine that finishes gives you a part to fill and paint.
We looked at eight machines across the FDM and resin sides, matched build volume against the prop you want to make, and read the owner feedback for the failure points that only appear in month two. Updated for 2026, the short version is that resin wins detail and enclosed FDM wins durability.
Still deciding? Our general best 3D printer roundups and beginner buying guide cover the wider market if cosplay is not the only project on your build plate.
Table of Contents
Top 3 Picks for Best 3D Printers for Cosplay Props in October

ANYCUBIC Photon Mono M7 MAX
- 298 x 164 x 300mm resin build volume
- 7K mono screen
- 60mm/h print speed

Best 3D Printers for Cosplay Props at a Glance in 2026
Every machine in the table below appears in the full reviews further down, with the build volume and material type that decides which props it handles in one piece.
| Product | Specifications | Action |
|---|---|---|
| ANYCUBIC Photon Mono M7 MAX |
|
Check Latest Price |
| Bambu Lab P1S Combo |
|
Check Latest Price |
 Creality K1C Creality K1C |
|
Check Latest Price |
 Creality K2 Plus Combo Creality K2 Plus Combo |
|
Check Latest Price |
 FLASHFORGE Adventurer 5M Pro FLASHFORGE Adventurer 5M Pro |
|
Check Latest Price |
 ANYCUBIC Photon Mono 4 Ultra ANYCUBIC Photon Mono 4 Ultra |
|
Check Latest Price |
 ELEGOO Saturn 4 Ultra ELEGOO Saturn 4 Ultra |
|
Check Latest Price |
 Creality Ender 5 Max Creality Ender 5 Max |
|
Check Latest Price |
1. ANYCUBIC Photon Mono M7 MAX: Best for Full-Size Masks and Detailed Props
ANYCUBIC Photon Mono M7 MAX Resin 3D Printer, 13.6’’ 7K Large Resin Printer
298 x 164 x 300mm build volume
7K mono screen with LighTurbo 3.0 COB source
Up to 60mm/h
1300ml temperature-controlled vat
Pros
- Largest resin build volume here
- fits full-size masks in one piece
- 7K resolution keeps layer lines near invisible
- Anti-aliasing plus high-precision lead screws
- Flip-open cover hovers past 45 degrees
Cons
- Resin needs PPE ventilation washing and curing
- Machine and curing setup need dedicated space
- Resin film and vat add ongoing consumable cost
I have printed masks on resin machines that took three separate pours and a frustrating amount of assembly. The M7 MAX is the one that changed that, because a 298 x 164 x 300mm build volume is the difference between a visor printed as one piece and a visor you glue together from four curved sections.
It also has the deepest review base of any resin machine here, and that consistency shows in what owners describe: detail that captures sharp edges and fine textures, prints that release with force when the plate is tuned correctly, and layer lines that can be made virtually invisible at the right resolution. That is exactly what a Stormtrooper bucket or a textured pauldron needs.
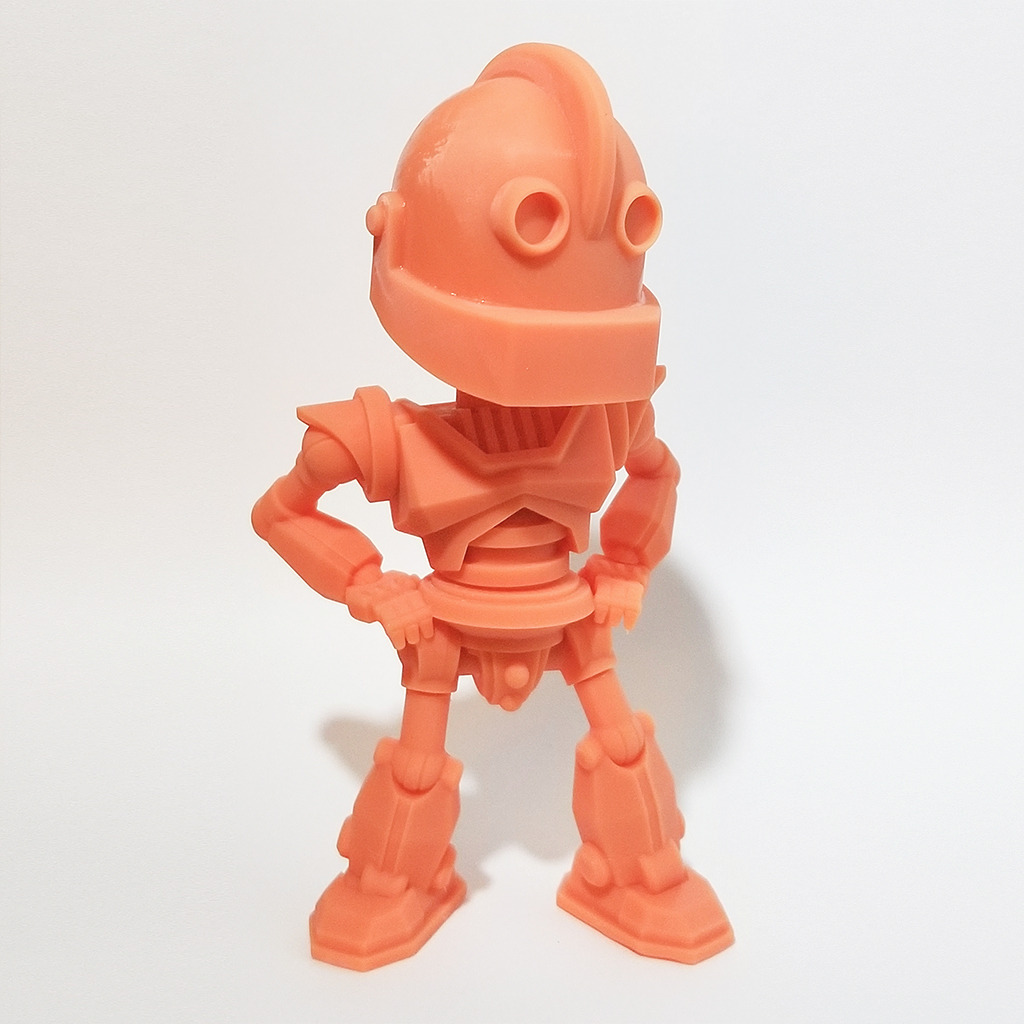
The 7K monochrome screen sits at 17 x 17 micron pixels with a COB light source held within a 3-degree light angle and above 90 percent uniformity. Even coverage matters as much as raw resolution, because uneven light means uneven cure, and uneven cure is where brittle edges and delamination start.
Reviewers report printing up to 60mm/h with the intelligent release 2.0 system, a 200 percent jump over the earlier M-series. A temperature-controlled vat keeps resin at working viscosity instead of letting it thicken as the room cools overnight, which is a common cause of failed tall prints.
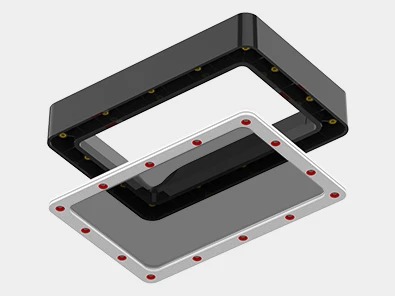
What the resin build volume actually buys you
Surface quality. FDM will always show a layer line at some viewing angle, and on a large curved shell that line becomes a sanding job. Resin at this pixel size gives a surface needing filler primer rather than heavy grinding, which saves hours per prop.
Where it is the wrong choice
Resin has no forgiving settings. FDM printers usually start printing something mediocre while you dial in a profile, whereas resin either holds detail or does not, so exposure, lift speed and temperature all have to be right. Plan on ventilation and gloves, because washing and curing is a wet process most cosplayers end up giving a shelf of its own.
2. Bambu Lab P1S Combo: Best All-Round Printer for Two-Tone Armour
Bambu Lab P1S Combo, P1S 3D Printer and AMS, Multi-Color 3D Printing
AMS multi-colour up to 16 colours
500mm/s with 20000mm/s2 acceleration
Fully enclosed chamber
Automatic bed leveling
Pros
- AMS removes most hand painting on two-tone helmets
- Fully enclosed body handles ABS ASA and PC
- Prints release with minimal force and no bending
- MakerWorld library and Bambu Studio are easy to learn
Cons
- On-screen UI is low resolution and dated
- SD card files are not set up for the AMS
- AMS arrives without filament spools
The most useful thing in a cosplay print is not speed, it is the AMS. The two-tone paint scheme on most recognisable armour is exactly what you can print straight off the plate in two colours instead of masking, spraying and masking again, and a helmet with a hard colour break comes out finished in a way filament-only machines cannot match.
Beneath that is a capable enclosed FDM machine. 500mm/s with 20000mm/s2 acceleration, automatic bed leveling plus a bed level check on every print, and a fully enclosed body handling PLA, PETG, TPU, PVA, PET, ABS, ASA with capability for PA and PC. The enclosure matters more for cosplay than specs suggest, because props get carried in parked cars and worn in summer convention halls.
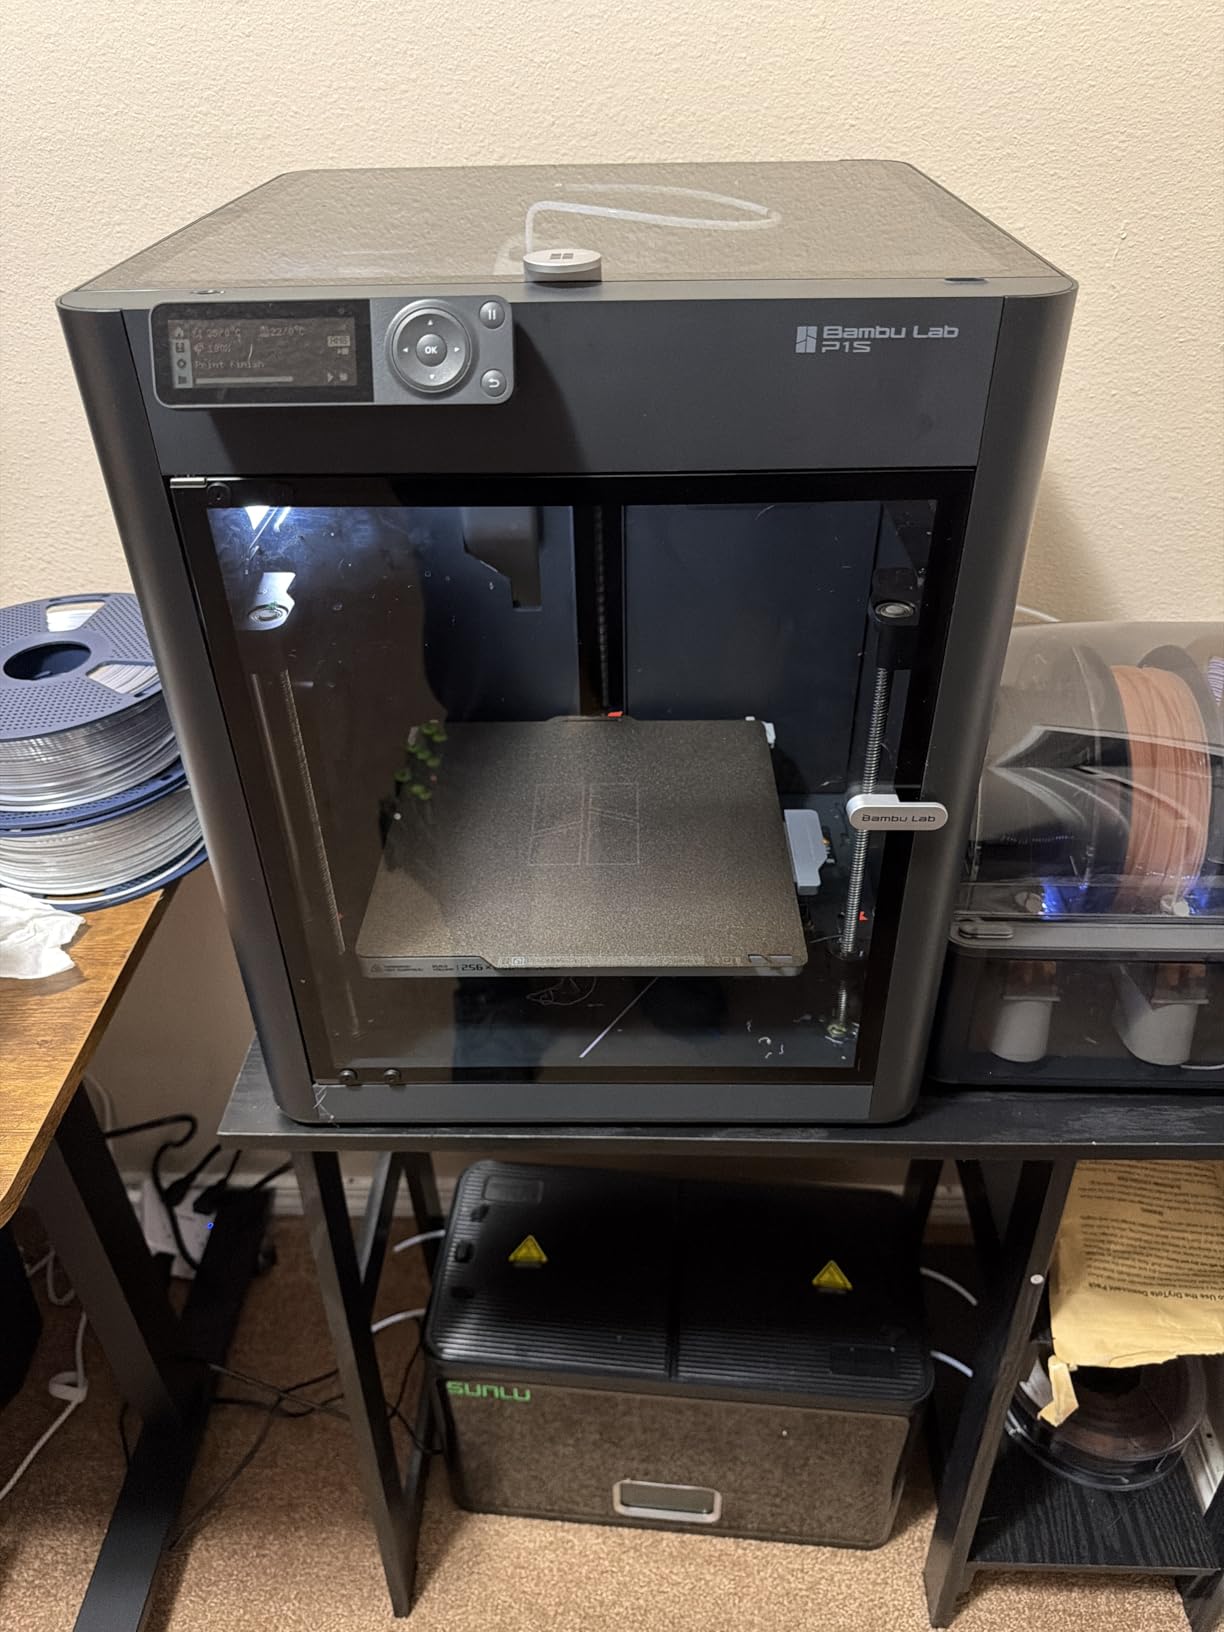
Owners consistently describe prints that come off the build plate with minimal force and no bending, which is the difference between a clean part and a cracked visor. The per-print bed level check is quietly the most valuable feature for a 30-hour job, because it catches a shifted bed in the first five minutes rather than hour twenty-five.
Setup is fast, with owners mentioning roughly 15 minutes from unboxing to first print. The combination of MakerWorld and Bambu Studio means most cosplay files open, orient and slice without a fight, which removes the single biggest source of early frustration for a first-time owner.
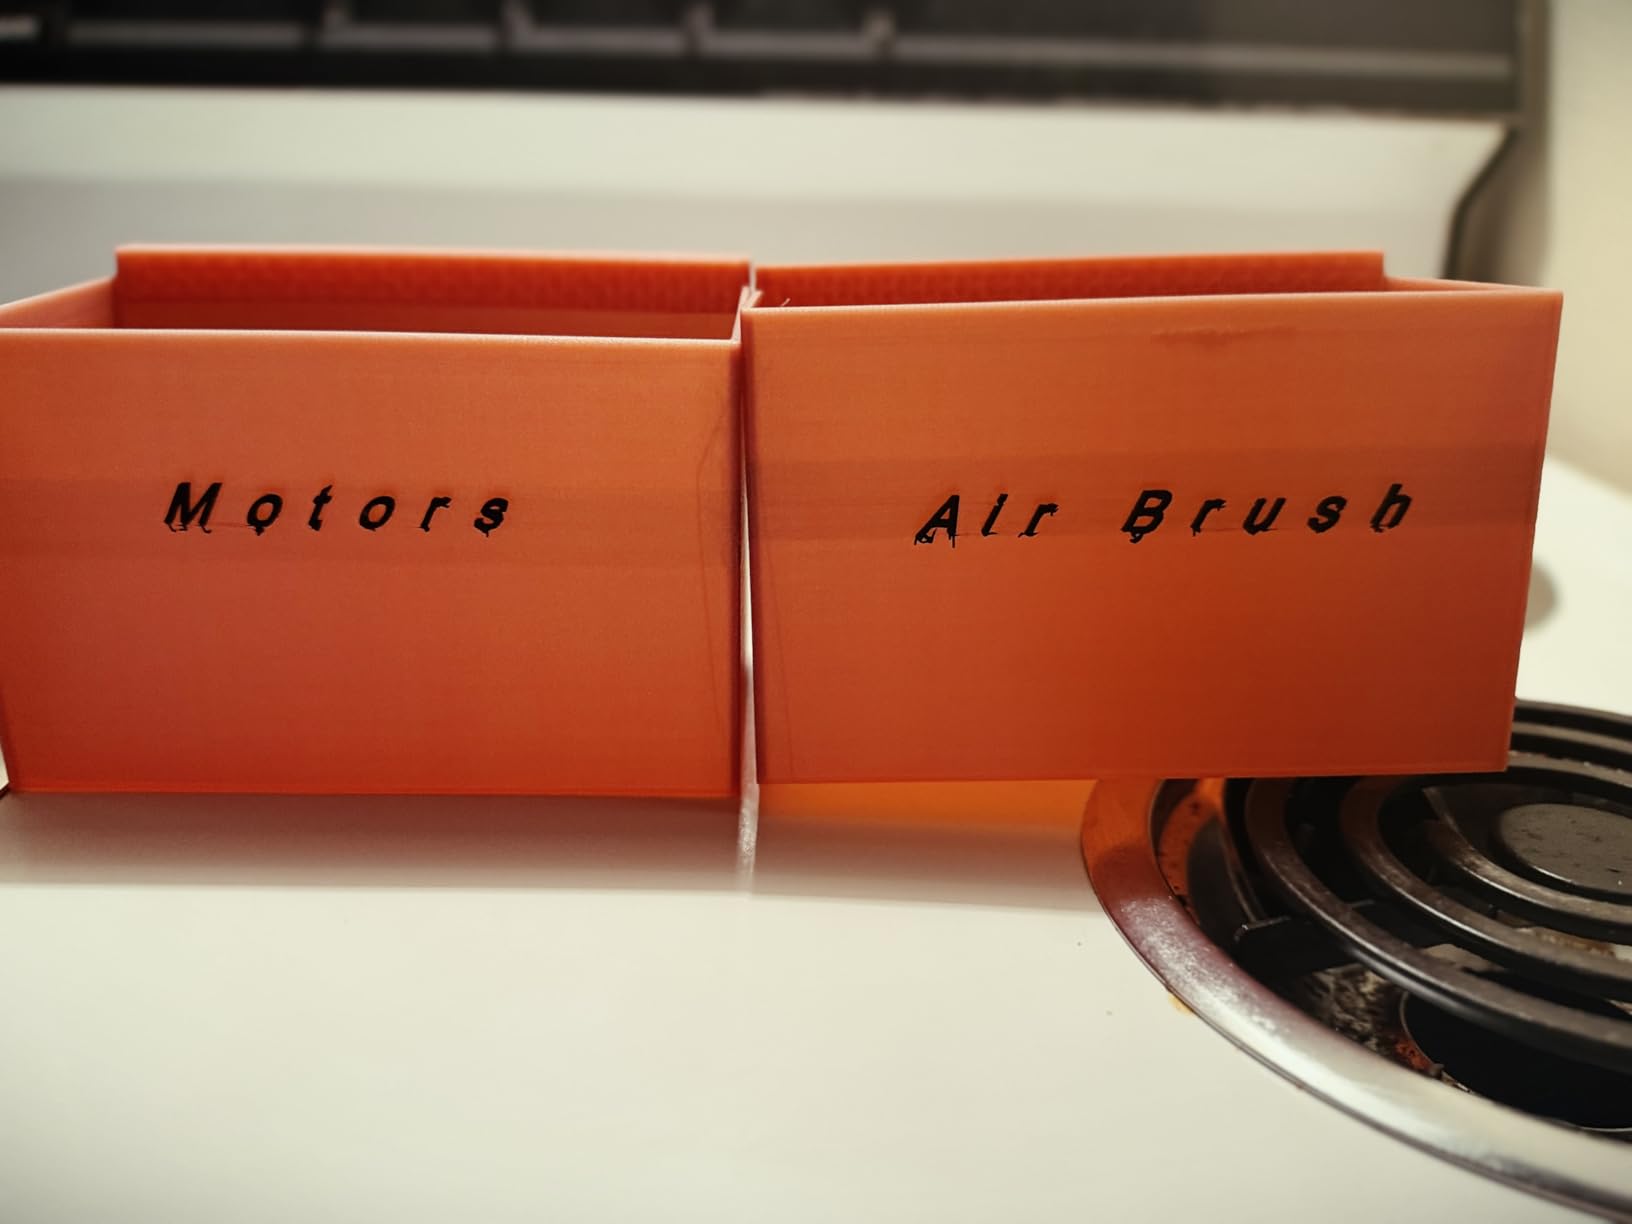
Where the AMS saves the most hours
On emblems, insignias, lens details and trim. Those parts would otherwise need masking, a second colour pass and a careful clean-up, and they are also where a hand-painted edge shows most under lights and cameras. Multi-material also lets you print a rigid PLA shell with TPU strap or joint sections in the same job.
What you give up for the convenience
The built-in screen is low resolution and feels dated next to cheaper machines, and some users find the app and Bambu Studio workflow binding rather than helpful. Two practical notes: default files on the SD card are not programmed for the AMS, so multi-colour jobs must come from the app, and the AMS does not include full filament spools, so budget for four rolls.
3. Creality K1C: Budget Pick for Fast, Quiet Filament Armour
Creality K1C 3D Printer, 600mm/s with AI Camera and Auto Leveling
CoreXY motion at 600mm/s
Tri-metal Unicorn hotend
One-tap auto bed leveling
AI camera with real-time monitoring
Pros
- Highest review count of any FDM machine here
- 600mm/s CoreXY speeds up long armour prints
- Handles carbon fibre reinforced filament
- Silent mode at 45dB or under
- AI camera catches failures early
Cons
- Build volume is modest against large-format machines
- Creality slicer and firmware have a learning curve
- Material tuning still needed for consistent results
The K1C is the machine I would put in a bedroom. Silent mode at 45dB or under plus an activated carbon air filter mean a long print does not dominate the room, which is the practical reality of printing a 30-hour armour piece while also working from home.
Speed is the headline and it holds up. A CoreXY core with 600mm/s and 20000mm/s2 acceleration, plus one-tap auto calibration with dynamically balanced printhead fans to suppress ringing and ghosting on fine details. The meaningful comparison is not the top speed figure but the fact that a mid-sized armour panel finishes in a single evening.
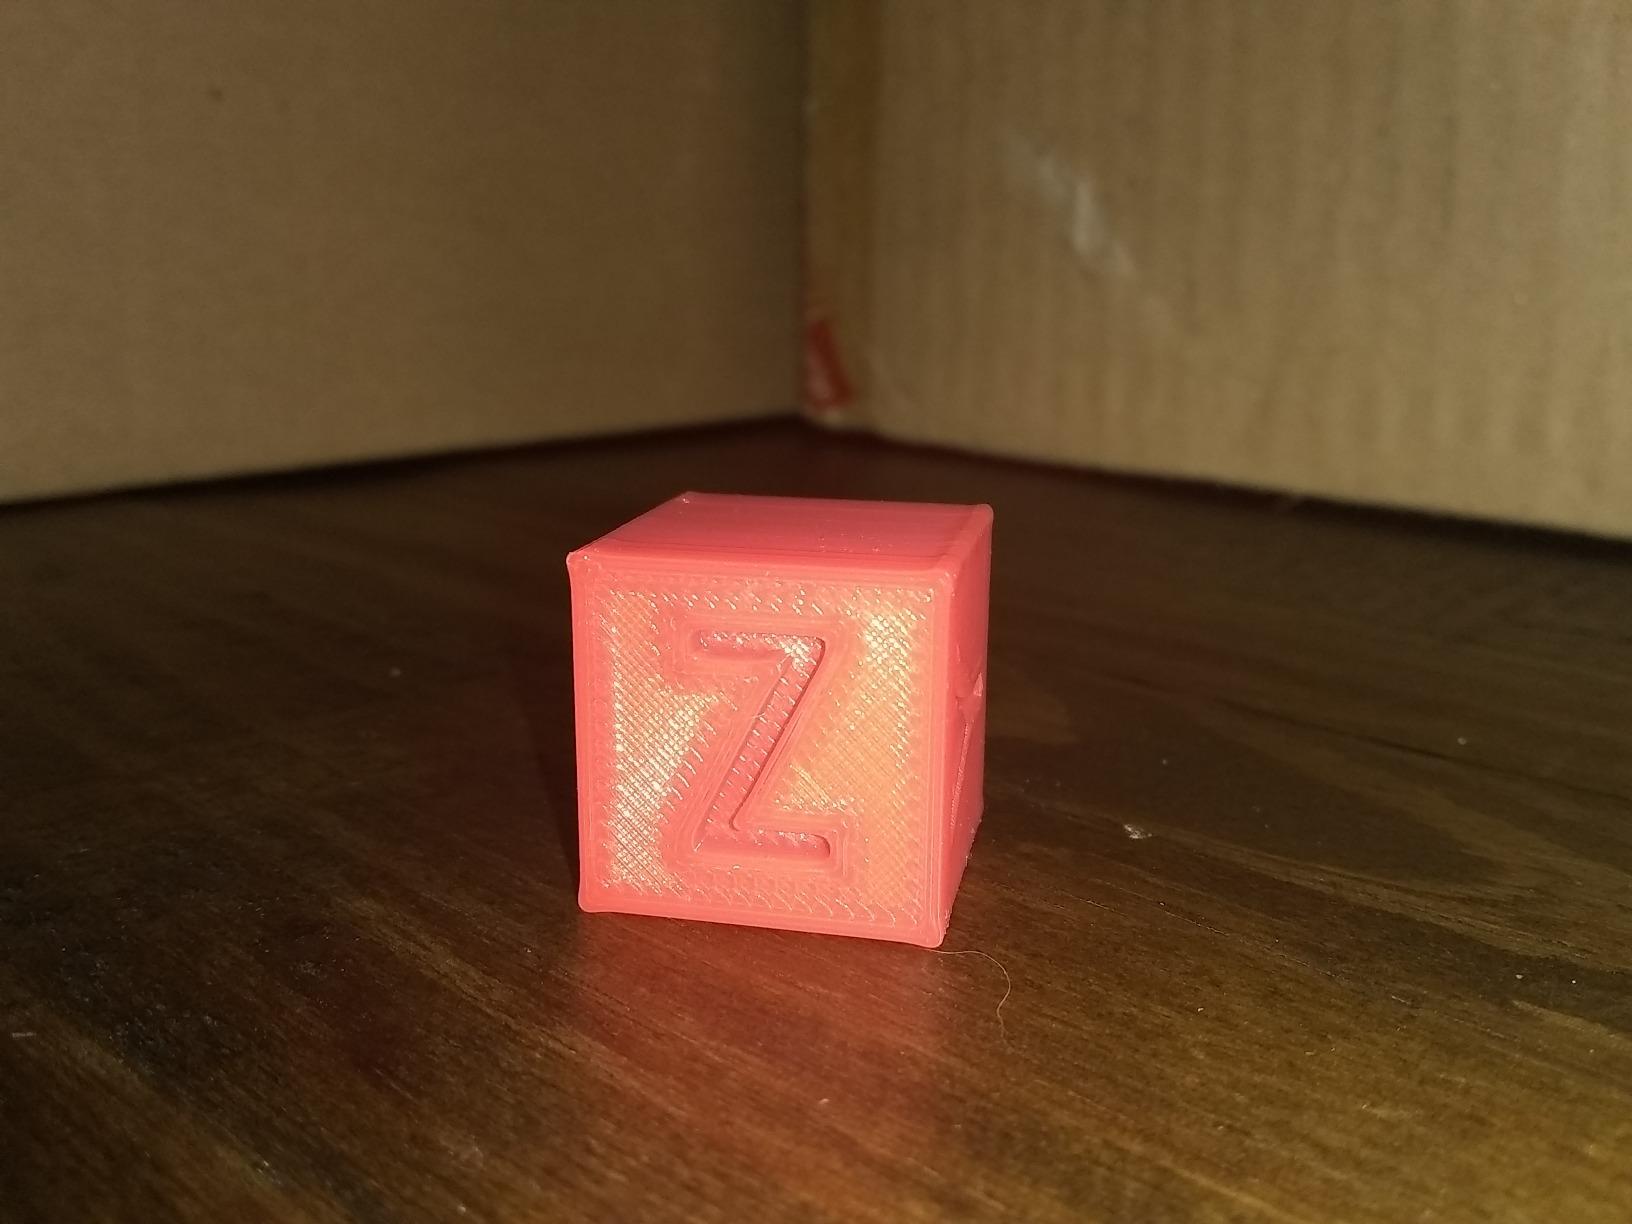
Over 2700 ratings make this the most reviewed FDM machine here, and the pattern in those reviews is consistent: owners are satisfied with speed, auto-leveling and material versatility. The built-in AI camera gives real-time monitoring with time-lapse, which for an unattended overnight print is worth more than it sounds, because you can see a failure at hour three rather than hour twenty-four.
The tri-metal Unicorn nozzle handles carbon fibre reinforced material without a separate hardened insert, so stiff armour panels that resist snapping at a seam are a realistic option rather than an experiment.
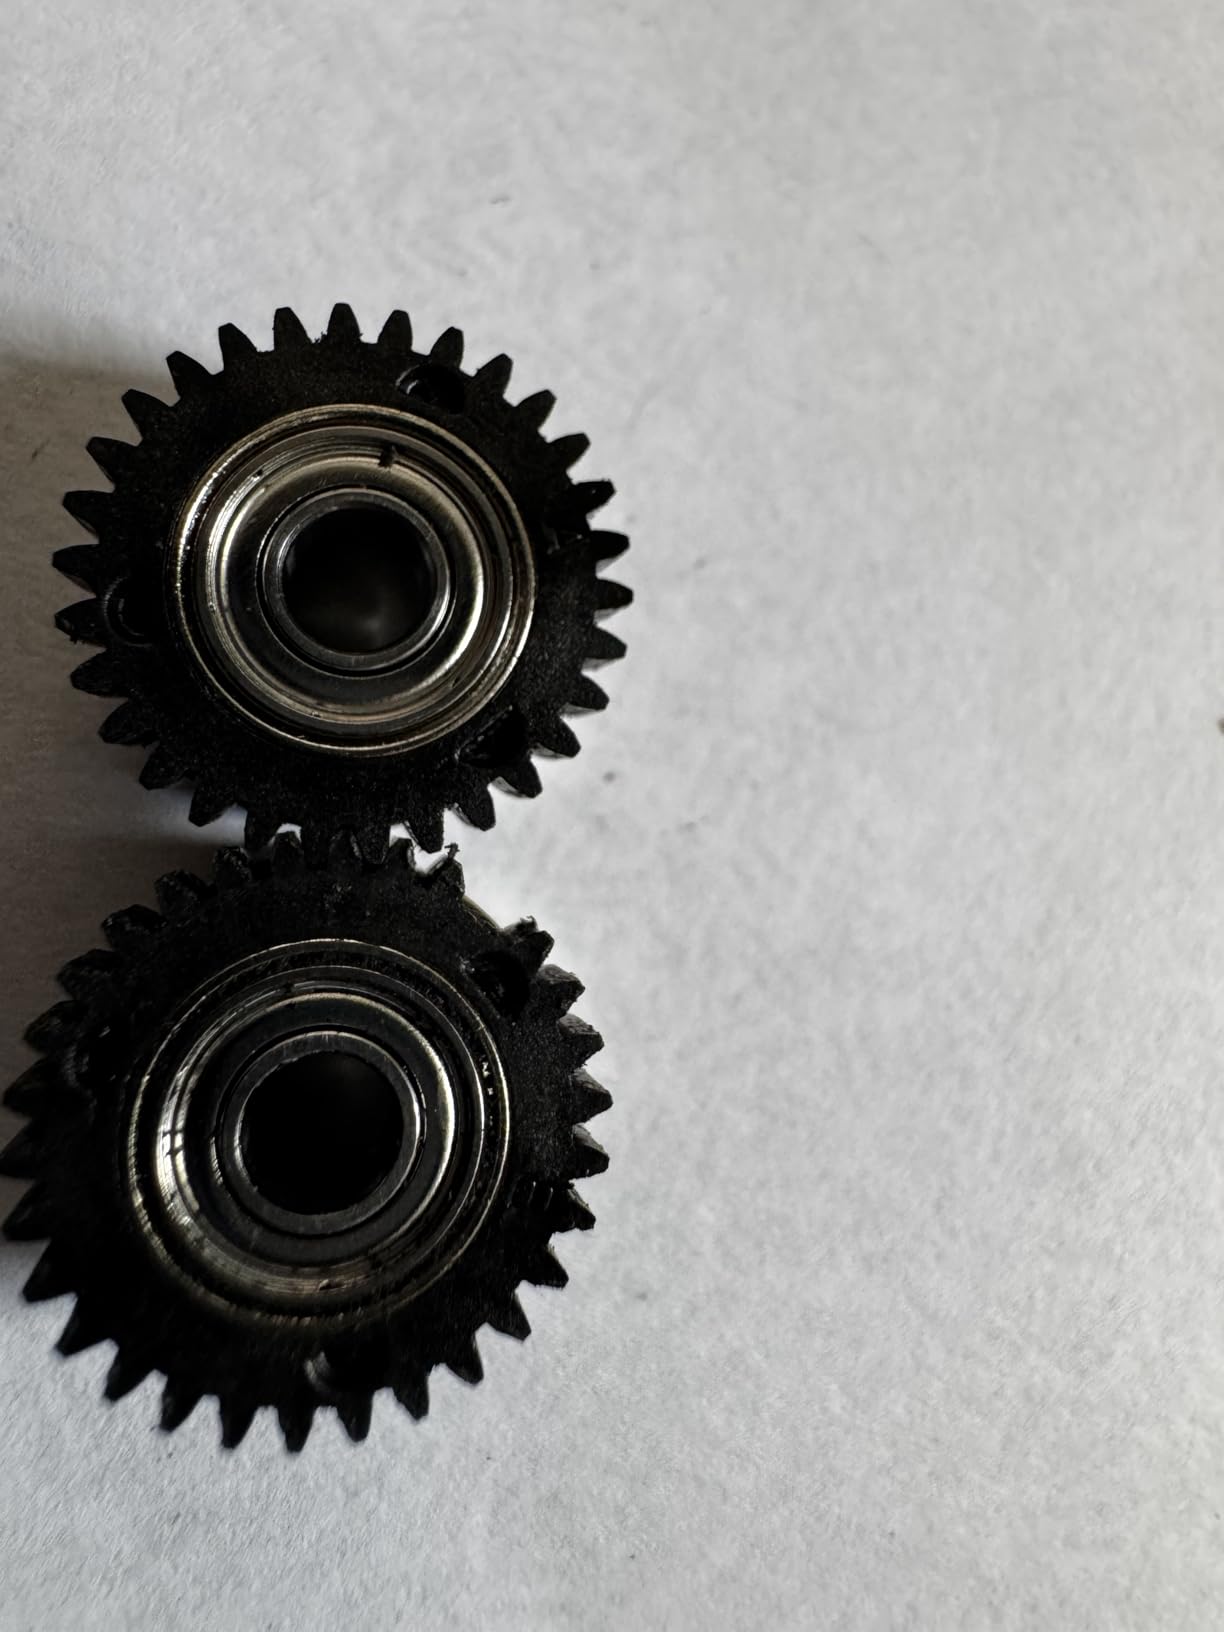
Why speed matters more on armour than on trinkets
A chest plate or a pair of greaves is hundreds of grams of filament across a full day of machine time. When the cost of a print is dominated by hours, halving those hours changes how many pieces you can finish before a convention deadline, and that is the real budget constraint in cosplay.
Where it falls short for big pieces
Build volume is the honest limitation. If your goal is a one-piece helmet shell or a full back plate, this machine will not get you there, and experienced cosplayers consistently name build plate size as the factor that decides seam count. The second limitation is software, since Creality’s slicer and firmware setup have a real learning curve and some owners tune profiles for consistent results.
4. Creality K2 Plus Combo: Best for One-Piece Armour With Multi-Colour
Creality K2 Plus Combo 3D Printer, Multi Color Printing with New CFS 600mm/s High-Speed Full Auto-Leveling Dual Al Camera Next-Gen Direct Drive Extruder Large Build Volume 13.78×13.78×13.78inch
350 x 350 x 350mm build volume
CFS multi-colour with four linked boxes
Active chamber heating to 60C
600mm/s with 30000mm/s2
Pros
- 350mm cube prints large shells without splitting
- CFS removes most post-print painting
- Chamber heating to 60C controls ASA and PPA warping
- Dual AI cameras with 18 sensors catch failures early
- Dual Z motors and rigid frame improve success rate
Cons
- Large footprint and heavy at over 70 pounds
- Automation features take time to configure
- CFS networking adds complexity
This is the machine for the person who has decided that seam count is what is killing them. A 350mm cube means a chest plate, a helmet shell or a large back panel prints as one continuous surface, and seams are exactly where the filler primer and sanding work comes from.
The CFS is the other half of the pitch. Four CFS boxes link for up to 16 colours with RFID filament auto-detection and relay, so a multi-colour armour set is a print-job change rather than a painting session. A 40mm3/s high-flow hotend with a hardened steel tip and a 350C nozzle give headroom for ASA, PPA and other high-end filaments.
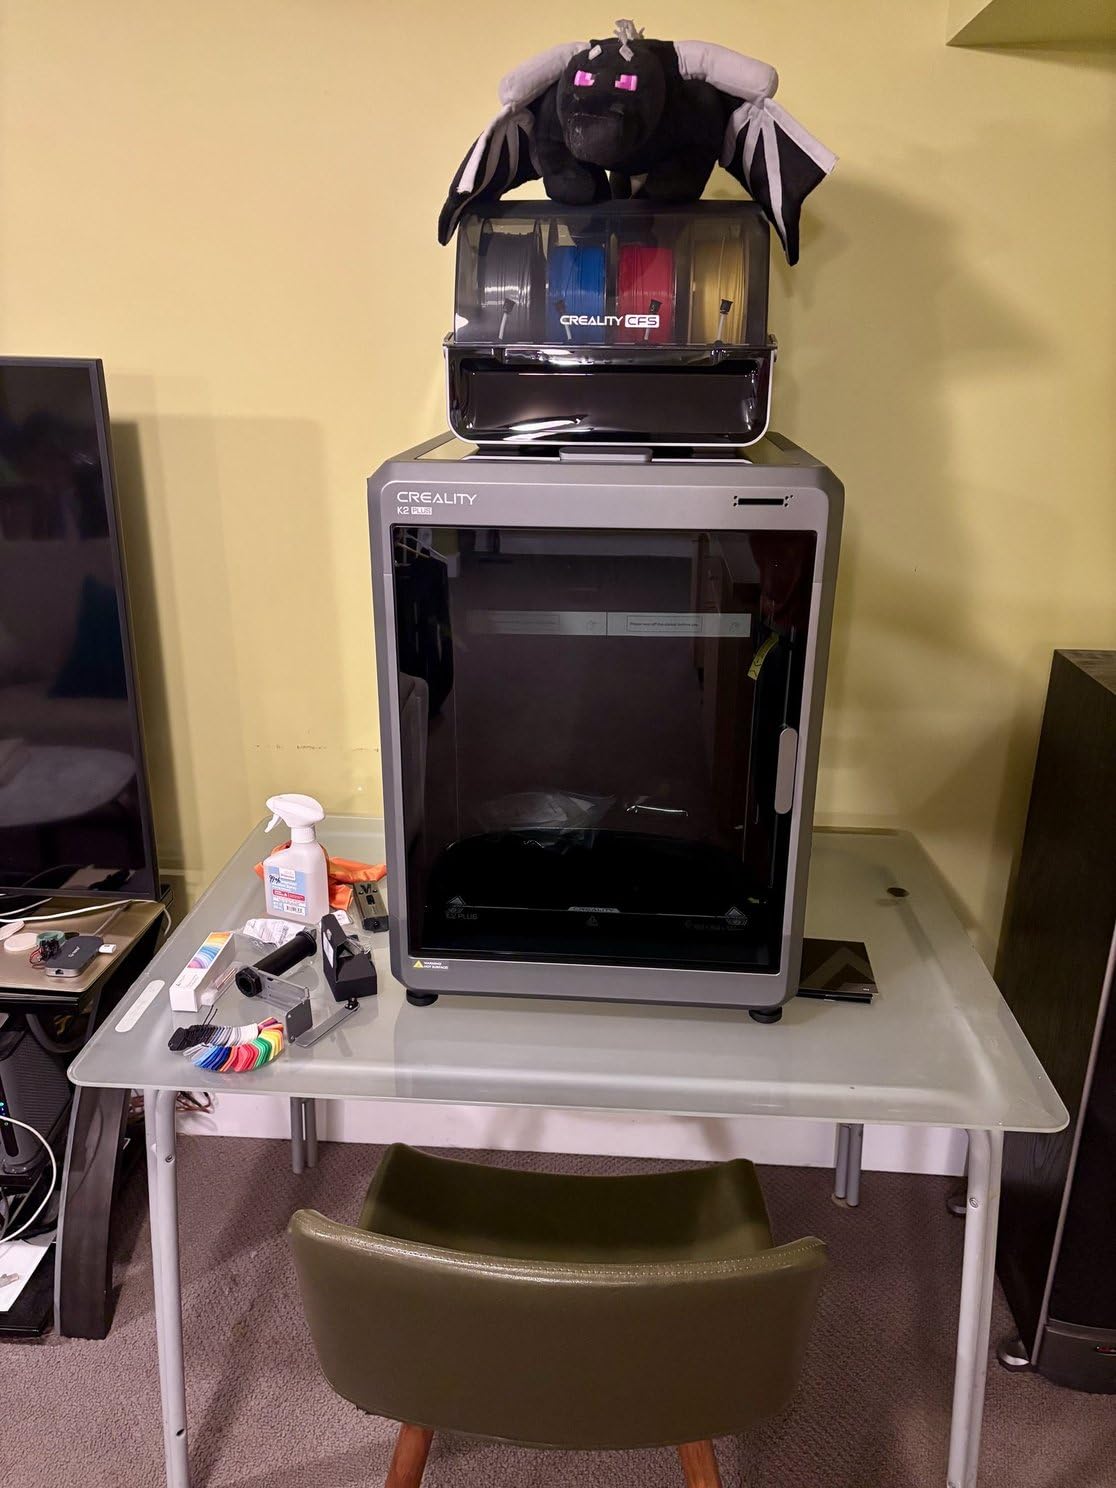
Active chamber heating up to 60C separates this from other large-format machines. Warping on large ASA and ABS panels is largely a temperature-difference problem, and holding the chamber warm is the difference between a flat plate and a curled one that will not fit a body. Dual independently motorized Z-axis with auto bed tilt before levelling, a die-cast aluminum frame and four linear rods keep a heavy 350mm print steady.
Both AI cameras watch the chamber and toolhead for spaghetti failures, idling and flow problems, with 18 smart sensors feeding the same monitoring. On prints of 30 hours or more, that oversight is worth real money in avoided failures.
When this earns its place on your bench
Two situations. If your prop files come as one-piece shells and you are tired of splitting them yourself, or if your colour scheme is complex, because 16 linked colours turn a day of masking and spraying into a queued print. Grouped control and multi-printer management also suit small studios taking commissions.
Where it earns its bulk
At over 70 pounds with a 16 x 15 x 19 inch footprint, this needs a sturdy bench, its own space and a stable power circuit, and it is effectively two machines in one box for a bedroom. Budget a weekend of configuration, because the same owners who praise the 350mm cube are the ones citing setup time for the automation and CFS network.
5. FLASHFORGE Adventurer 5M Pro: Best for Enclosed Indoor Filament Printing
FLASHFORGE Adventurer 5M Pro 3D Printer with Camera & Light
Fully enclosed CoreXY chamber
600mm/s with vibration compensation
HEPA13 and activated carbon filtration
280C direct drive extruder
Pros
- Enclosed and filtered suits indoor ABS ASA and PC work
- All-metal frame holds rigidity at speed
- Three-second tool-free nozzle swap
- Filament run-out and tangle detection
- Camera and chamber light for remote monitoring
Cons
- Build volume is modest for one-piece pieces
- Orca-Flashforge slicer and app need learning time
- Profiles may need tuning for consistent results
Almost every cosplay conversation eventually turns to fumes, because the filament that survives convention heat and a parked car is ABS or ASA, and neither should be printed in a closed bedroom. The Adventurer 5M Pro is built around that problem with a fully enclosed chamber and dual HEPA13 plus activated carbon filtration.
The rest of the spec sheet is a competent enclosed CoreXY machine: 600mm/s, 20000mm/s2 acceleration, vibration compensation on an all-metal structure, and a 280C direct drive extruder with 32mm3/s high flow reaching 200C in 35 seconds. Material support covers PLA, ABS, PETG, ASA, TPU, PC, PLA-CF and PETG-CF.
The feature I would not give up is the three-second tool-free nozzle swap in 0.25, 0.4, 0.6 and 0.8mm. Fine detail on an emblem and structural strength on a pauldron want different layer widths, and a fast swap means you are not reprinting a whole armour set because one piece needed more strength.
One-click pressure-sensing auto levelling plus filament run-out and tangle detection reduce the two failure modes that most often end an overnight job. A 4.3-inch touchscreen, double-sided PEI plate, power-off resume, and a camera with chamber light for phone monitoring cover the rest of the long-print basics at under 50dB in silent printing.
Why the enclosure changes the prop you can buy
It changes the material list, which changes the finished prop. PLA is easy but brittle in heat, and a PLA chest plate in a car in July is a bad day. PETG and ASA hold up far better, and neither prints reliably on an open frame, so a closed chamber with filtration is what makes durable filament an option at all.
Where it will not do the job
The build volume is modest relative to the large-format machines here, so one-piece full armour shells are out. This suits pauldron, gauntlet, chest-plate sections and props, where the print fits and the material choice matters most. Software is the other friction, with owners reporting that the Orca-Flashforge slicer and Flash Maker app take a learning period.
6. ANYCUBIC Photon Mono 4 Ultra: Best Budget Resin Printer for Insignias and Gems
ANYCUBIC Photon Mono 4 Ultra 10K Resin 3D Printer, 7” HD Mono Screen
10K 7-inch monochrome screen at 9024x5120
17x17 micron pixel size
Up to 120mm/h with ACF film
4.3-inch touchscreen
Pros
- Highest rated machine in the roundup
- 10K resolution captures sharp edges and fine texture
- Compact and quiet enough for a home office
- Printing within 30 minutes of unboxing
- Layer lines can be made near invisible
Cons
- Vat and LCD screen are consumables
- Exposure and lift speed need tuning
- App pairing can be unreliable
- Resin needs ventilation
At 4.4 stars this is the highest-rated machine in the roundup, and it is the pick if cosplay detail work is your actual interest rather than full armour. Vision gems, belt buckles, insignias, pips on a shoulder pad, cast texture on a staff. These are the parts where resin detail converts directly into a better looking prop and where FDM layer lines are most obvious under a camera.
The panel is a 7-inch 10K monochrome screen at 9024 x 5120 with 17 x 17 micron pixels, which reviewers describe as a 105 percent precision increase over the earlier Mono 2. A COB light source with Fresnel lenses holds the light angle within 3 degrees and uniformity above 90 percent, so the cure stays even across a large plate.
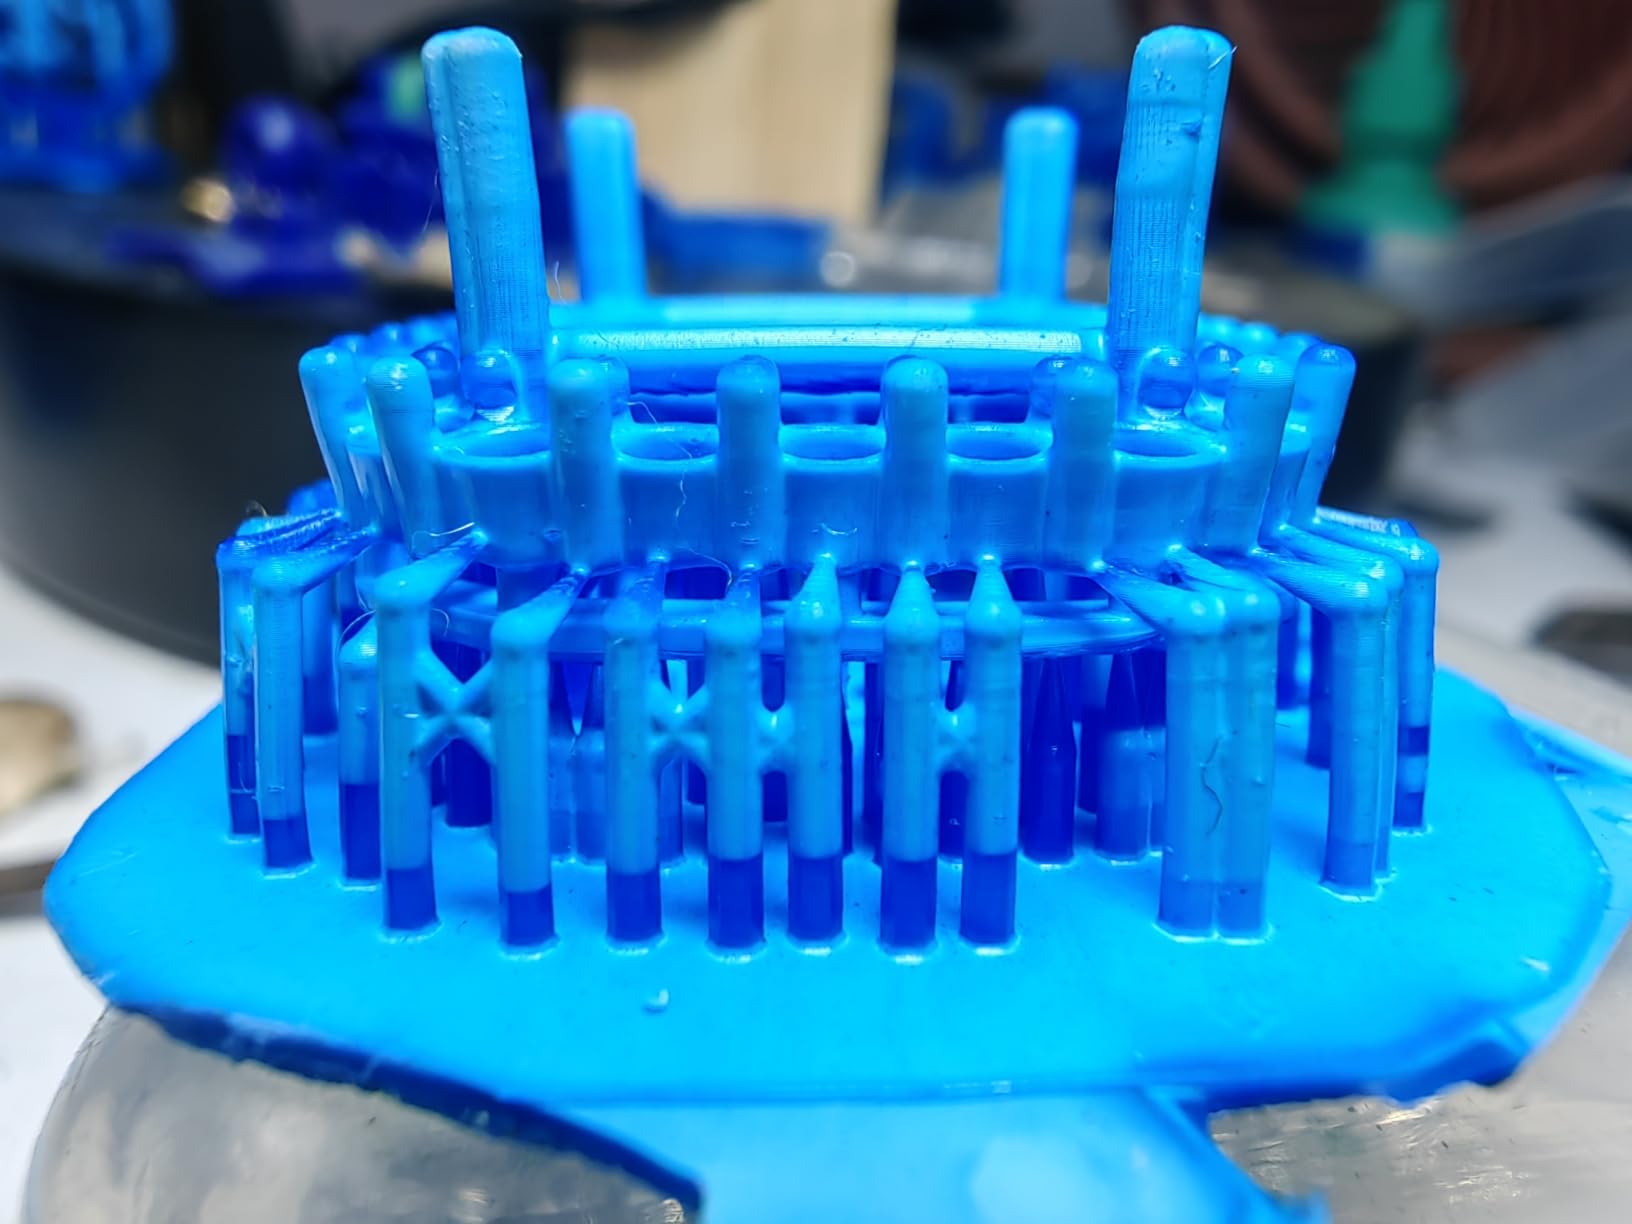
Two details make it friendly to a first-time resin owner. Auto levelling removes the fiddliest part of setting up a resin machine, and owners report printing within 30 minutes of unboxing. Five inspection systems cover auto inspection, residual resin detection, leftover resin monitoring, failed print detection and lifespan management, which takes a lot of guesswork out of unattended jobs.
Print speed reaches 120mm/h with the ACF film and its release algorithm, and the 4.3-inch touchscreen with 8-language support makes the machine usable without digging through menus. At 8.8 pounds, a shelf in a home office is realistic.
What 10K detail actually buys a cosplay prop
Sharp edges and fine texture. Chainmail, knurled grips, cloth weave, engraved text on a belt buckle, tread pattern on a boot. At 17 micron pixels those features exist in the print rather than being smoothed away by a 0.4mm nozzle, and on a prop photographed up close that difference is the whole point.
Where it will frustrate you
Resin habits do not transfer. FDM users arrive expecting default profiles that just work, and this machine instead needs exposure, lift speed and temperature tuning, so expect test prints before you trust a commissioned piece with it. The vat and the LCD screen are consumables that some owners replaced within months, so treat them as running costs, and check your largest detail piece against the build volume first.
7. ELEGOO Saturn 4 Ultra: Best for Textured Surfaces and 16K Resin Detail
ELEGOO Saturn 4 Ultra 16K Resin 3D Printer
16K monochrome resolution
Tank heating holds resin at 30C
Tilt release up to 150mm/h
AI camera with chamber light
Pros
- 16K resolution gives smooth surfaces and crisp texture
- Heated tank cuts bubbles and layer separation
- 150mm/h tilt release is among the fastest here
- Automatic leveling makes it genuinely plug and play
- Camera allows all-day monitoring
Cons
- Resin printing still needs washing and curing
- LCD screen and release film wear over time
- 16K detail only pays off with careful exposure tuning
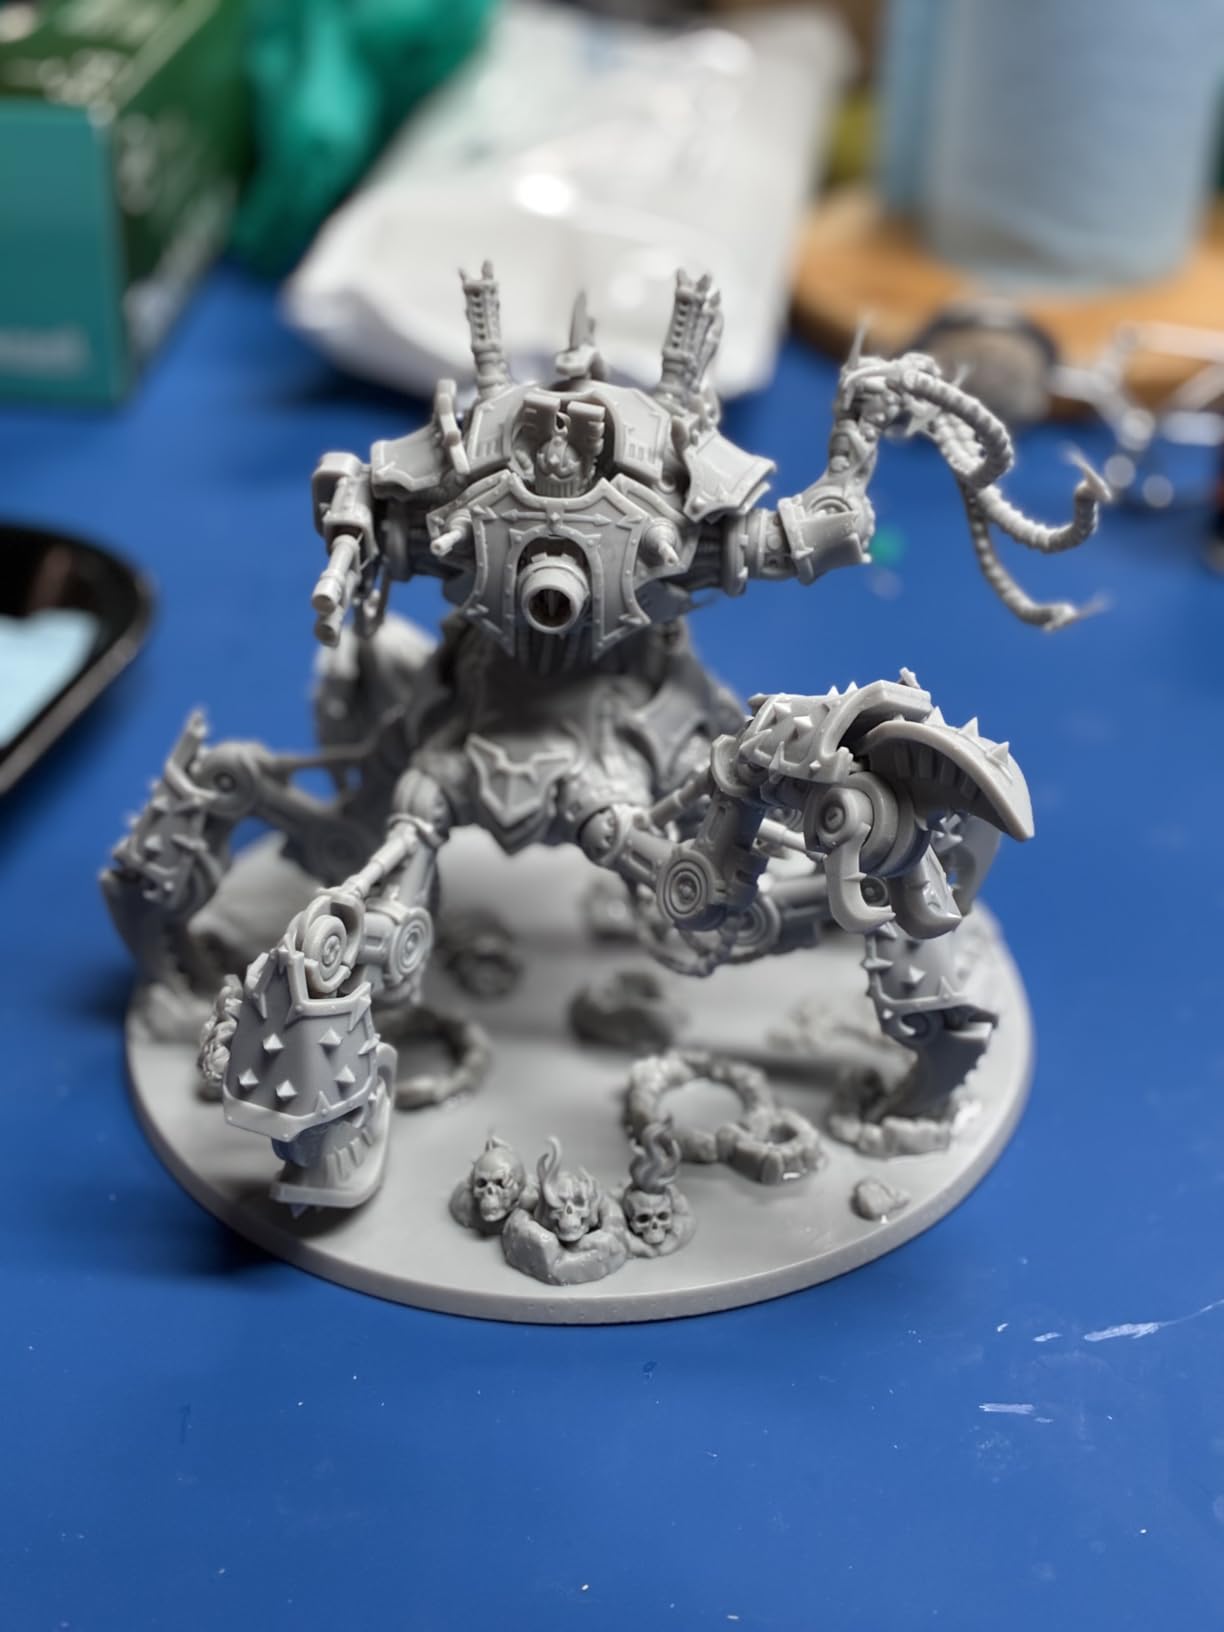
The Saturn 4 Ultra goes after a specific problem, which is textured props. Armour mimicking carved stone, hammered metal or a moulded plastic shell has fine surface relief, and 16K resolution holds that relief where lower-resolution resin turns it to mush. If your reference is a lifelike texture rather than a clean toy surface, this is the resin machine to look at.
Its other standout is the heated tank, holding resin at 30C. Cold resin is viscous, and viscosity causes bubbles and layer separation on tall prints. Reviewers consistently credit the heating and the fast tilt release, up to 150mm/h, with better first-time success rates and shorter jobs, which matters most on the long vertical prints that masks need.
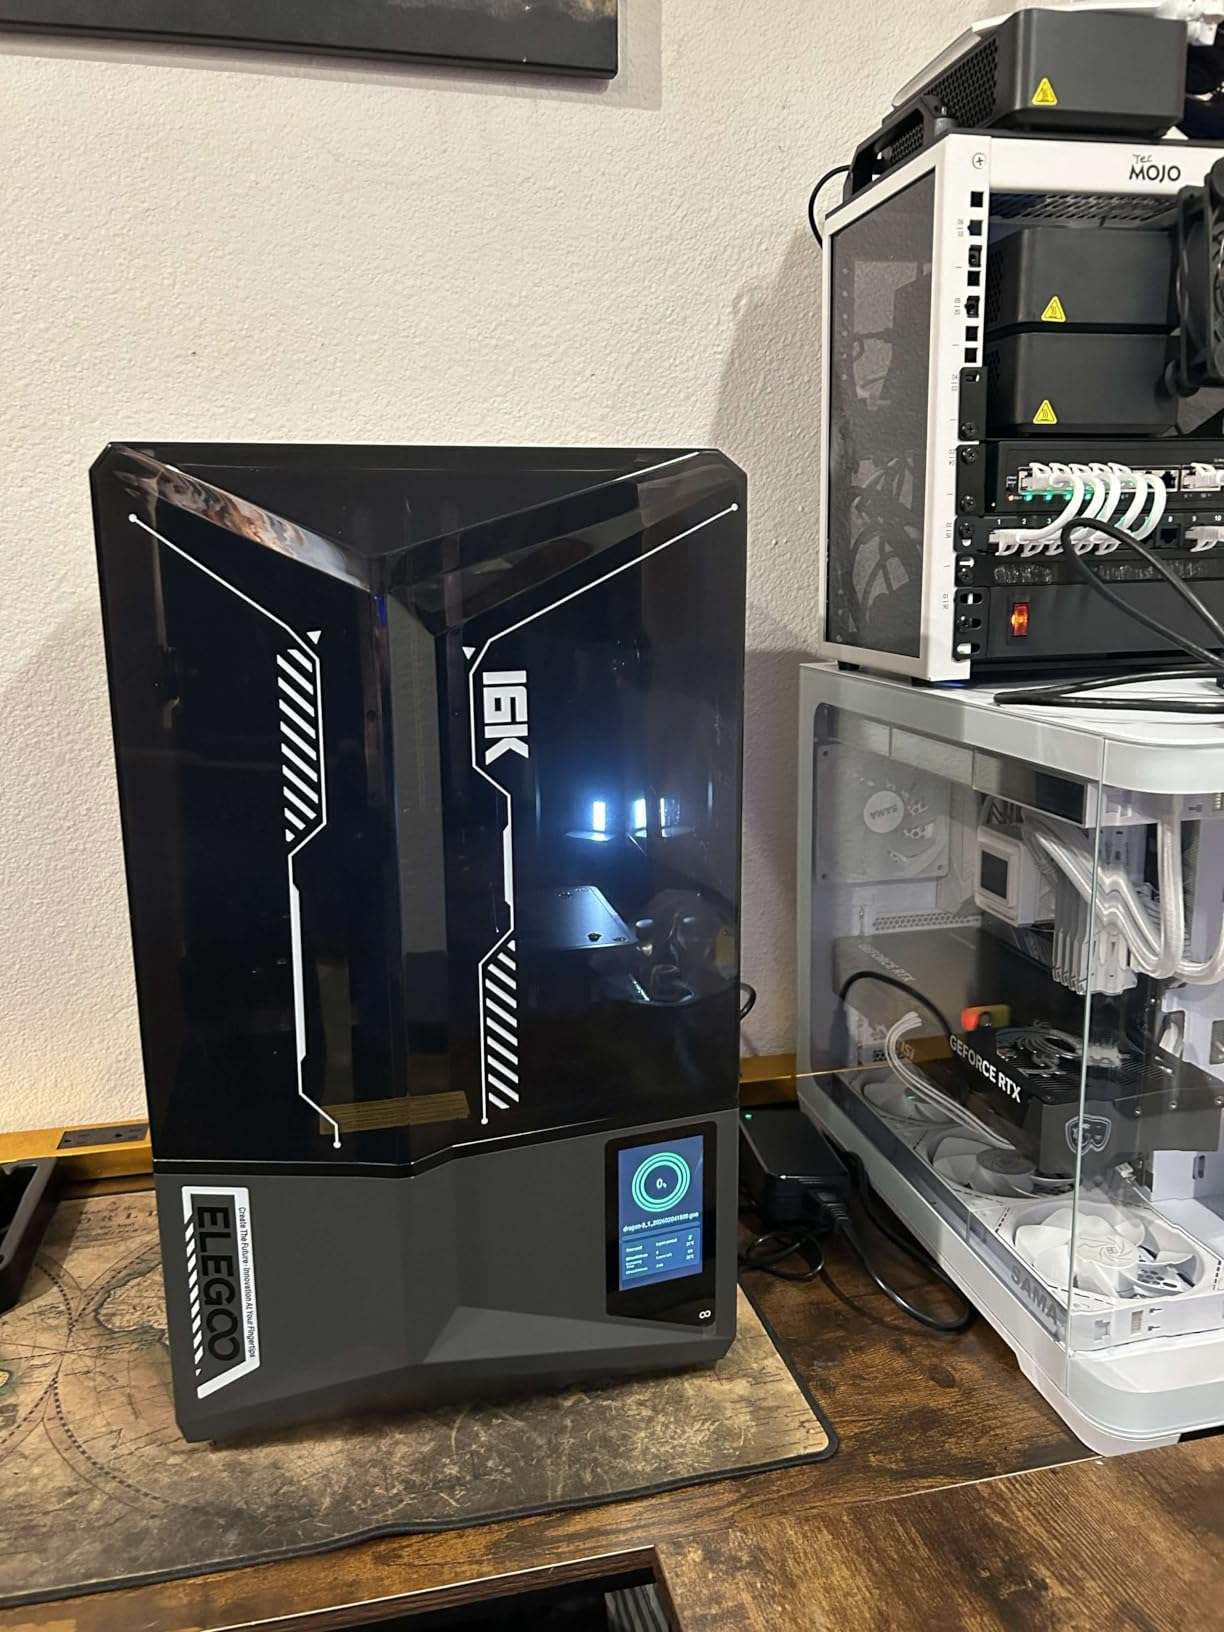
Automatic levelling with no manual adjustment makes this the most plug-and-play of the resin picks, and the AI camera with a built-in chamber light allows all-day monitoring, time-lapse and alerts for warping and an empty plate. That is aimed squarely at someone printing while not standing next to the machine, which is exactly how resin gets used for a dozen small details at a time.
A mechanical residue detection sensor protects the LCD screen, and alarms cover resin shortage and levelling failure, so common unattended mistakes get caught before they ruin a part.
When 16K is worth the extra tuning
Textured and organic surfaces. A weathered chest plate, a creature head, a face cast for a mask, a sword hilt with engraved detail. These are the pieces where layer-line removal is the most expensive part of the build, and the highest pixel density removes the reason for it, at the cost of more test prints.
Where it costs you
The standard resin trade-offs apply in full: washing and curing after every print, protective equipment, ventilation, and an LCD screen plus release film needing occasional replacement. Compare it against the Mono 4 Ultra too, because if your prop is smooth and mid-sized rather than textured, the simpler footprint may serve you better.
8. Creality Ender 5 Max: Best for One-Piece Large Armour, With a Caveat
Creality Ender 5 Max 3D Printer 400×400×400mm Large Build Volume, 700mm/s Fast Printing Speed, 64-Point Auto Leveling, All-Metal Frame & Dual Gear Extruder, Multi-Printer Control Over WLAN
400 x 400 x 400mm build volume
CoreXY up to 700mm/s
64-point auto leveling with auto Z offset
Direct drive hardened dual-gear extruder
Pros
- True 400mm cube prints one-piece helmets and armour
- 700mm/s CoreXY for a large-format machine
- Die-cast frame and linear rail hold accuracy on tall prints
- 64-point levelling removes manual first layer setup
- WLAN multi-printer control suits small studios
Cons
- Arrives without an enclosure so ABS and ASA need one
- No multi-colour out of the box
- Some machines report bed warping and finish lifting
- Early component failures and slow bed heat-up reported
- Very heavy at over 70 pounds
A 400 x 400 x 400mm cube is the largest build volume here, and for a helmet shell or full back plate it is the difference between one piece and four. If your prop file is designed as a single surface, this is the machine that prints it without you pre-splitting anything.
The motion system is a CoreXY structure rated up to 700mm/s, the fastest figure in this roundup, on a die-cast aluminum reinforced frame with an X-axis linear rail. Reviewers specifically credit that rigidity for holding accuracy on tall or heavy prints, which is where large-format machines normally start showing ringing and wobble.
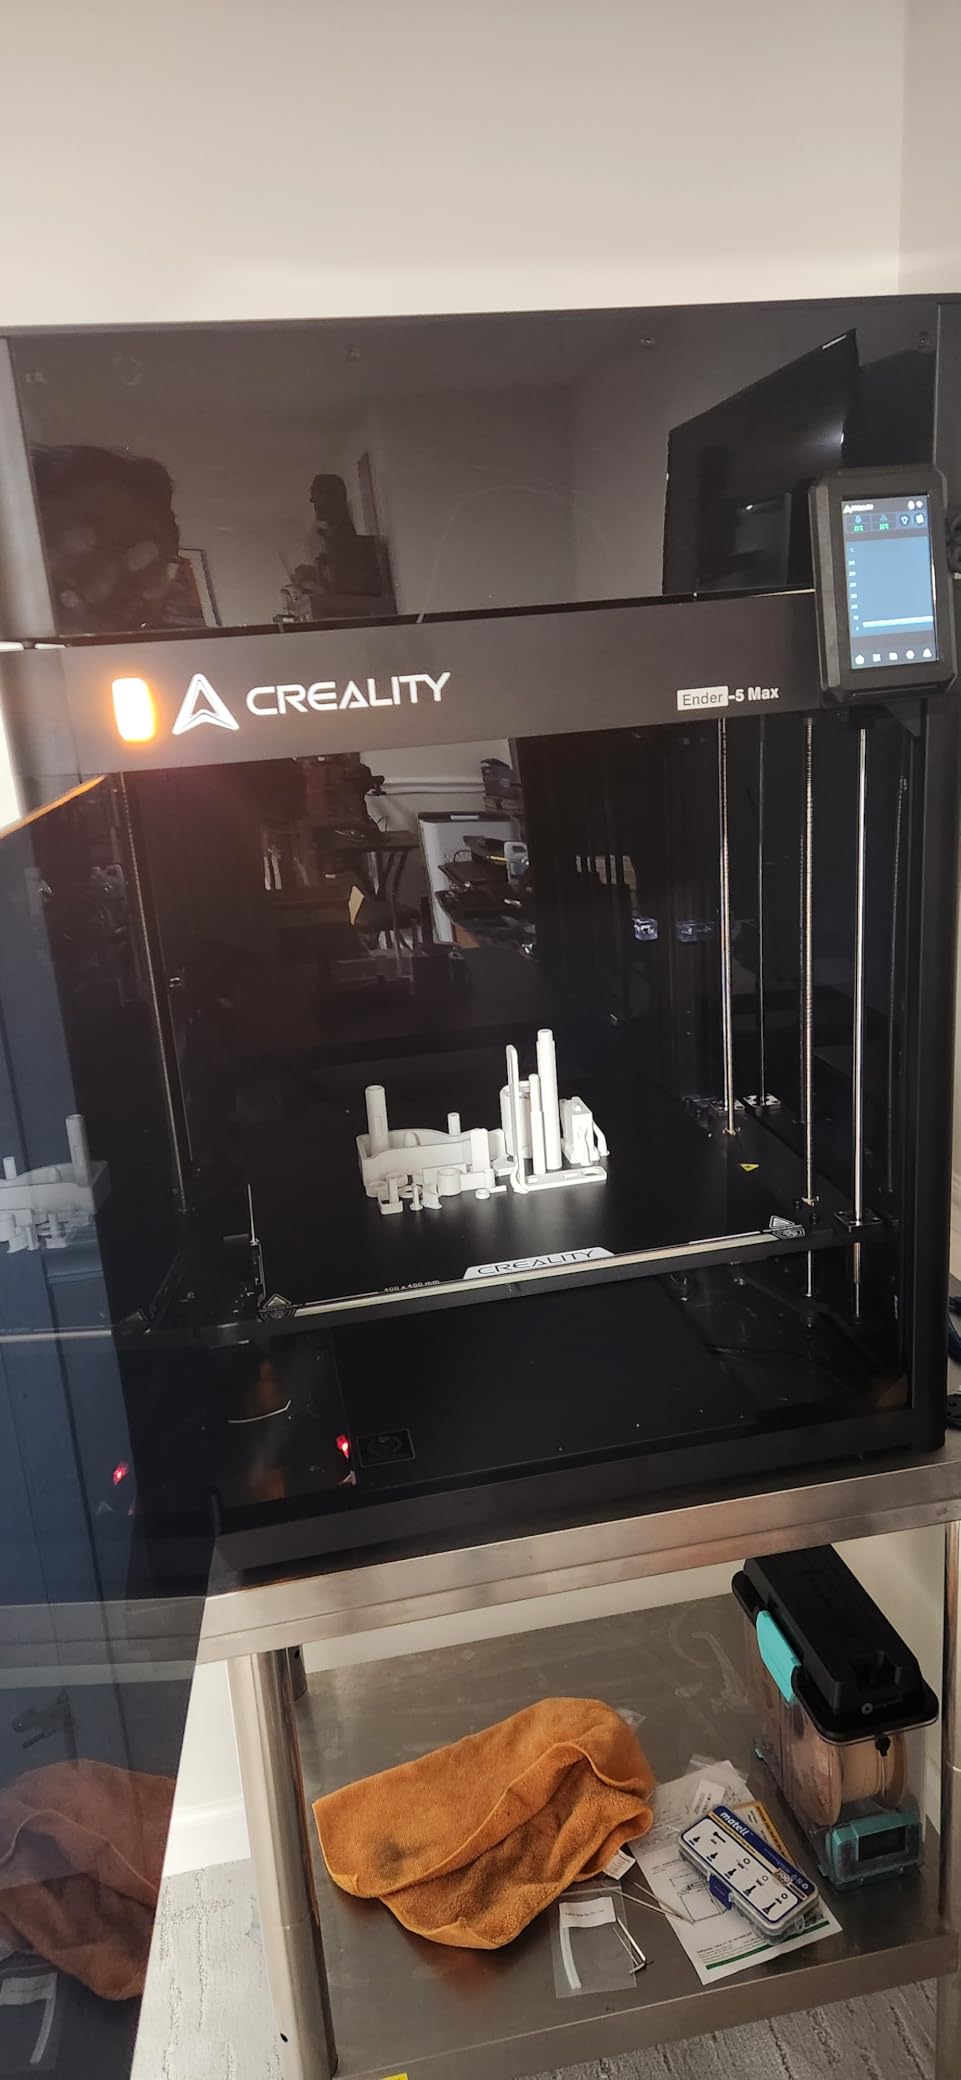
Setup automation is thorough. 64-point auto levelling with automatic Z-offset removes manual first-layer work, the direct drive hardened dual-gear extruder suits sustained production, and a 1000W rapid heating bed with support for PLA, PETG, PETG-CF, ASA, ABS, PA and HT-PLA covers the cosplay material list.
Owner opinion is sharply split here, and you should know it before buying. Several reviewers call it a dependable workhorse that prints large cosplay helmets reliably across many filament types, while others report bed warping, finish lifting off the plate, and breakage within hours of first use. It has the smallest review base in this roundup, so treat the good and the bad as equally evidenced.
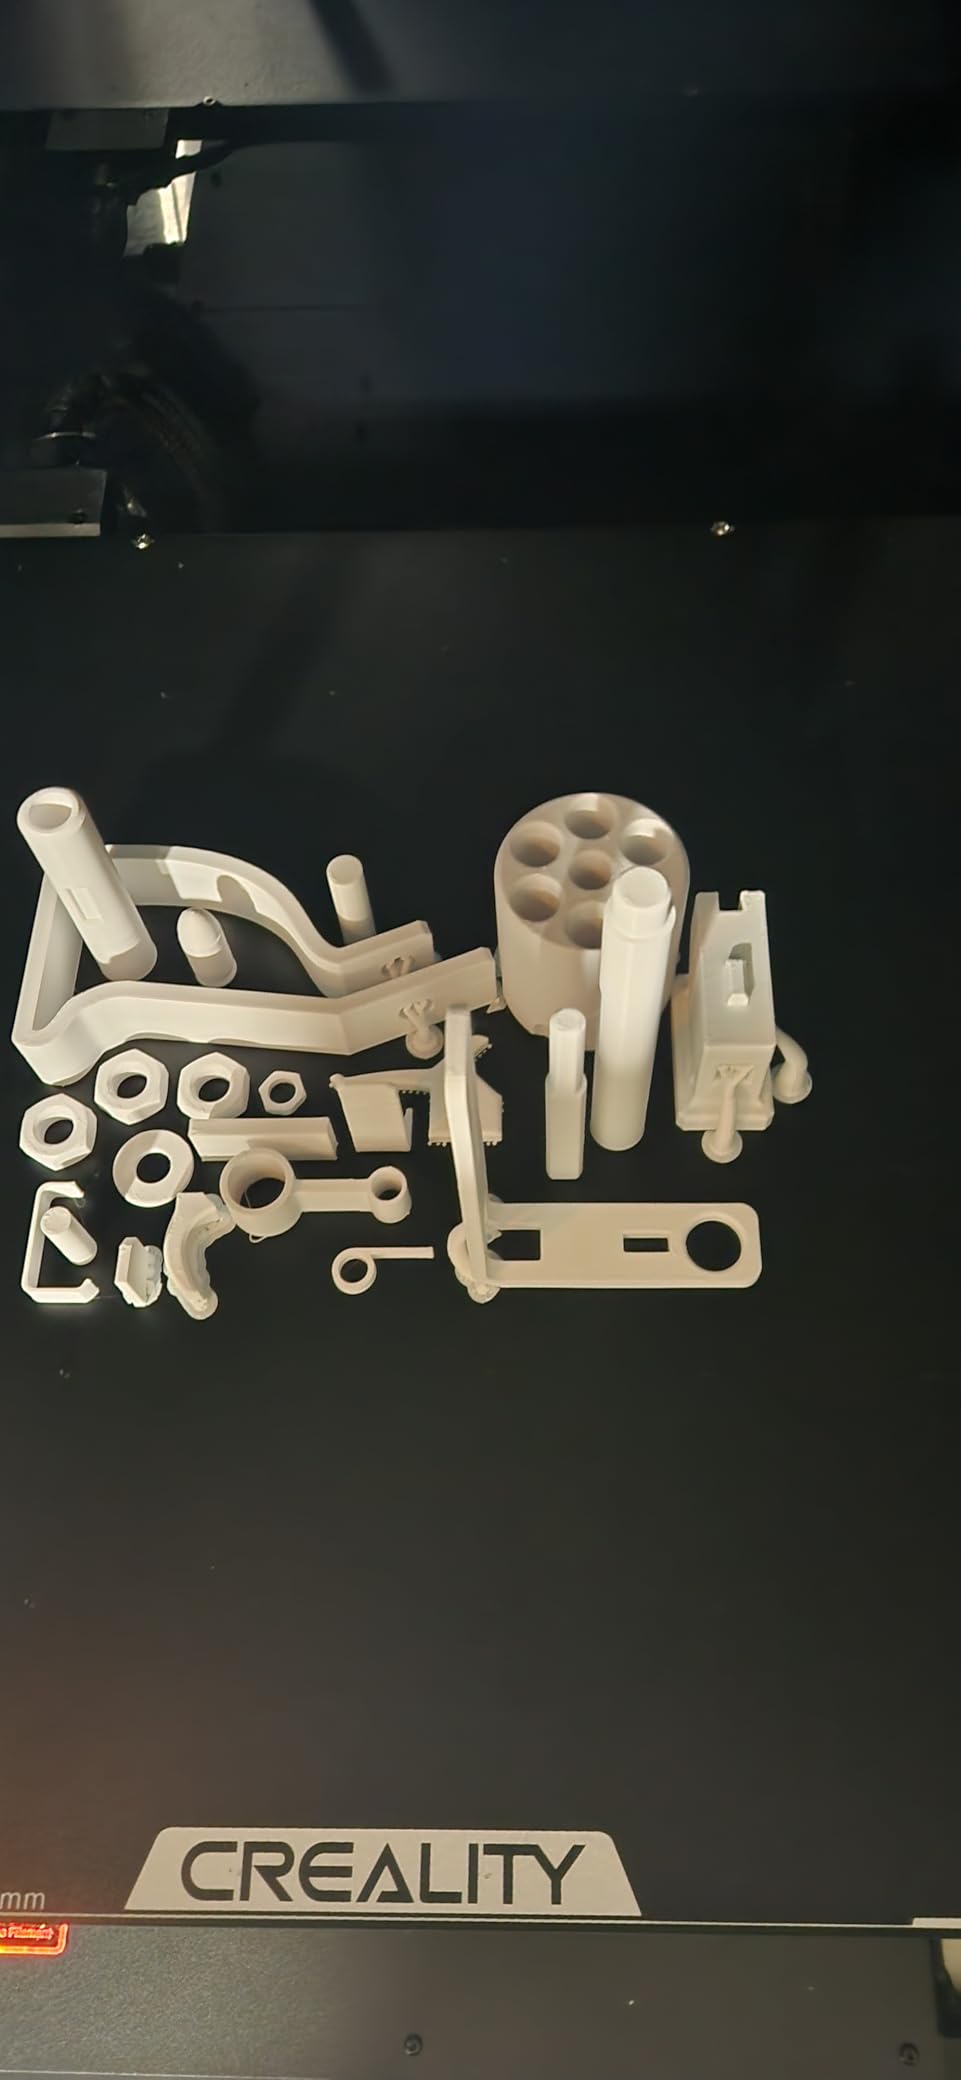
Why the build volume is worth real money
Seams are the hidden cost of cosplay printing. Every split line is a joint to glue, sand, fill and paint, and every one is a place the seam can show under lights. A rigid die-cast frame at 700mm/s also means a large panel does not consume a whole weekend of machine time.
What to fix before your first big print
It arrives without an enclosure, and if you plan to print ABS or ASA, which you should for heat resistance, budget one and treat it as part of the machine. There is no multi-colour out of the box, over 70 pounds means a sturdy bench, and flat-packed assembly is a two-person job. Before a deadline, run a small adhesion test on your specific plate and filament, because a cheap test print beats a 30-hour failure.
How Big a Printer Do You Actually Need for Cosplay?
Build volume is the number one decision factor, and it matters for a simple reason: it decides how many seams your finished prop has. Build volume is the maximum X x Y x Z dimension your machine can print, and every time a file has to be split to fit inside it, you gain a joint to fill, sand and paint.
Match the machine to the largest single piece you want in one go, not to the biggest prop in your collection. Most helmet shells, chest plates and back panels need roughly 250 to 350mm in two dimensions, while props above that need a 400mm-class machine and a mask is often under 200mm on each side.
The practical rule most experienced cosplayers land on is a build plate around 235 x 235mm as a useful starting point, rising to 300mm square or larger when you regularly print helmets or full armour. A 180mm plate forces a helmet into four to six sections, which is the puzzle-piece outcome most beginners are trying to avoid.
PLA vs PETG vs ABS: Which Filament for Cosplay Props?
PLA for anything worn indoors, PETG for anything that meets heat or impact, and ASA when you need real outdoor and car-temperature resistance. Almost every filament decision for cosplay is really a decision about where the prop is worn and whether it has to survive being sat on.
PLA prints beautifully, sands easily and needs no enclosure, which makes it the right default for a first helmet. It is also brittle, and that matters for gauntlets, boot armour and anything that takes an elbow. If a prop will be handled hard, PLA is a display piece until reinforced.
PETG is the practical middle ground, with more impact resistance than PLA, no high chamber temperature, and far easier warping control. Most armour that has to survive a convention weekend is PETG or PETG-CF, and reinforced PETG also covers stiff strap and joint parts.
ABS and ASA need a heated, enclosed chamber because they shrink as they cool, and that shrinkage is what curls large flat panels. ASA adds UV and weather resistance, so it is the better choice for outdoor wear and for anything that sits in a hot car. Specialty cosplay filaments exist too, including low-foam and low-layer-line PLA blends that sand and paint far more easily than standard PLA, and a Qidi Tech owner on r/QidiTech3D reported making several cosplay helmets with no issues at all using one of those blends.
TPU is the flexible one, used for straps, hoods, undersuits, cape attachments and mask seals rather than armour panels, since it will not hold a hard edge and needs a direct drive extruder. Every FDM pick here has a direct drive extruder, so TPU is available across the range.
What Happens at Hour 20 of a 30-Hour Cosplay Print?
Long prints fail in predictable ways, and each one costs a weekend plus a spool of filament. Knowing the failure modes in advance is the difference between a hobby you keep and one you quietly abandon, which is the real risk for anyone printing their first large piece.
Adhesion loss comes first. The part starts bonded to the bed and lets go as the bed cools and the material contracts. Enclosed chambers, a textured or powder-coated plate, and a brim on tall parts all reduce it, which is what the 64-point levelling and per-print bed check on several picks here exist to support.
Layer shift from movement is the second. It happens when a bed slinger or an under-damped frame accelerates hard mid-print, and a CoreXY core with vibration compensation, which every large pick here uses, is the main defence. A third mode is Z-banding, a visible ripple from a lead screw or Z wobble on very tall prints, which is why dual Z motors and a rigid frame are worth paying for on big armour.
The fourth is power, since a 30-hour print spanning an evening and a night must survive an unattended stretch. That is the argument for build plates that are solid, for auto levelling, and for the camera monitoring on the K1C and K2 Plus Combo that spots a failure in the first hours instead of the last. One habit is worth naming because beginners rarely do it: run a small adhesion and profile test on the exact filament you plan to use, because the test costs an hour and the failure costs a weekend.
FDM or Resin: Do You Need Both?
No, and the honest version of this question is that FDM and resin are not competitors. They cover different sizes of part, and a cosplayer with serious ambitions usually ends up owning one of each, in either order.
FDM lays molten filament layer by layer and is the right tool for armour, helmets, gauntlets and prop weapons, with bigger volumes, cheaper running costs, safer handling and tolerance for slightly wrong settings. Its limit is surface detail, because a 0.4mm nozzle leaves a layer line needing filling and sanding.
Resin cures liquid photopolymer with UV light and is the right tool for small highly detailed parts such as insignias, gems, buckles and mask detail. Its limits are size and workflow, since resin needs washing, curing, gloves and ventilation, and a 200mm-class build volume will not take a chest plate. So if you are buying one machine first, an enclosed FDM covers more of your build list, which is why five of the eight picks here are FDM.
The Buying Checklist Before You Checkout
Bed slinger or CoreXY is the first fork. A bed slinger moves the bed itself, which is cheap and fine for small props but introduces wobble and slower acceleration on larger parts. A CoreXY machine moves only the printhead, which is why every large and fast pick in this roundup uses one, and it is the most useful hardware upgrade in this category.
Enclosure is the second fork, and it is about material rather than safety theatre. If you want to print PETG properly or ABS and ASA at all, you need a closed chamber, and an actively heated one for large ASA panels. The Ender 5 Max is the honest outlier here, and its listing says plainly that ABS and ASA need a separately purchased enclosure.
Brand ecosystem matters more than most spec sheets admit, because slicer software is where beginners quit. Pick a machine with a well-supported, actively developed slicer and a large model library, and our coverage of the general 3D printer market and enclosed printer picks breaks that down by brand. If resin is where you are heading, our resin roundup covers the detail side in more depth.
Footprint and noise are constraints people forget to check. The machines here range from 15 x 10 x 20 inches and 8.8 pounds for a resin detail printer to 16 x 15 x 19 inches and over 70 pounds for a 350mm enclosed cube, and large-format assembly is a two-person job. A beginner weighing a large frame should also read our beginner guide first.
Finally, budget the finishing supplies, not just the machine. Sanding grit from 120 through 400, filler primer, a primer coat, paint, clear coat, glue and resin PPE. A helmet takes hours of post-processing whatever printed it, and the finishing kit often costs more across a build than the printer upgrade you were tempted by. If you are shopping against a fixed ceiling, our under 500 guide narrows the field.
Frequently Asked Questions
What is the best 3D printer for making cosplay props?
The ANYCUBIC Photon Mono M7 MAX is the best overall pick because its 298 x 164 x 300mm resin build volume fits a full-size mask in one print, and 7K resolution holds detail on insignias and lens gems. For filament armour, the Bambu Lab P1S Combo is the best all-round buy thanks to its enclosed body and multi-colour AMS.
Should I use PLA or PETG for cosplay?
Use PLA for indoor wear and easy sanding, and PETG for anything that takes impact or heat, such as gauntlets, boot armour and convention-worn pieces. ASA is the better outdoor and hot-car option but needs an actively heated enclosed chamber. TPU is for straps, seals and flexible undersuit sections rather than hard panels.
How big of a 3D printer do I need for cosplay?
Match the machine to the largest single piece you want in one go, because every split line becomes a seam to fill, sand and paint. Roughly 235 x 235mm is the useful starting point for most cosplay work, rising to 300mm square or larger for helmets and full armour, and 400mm for one-piece shells.
Is a resin printer better than FDM for cosplay?
Neither is better overall, they cover different sizes of part. FDM is right for armour, helmets and prop weapons because the volumes are larger and the material forgiving. Resin is right for small highly detailed pieces like insignias, gems and buckles, but it needs washing, curing, gloves and ventilation.
Is there anything illegal to 3D print?
Printing a model for personal use is generally fine, but selling reproductions of copyrighted characters is not. Fan art, commissioned likeness work and commercial replicas carry real intellectual property risk. Printing functional parts, cosplay accessories and original designs is straightforward, and original files sold on model marketplaces are usually the safest commercial route.
Which Cosplay Printer Should You Actually Buy?
Buy the printer that matches your largest single piece, not the one with the highest spec sheet. If that piece is a mask or a set of insignias, get resin, and the ANYCUBIC Photon Mono M7 MAX gives you the room and the detail. If it is a chest plate or a helmet shell, get an enclosed FDM machine, and the Bambu Lab P1S Combo covers the most ground with its multi-colour AMS.
Go larger only when you genuinely need one-piece shells, and then either the Creality K2 Plus Combo at 350mm with 16 colours or the Creality Ender 5 Max at a 400mm cube. The first is better equipped, the second is cheaper and less proven. Whichever you choose, budget the post-processing, because a helmet takes hours of sanding, filling and painting whatever printed it, and that time is the real difference between a prop you finish and one that sits half-painted on a shelf.